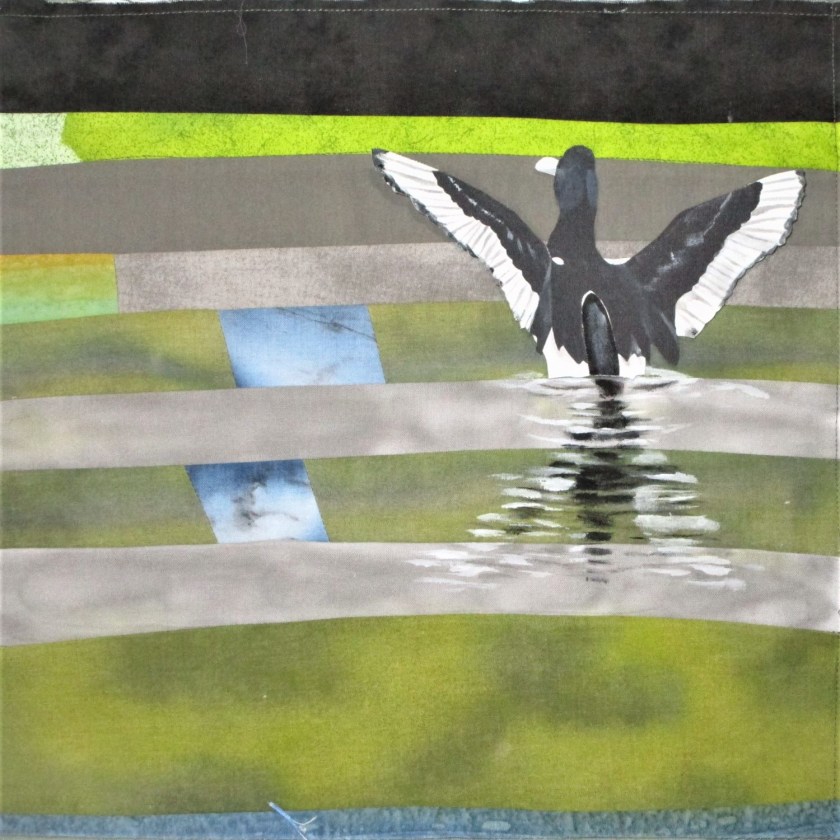
Today I finished up my practice sample for the Duckweed fiber object. This involved making the quilt sandwich and quilting.
I started with the walking foot and black thread. The stitching included wavy lines over the foreground and sewing around the duck. Next I switched to white thread and the free motion foot for creating the ripples around the base of the duck and outlining the duck’s wing feathers. I continued on my making white ripples to match the black ones in the foreground. To finish up, I used yellow-green thread to quilt the background.
As I worked, I began to like it more and more.
For the purpose of comparison, here is the inspiration photo.
And here is a close-up of my duck.
Making this piece was really good practice. I might do some things a little bit differently when I begin work on the main piece. I’ll give this project a few days rest and come back to it with fresh eyes.
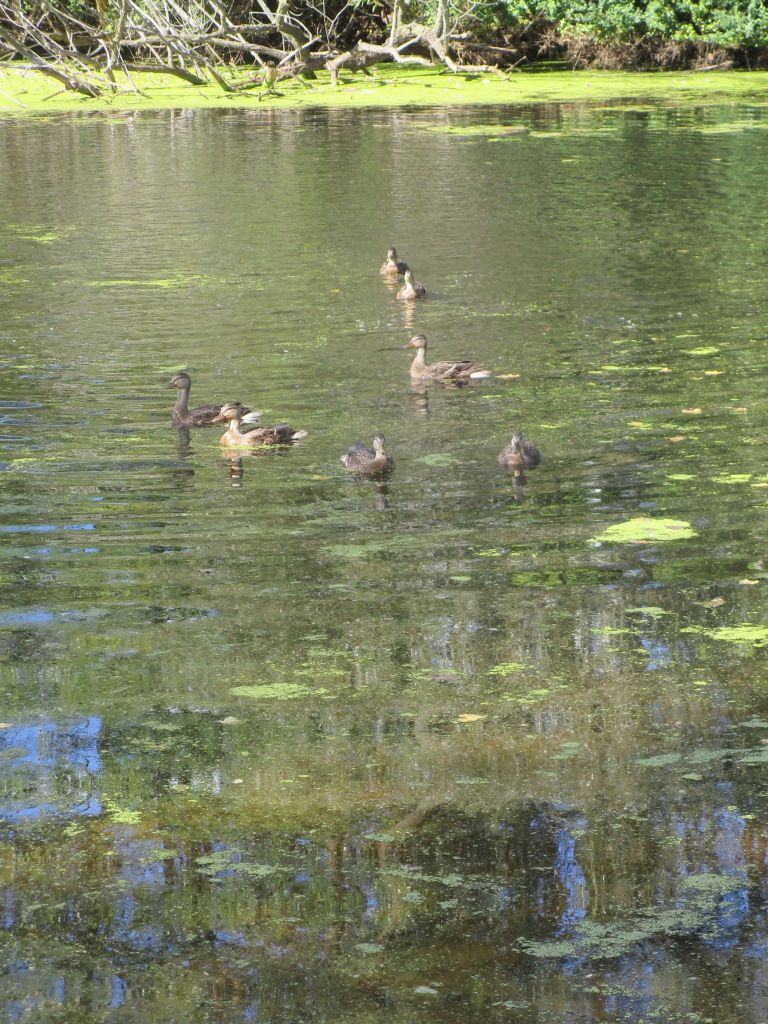
For the past couple of weeks I have been working on a new project. It’s inspired by this photo, which I captured in September at a nature reserve in Madison WI.
Mallards at Cherokee Marsh
I didn’t have any big expectations for this quick snap of a group of mallard ducks. But when I looked at it on my computer, I was captivated by the foreground – a mish-mash of colorful and spotted reflections. How might I create this look in fabric?
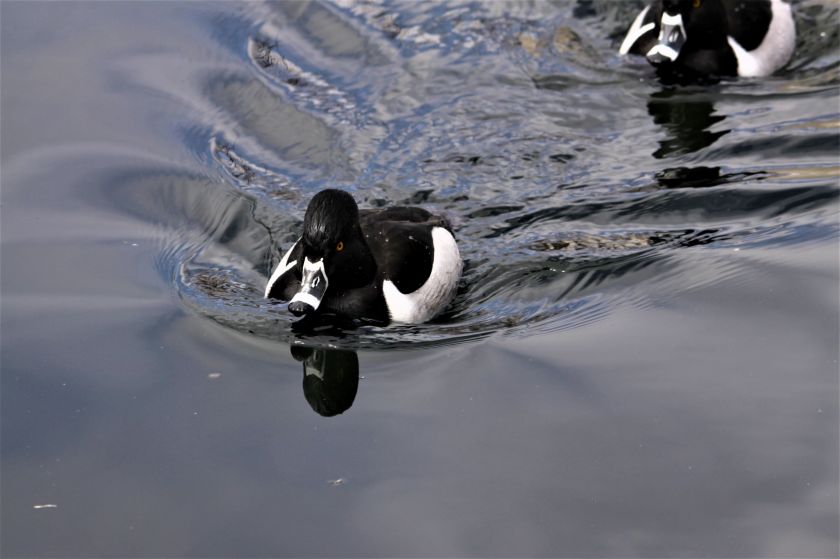
For this project I chose to use ring-necked ducks instead of mallards.
Male Ring-necked Ducks.
I love the black and white coloration and the crispness of its markings. Since this species of duck is also native to Wisconsin, I decided that it was a fair exchange.
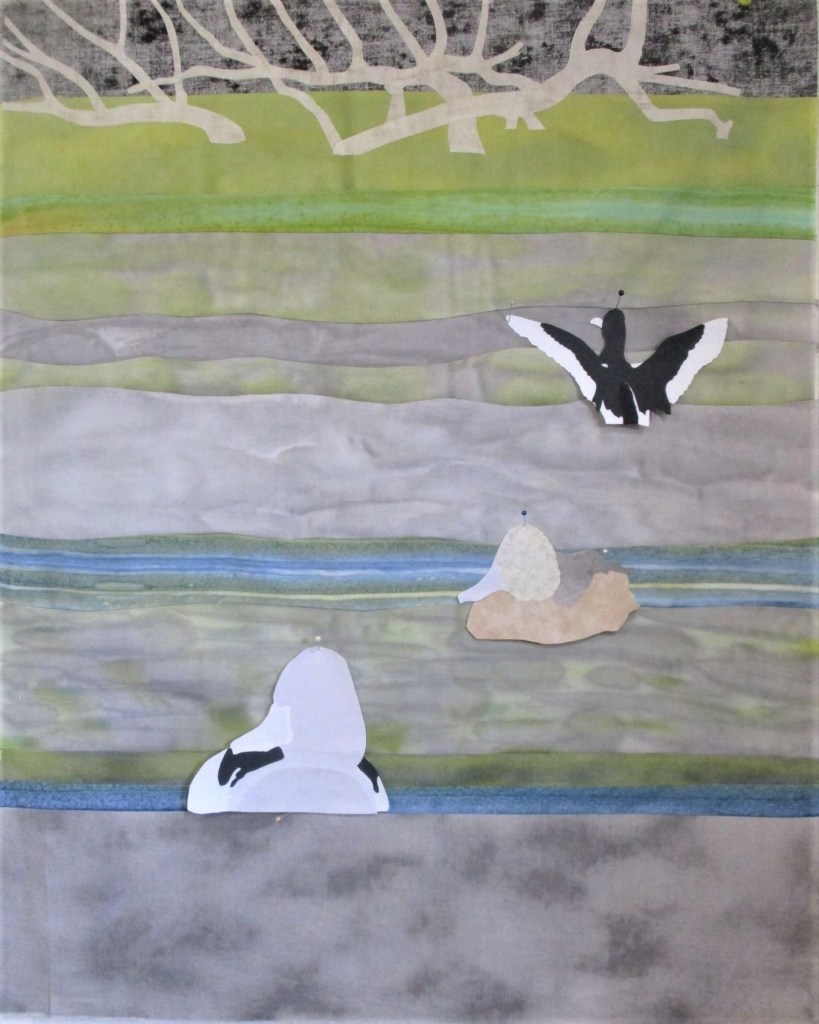
For the background, I selected some commercially printed and hand-painted fabric. these were sewn together in strips. Next I pieced together the first three ducks.
Eventually details will be painted on the ducks with fabric paint.
I took a pause for a few days. I want to use the confetti technique to render the mottled foreground. But this is a very new technique to me. So it makes sense to practice first.
I put together an extra duck so I could practice painting his reflection.
I like the pose of this one.
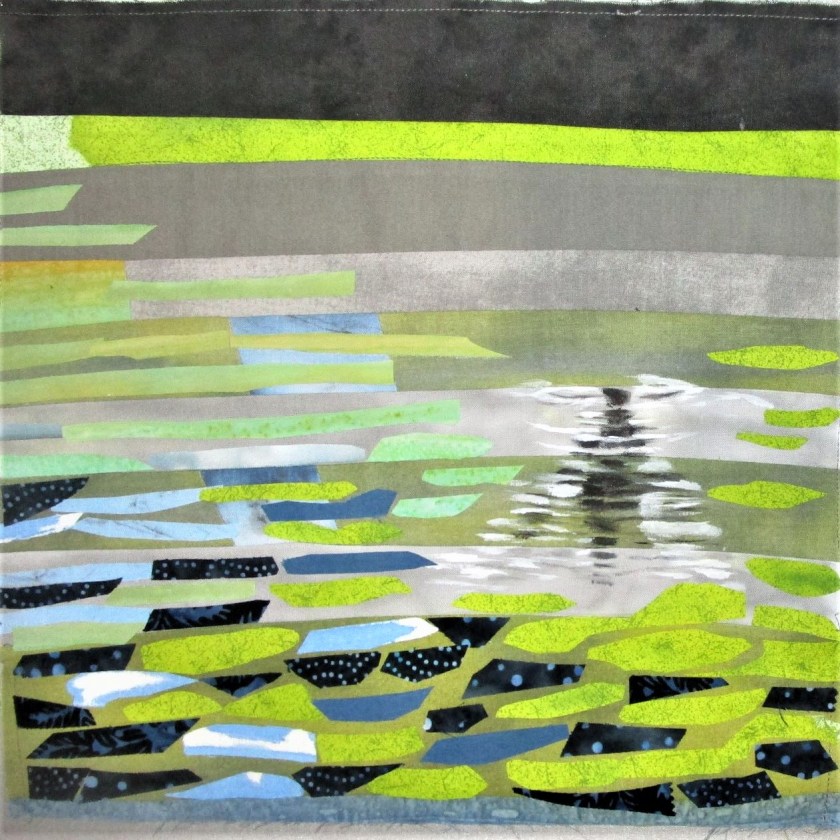
The next step? Go to U-tube to watch some instructional videos on the confetti technique. I had done this already, but the second viewing helped me work up my confident. With the prepared fabric in hand, I applied fusible webbing to the backs and cut them up into pieces. For the next hour or so, I fiddled around with layout.
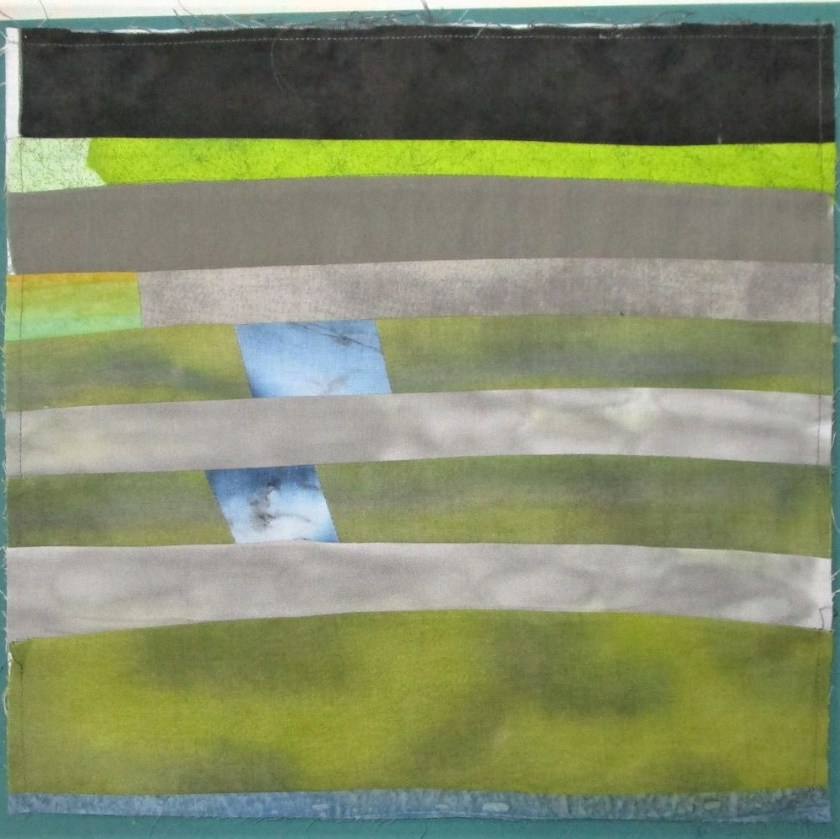
Practice block with reflection and confetti foreground.
Did I mention that the title of this work is “Duckweed?” I guess I forgot to say. When I was at the marsh, it was the duckweed that really caught my attention. It was growing about the pond profusely in an intensive shade of green. This is what I am attempting to depict with my confetti pieces.
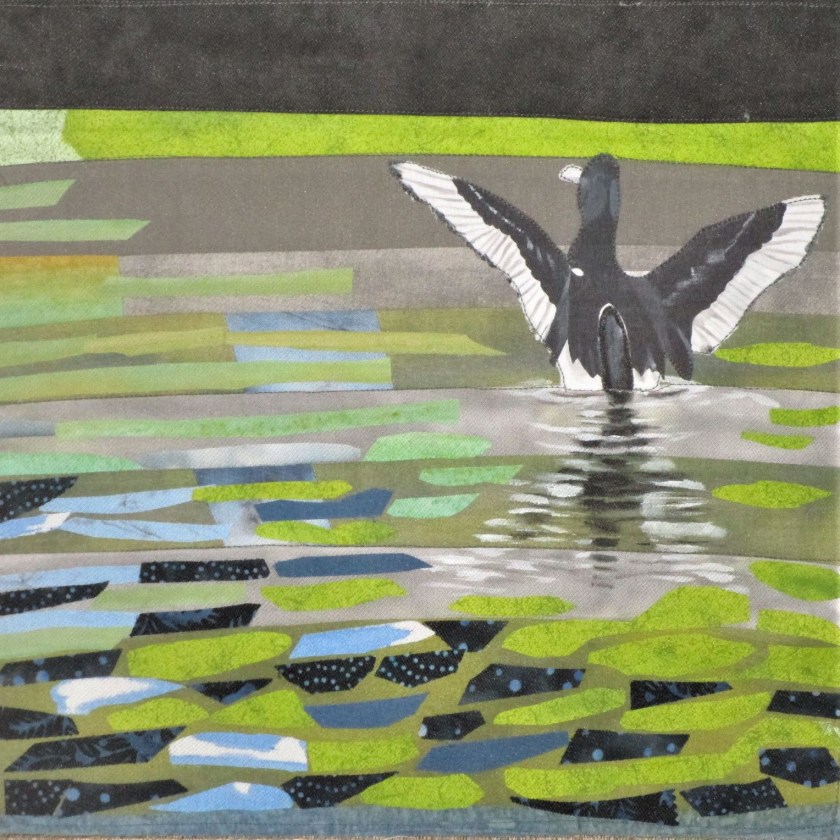
I next fused the duck in place and stitched a piece of tulle over the whole sample. The purpose of the tulle is to make the quilting easier. Here is where I left off today:
I’m fairly happy with my work. But I want to try rendering the reflection in the confetti technique instead of paint. I also want to work on the shapes of the confetti pieces.
Fellow blogger friends, please bear with me for posting something that is meant for a narrower audience.
I’ve decided to gift many of the fiber objects that I have made over the past two years to family members. To that end, I am publishing this virtual trunk show.
Here goes: Dear family, you have been so good to each other and to me this year. I want to offer you my fiber pieces as a thank you. The images below are organized by category. I have several knitted accessories, some watercolor sketches and a few art quilts. Let me know which ones you like. I will be bringing these objects home on Thanksgiving. That week-end, I will have a real trunk show, so that you can see and hold the objects before making your final choices.
To see images close up, click on each.
Art Quilts
Top row: Oklahoma Sunset, 16 x 20; Just Trees, 16 x 20; 2Daisy Squared, 16 x 16 Bottom row: Autumnal Equinox, Mojo Miniquilt, Vigil. All are roughly 12 x 12
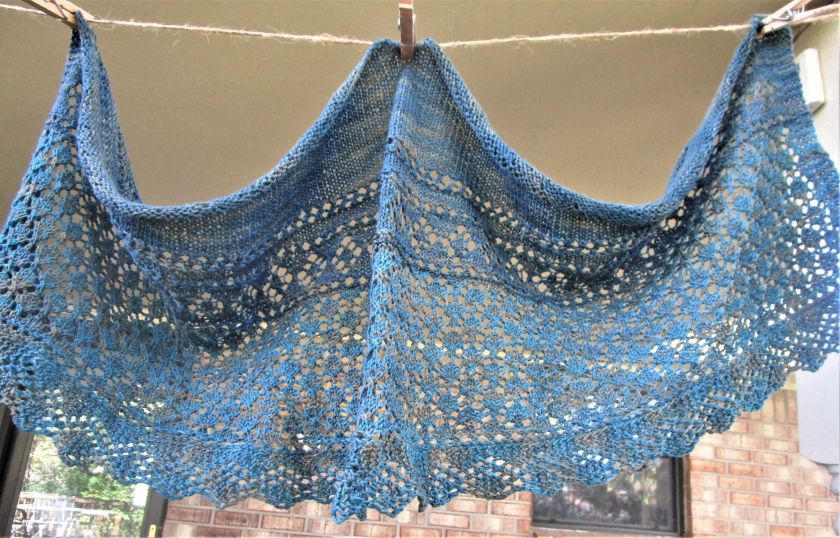
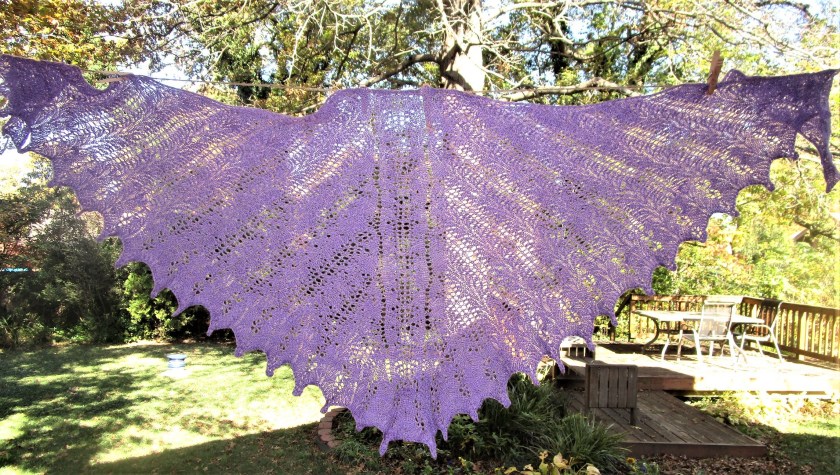
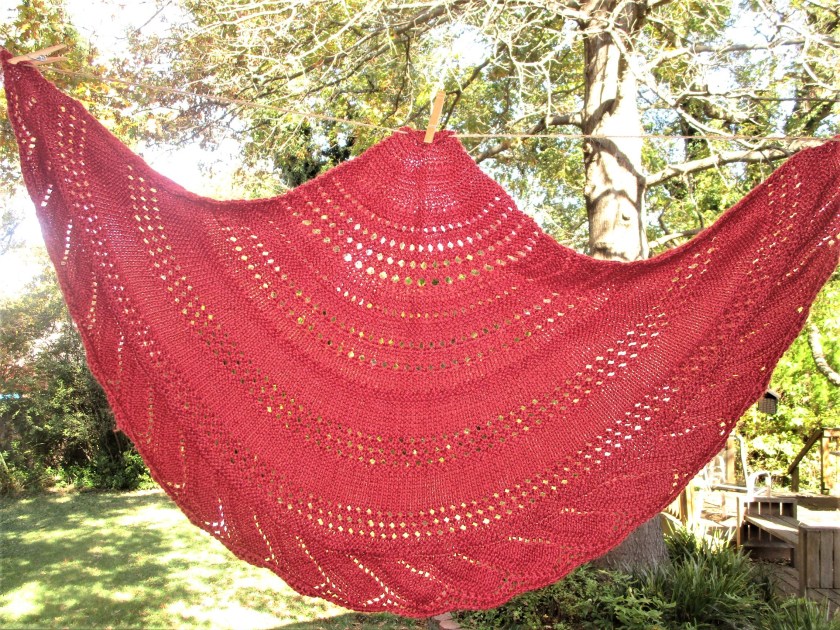
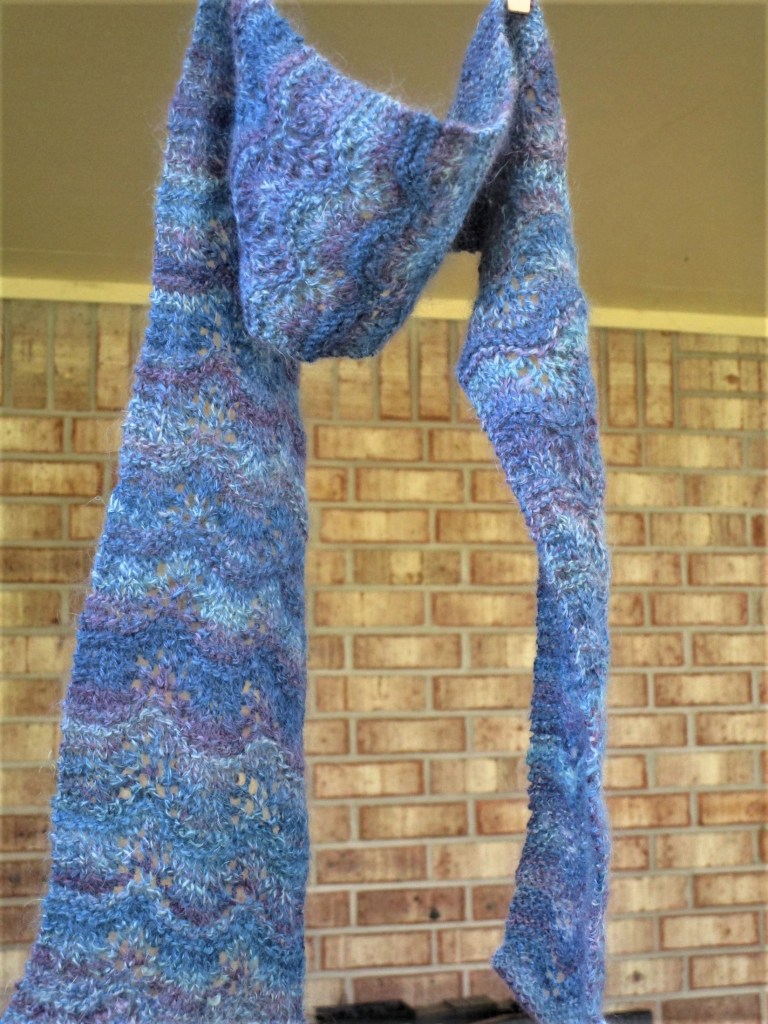
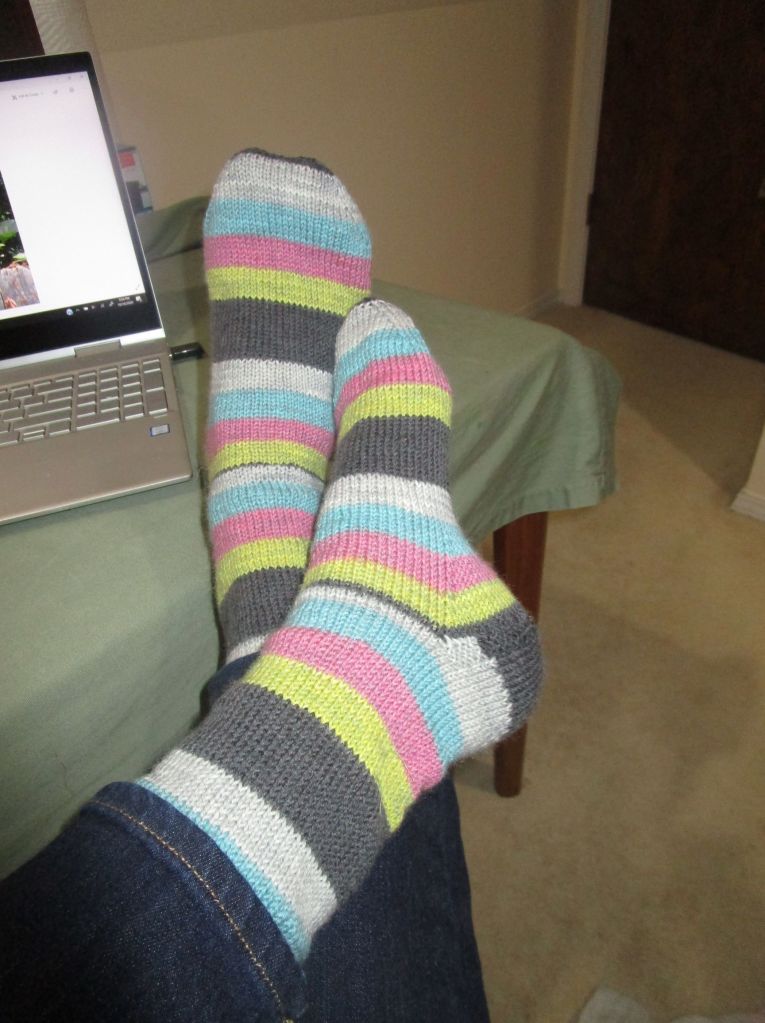
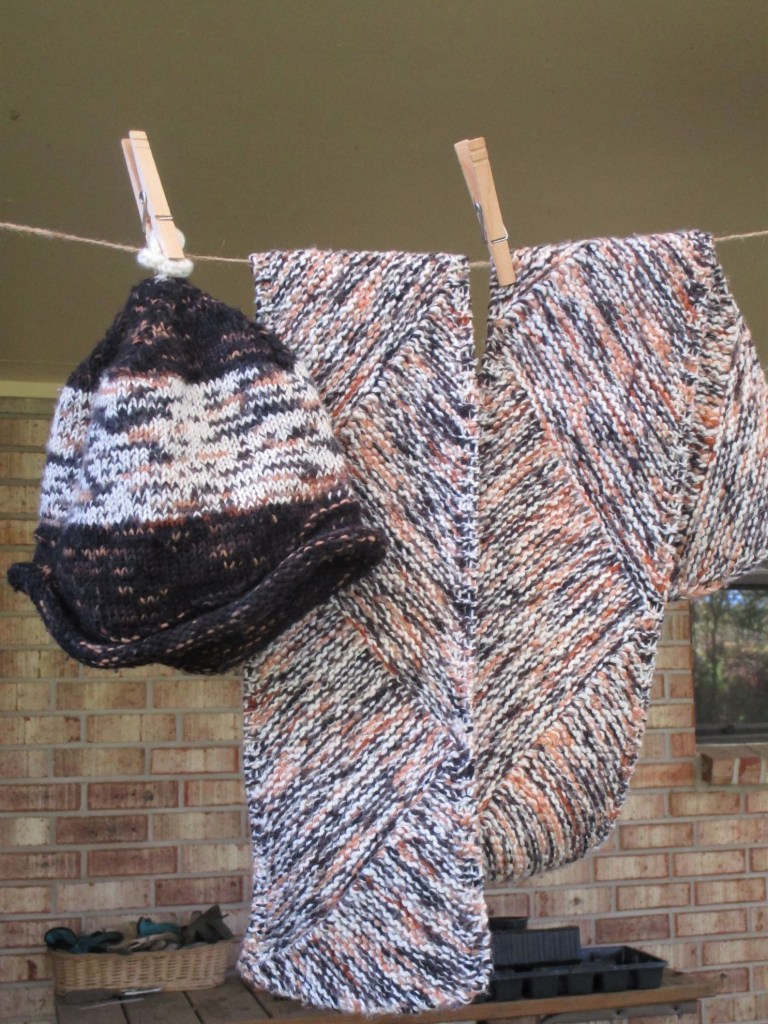
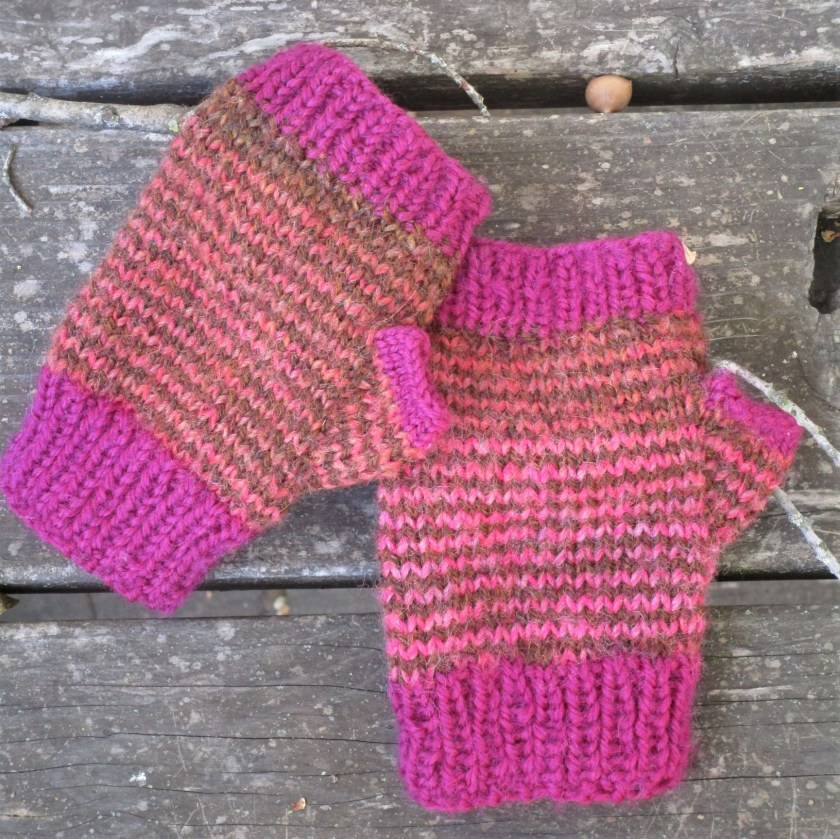
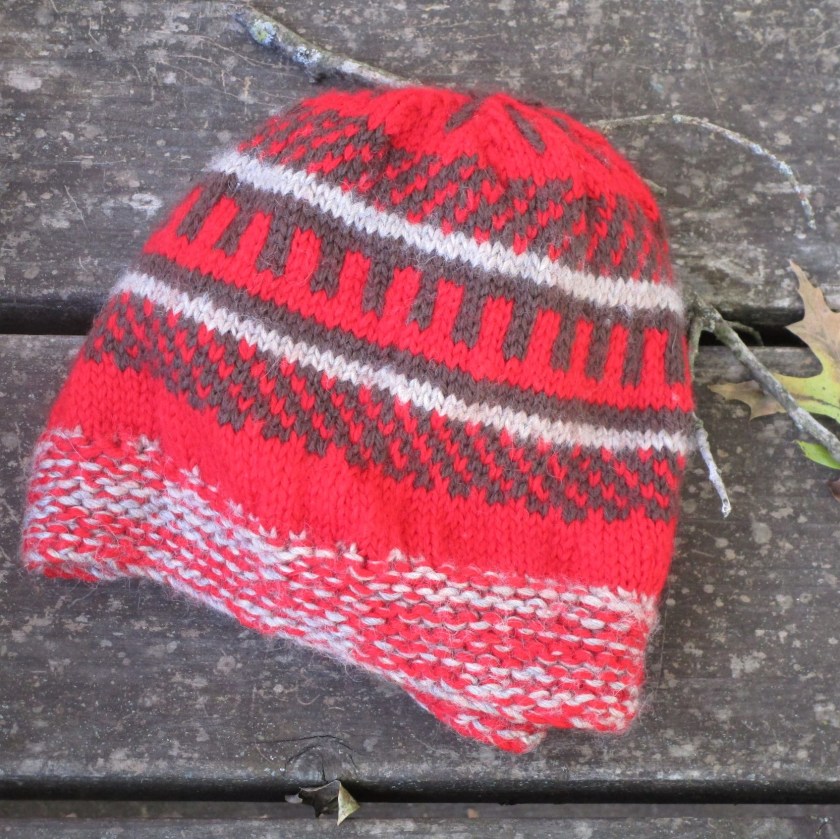
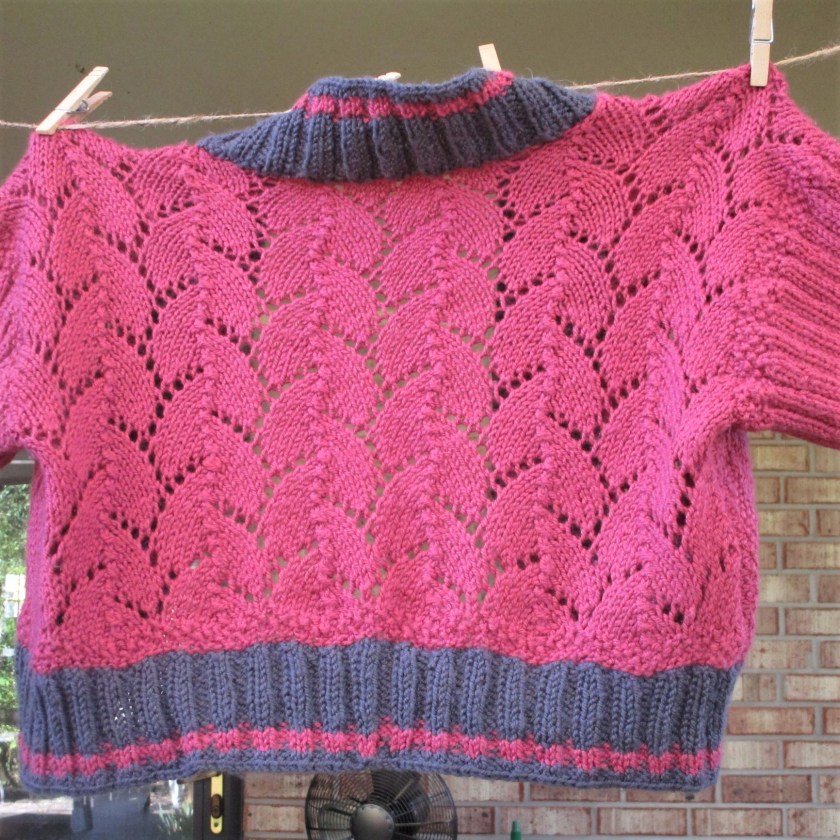
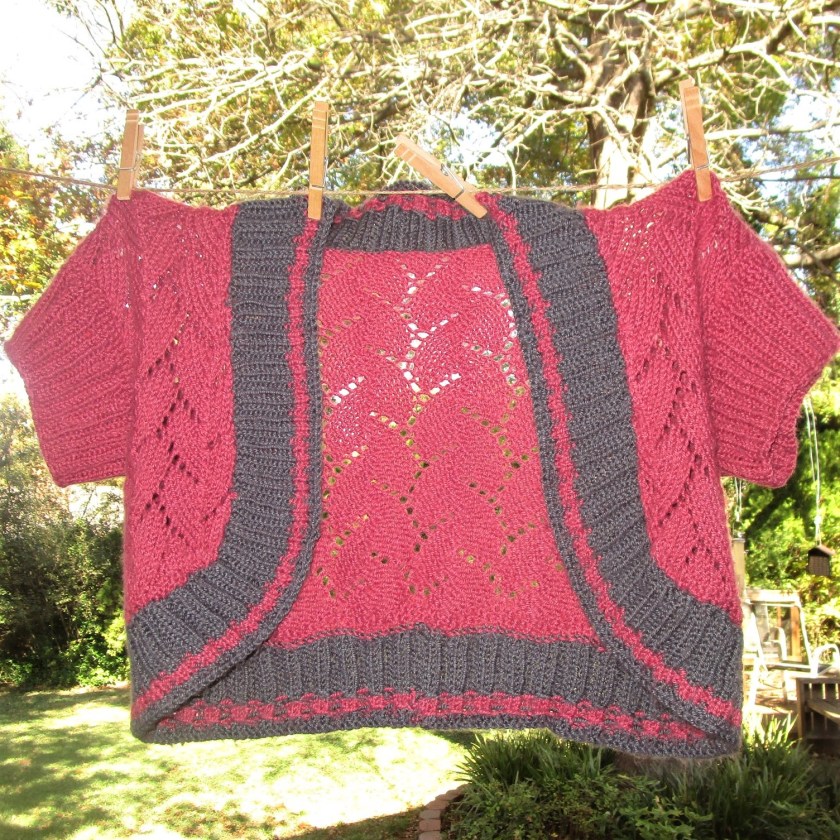
Knitted shawls, scarves, hats and other
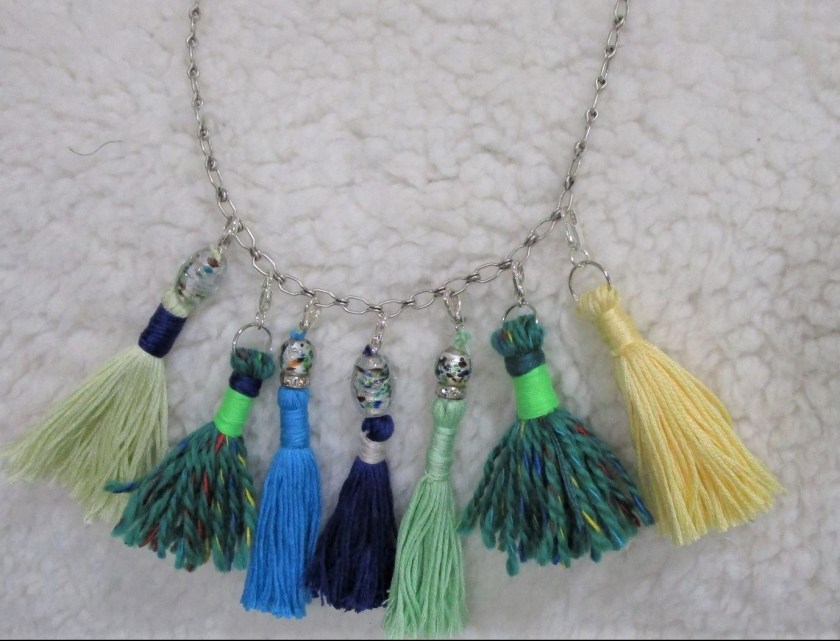
Cotton Floss Tassle necklace
Shawls, Scarves and Hats – one size fits most. Shrug, mitts and socks – Women’s medium
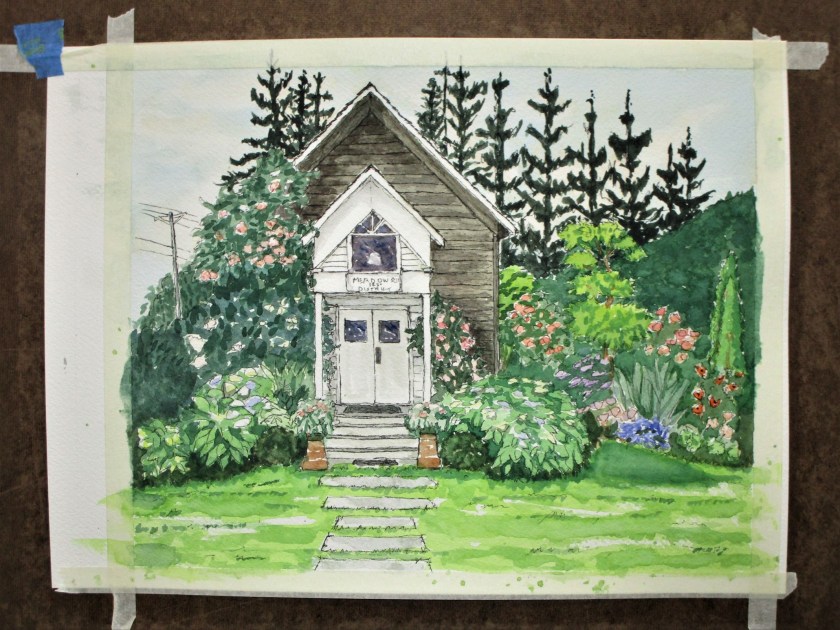
Water color sketches
Sizes range from 7 x 10 to 8 x 11
You may call with any questions or email me, at my aol address.
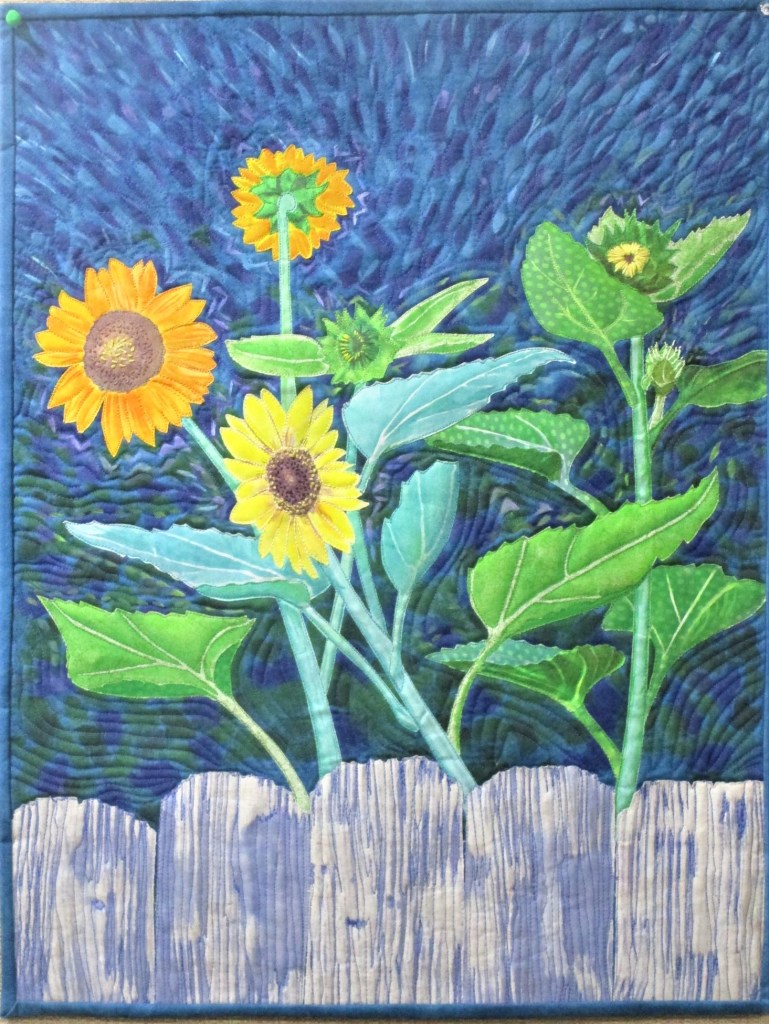
The last time I posted about my sunflower project, I had just finished fusing all the fabric pieces to the background and was beginning to embroider details on the flowers. There are only a few more steps to share.
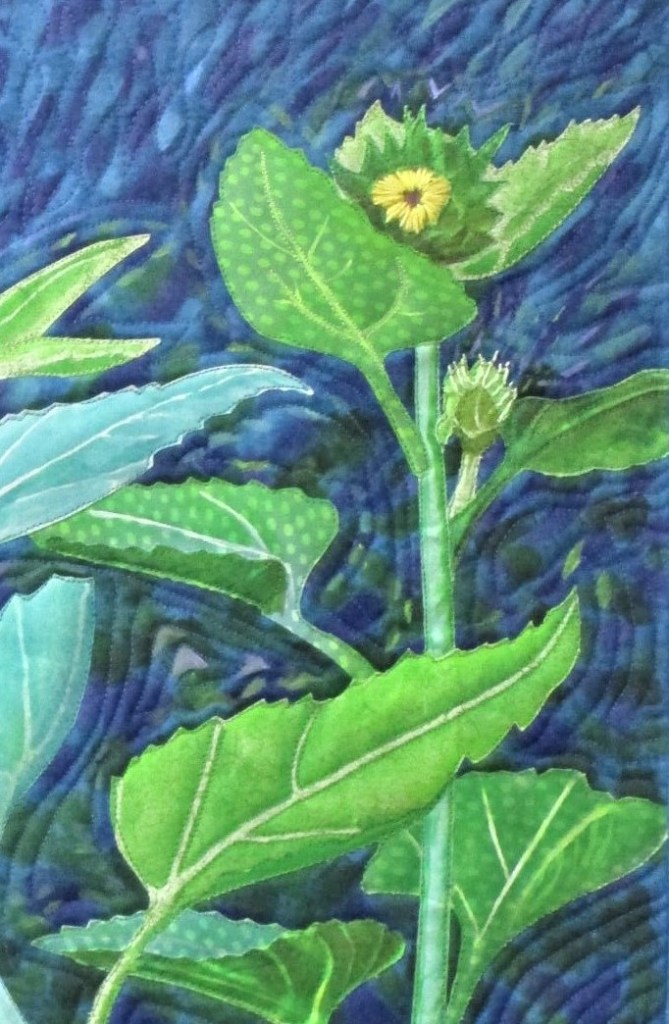
Here is a close up of the embroidery detail, which also shows the machine stitching around each applique piece.
Both of these steps took a good amount of time. I sewed around each piece using my walking foot. It is a great foot for precise work, but it only sews in a straight line. To sew down each petal and each notch in each leaf required lots of adjustments along the way.
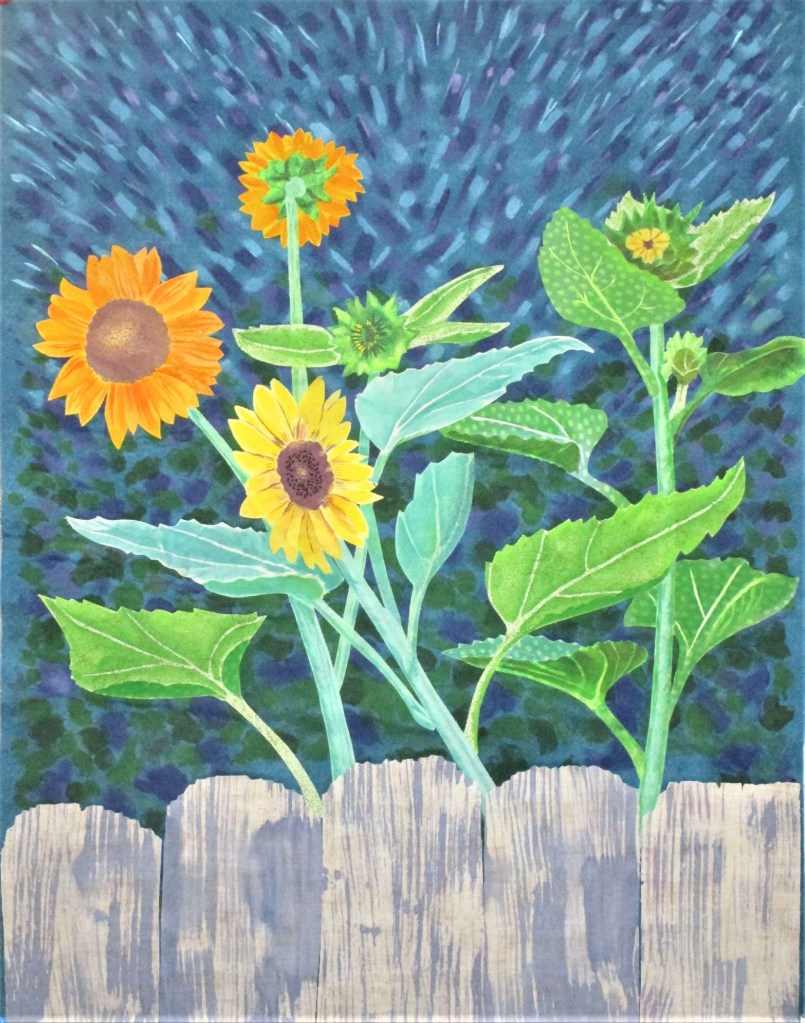
Once the outline stitches were finished, I switched to my free motion foot to quilt the background. Now take a look at the Van Gogh painting at the top of this page. You can see, how the artist painted echo lines around the details. The pale dashes around the man’s jacket repeat the line of the jacket, and the edges of the sleeves are echoed all the way up the arm. I wanted to create the same kind of texture in my piece. So I started by sewing echo lines around the flowers and the leaves.
When I reached the sky, I sewed wavy lines around several of the paint dashes and dabs. After finishing the quilting, I bound the quilt on all sides with blue fabric.
For my final step, I mixed some paint. I painted echo lines, focusing on the upper half of the piece, and giving much attention to the flowers. Then I called it done.
Van Gogh-ish Sunflowers
Detail of painting around flowers and leaves.
I feel really happy. While this project took me many hours to complete, I find it very expressive. The quilting and the background paint lines represent the motion of the sunflowers as they sway in the wind. I like to think the echo lines represent the energy that exists in all living things.
Thank you, Mr. Van Gogh, for everything you taught me.
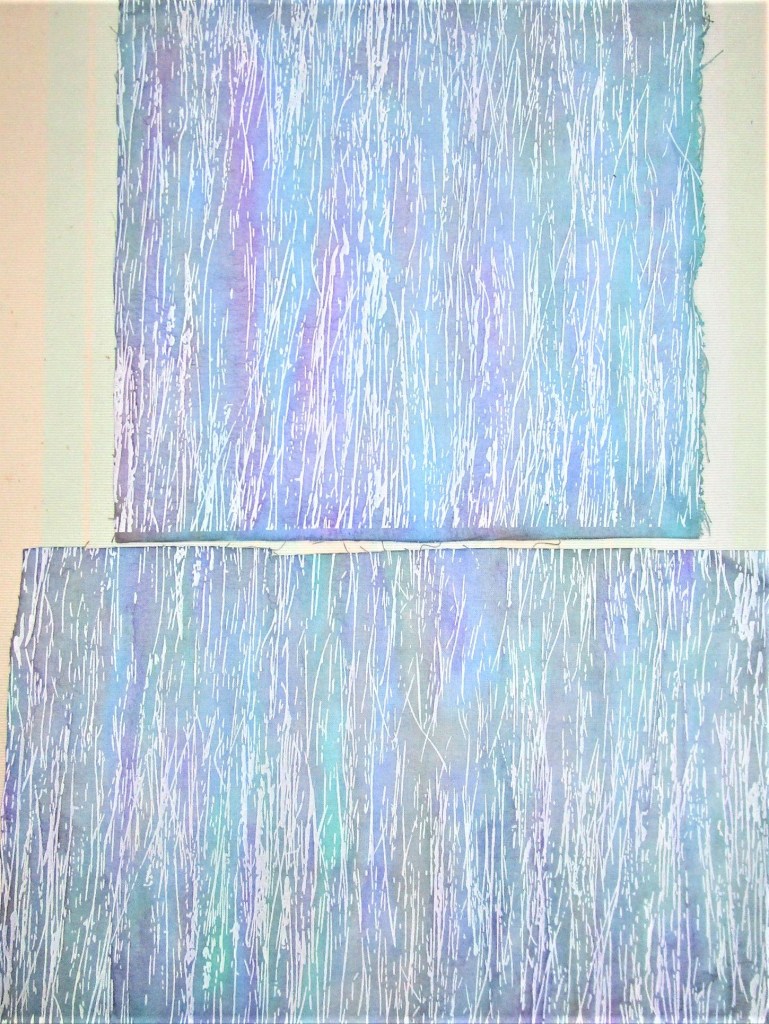
First of all, everyone said “Keep the fence.” Many of you liked the wine-purple color, but some agreed with me that an adjustment of some kind was needed.
I did try options 1 and 2.
Option 1: Start over with another fabric. Here are the samples I painted on the white fabric. I decided that it was a fun exercise, but just didn’t look too fence-like.
Option 2: I applied a wash of a cool blue color to tone down the strident red violet.
It just plain didn’t work as intended. To my eye, this is worse than before.
In the end, I chose to start again with the original fabric, for the same reason that I picked this fabric in the first place. The print had an earthy, woody texture to it. This time I mixed my violet paint with enough azure blue to create a sort of periwinkle or lavender tone. I also modified my foam brush by cutting notches into it.
The Winner!
Thanks to all who participated in the game. Your encouragement and positive remarks let me feel the community around me. I wish I could give you each a hug.
Now I can move on to sewing. I’ll start with a little hand embroidery on the flowers.