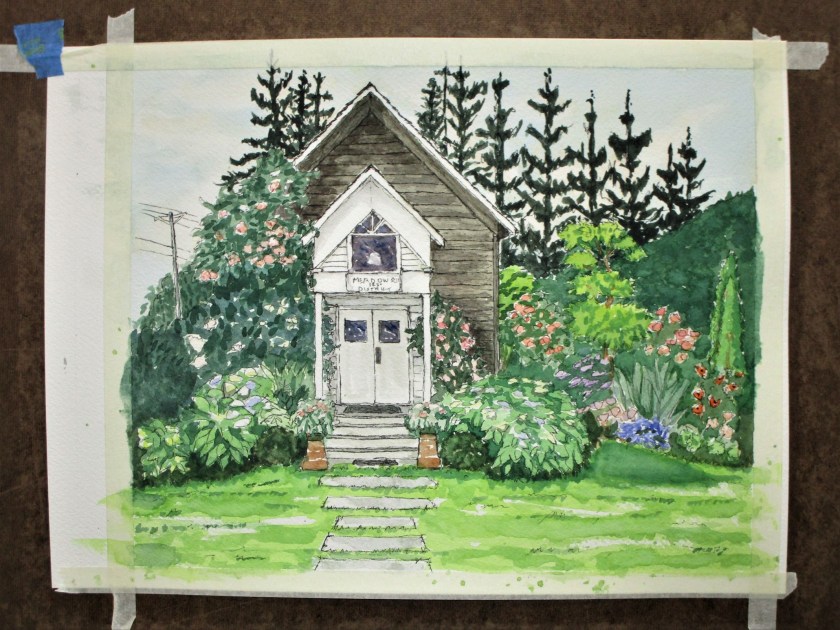
Last week I took my camera along during a walk through the neighborhood. My goal was to capture images of the trees dressed up in their autumn splendor. I didn’t do well. Every time I framed up a nice shot, the sun went behind a cloud. So the photos did not come out as wished. I did get a nice shot or two of this front porch scene.
I was drawn to the red door, accented quite smartly by two red chairs. Today I got out my water colors and painted this interpretation in my sketchbook.
It allowed me to practice painting shadows. But it was a poor consolation prize compared to fiery leaves of autumn.
I concluded that the results were less than stellar.
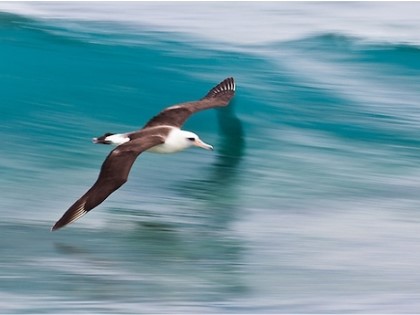
Today I am doing a side by side comparison using watercolor paint and fabric paint. My reference photo is an albatross.
I chose this because of the water background and because it would be quick to paint.
First I gave the sheet a good soaking in warm water, laid it on a waterproof board and squeegeed the excess water out. I was trying to break or reduce the amount of primer/sizing on the canvas. After it dried overnight, I cut it in half and started painting.
Colors used were cobalt blue, turquoise, paynes grey and burnt sienna. There seemed to be no difference in this result versus my first attempt. It was clear to me that the canvas had been primed with paint – probably acrylic.
Next came the textile paint. This paint is acrylic so I had high hopes. As I normally do when painting on fabric, I mixed the paint with a floating medium to thin it.
Colors were sapphire blue, turquoise, burnt sienna, gray and white. The experience of pushing the paint/medium combination around on the canvas was not pleasant. It had the consistency of snot and clumped up quite a bit. I will admit that it dried just fine and did hold some of my paint strokes pretty well.
The conclusion is that neither media gave a good result.
So I will probably abandon the canvas pad for purposes of fiber arts. Maybe some of my art association friends who work in regular acrylic paint would like to try it.
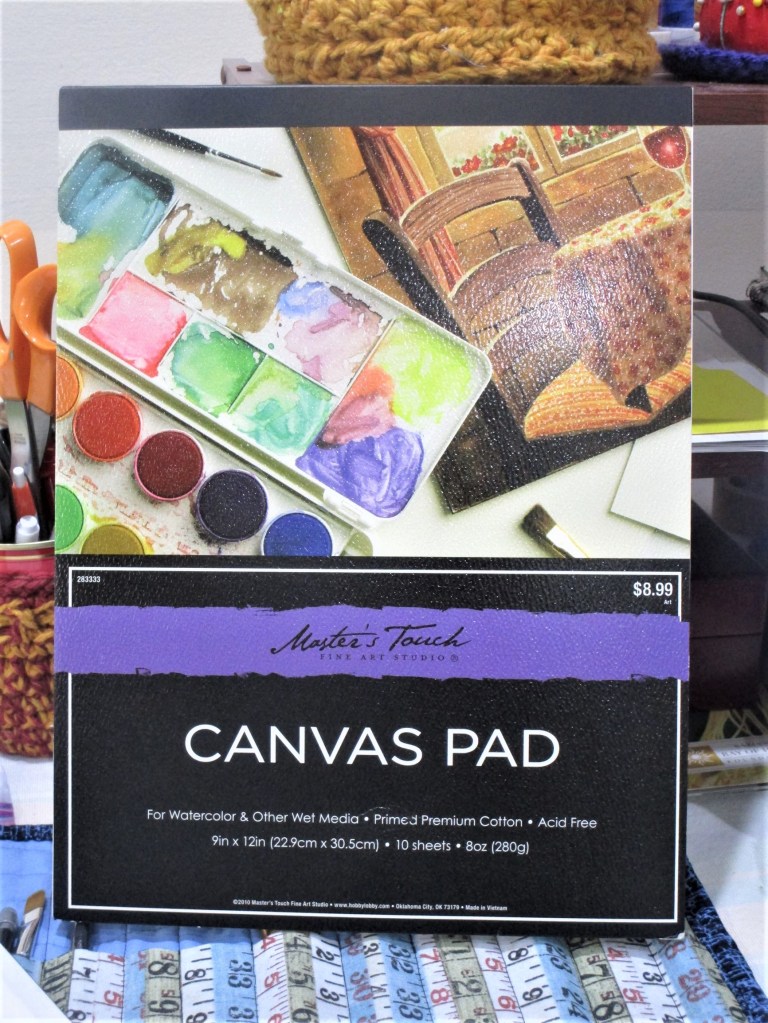
I spotted this item at Hobby Lobby, which piqued my curiosity:
It is described as a canvas pad, suitable for watercolor and other wet media. It is primed, 100% cotton. At $9.00 for 10 sheets, it’s not exactly a cheap paper. It is a soft fabric-like sheet, obviously the same sort of stuff that is stretched over wood frames used by oil and acrylic painters. Yet it promises that watercolors work as well.
I had two questions: First, does it really take paint the way standard cotton watercolor paper does? Second: Does it behave like cotton fabric? For me, that means, can I sew on it, press it and use it on an art quilt?
Today was the day to try. My current project features ducks swimming on a pond. So I got out a reference photo and started a watercolor painting.
It was weird. The paint didn’t want to soak into the canvas. Whatever primer was added made it slightly water repellent.
As I continued to paint, the canvas started to accept the paints, at least a little. My wash went down – thinly, but eventually dried just fine. Getting the colors built up on the duck took a lot of patience. Here’s what I got:
As I removed the painter tape from the edges, I noticed that the tape had not kept the paint out. So no crisp line. That’s okay, I can always cut off the margins.
Next I had to see if the paint would stay put. I wet a brush and moved it along the wash area. The paint was lifting quite a lot, and quickly. So I can’t use a painted canvas in an item that will be exposed to water.
What about heat? I took the iron to the image, pressing gently at first. With a cloth over the duck, I then pressed at a higher heat (rayon setting) and held the iron in place for several seconds.
At first, there appeared to be no effect. Eventually I noticed that the canvas had rippled in response to the heat. The paint looked fine, but I also noticed some shiny places on the ducks’ head and neck. Obviously, at least one of the paint pigments had a binder or bit of metal that melted in response to the iron.
At this point I stopped my experiments. Next time I plan to apply my needle, thread and scissors. Maybe even run it through the sewing machine.
Fellow blogger friends, please bear with me for posting something that is meant for a narrower audience.
I’ve decided to gift many of the fiber objects that I have made over the past two years to family members. To that end, I am publishing this virtual trunk show.
Here goes: Dear family, you have been so good to each other and to me this year. I want to offer you my fiber pieces as a thank you. The images below are organized by category. I have several knitted accessories, some watercolor sketches and a few art quilts. Let me know which ones you like. I will be bringing these objects home on Thanksgiving. That week-end, I will have a real trunk show, so that you can see and hold the objects before making your final choices.
To see images close up, click on each.
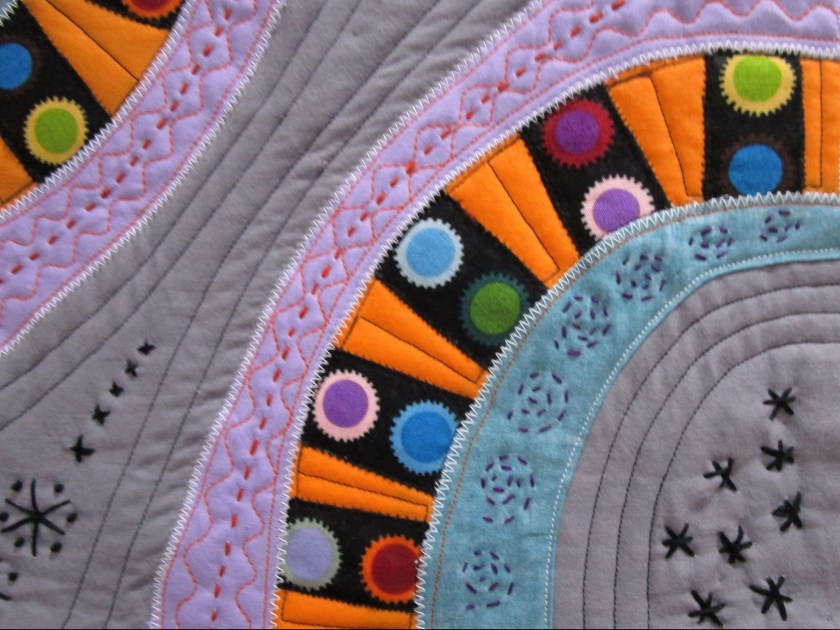
Art Quilts
Top row: Oklahoma Sunset, 16 x 20; Just Trees, 16 x 20; 2Daisy Squared, 16 x 16 Bottom row: Autumnal Equinox, Mojo Miniquilt, Vigil. All are roughly 12 x 12
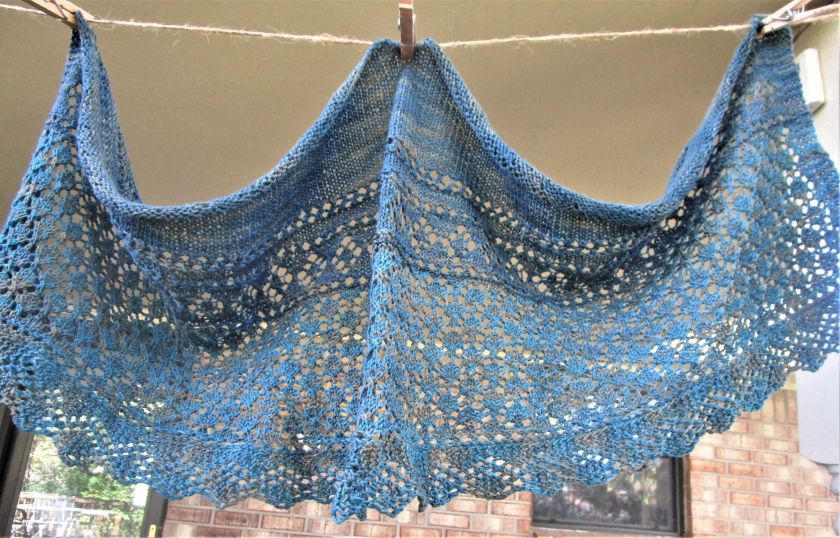
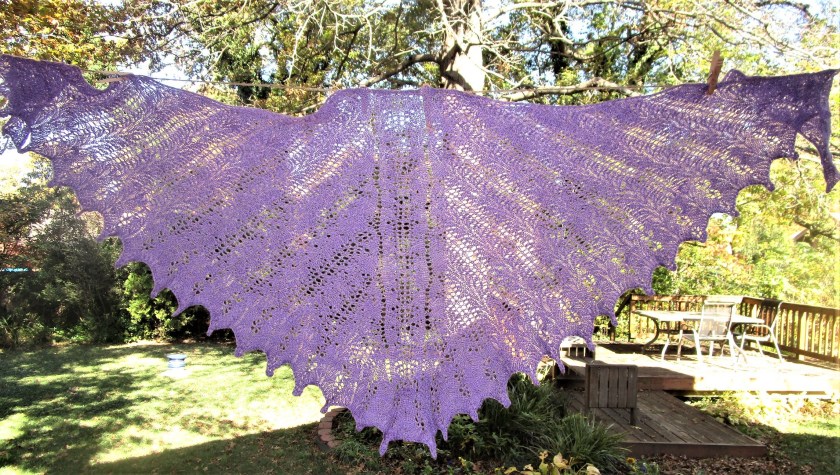
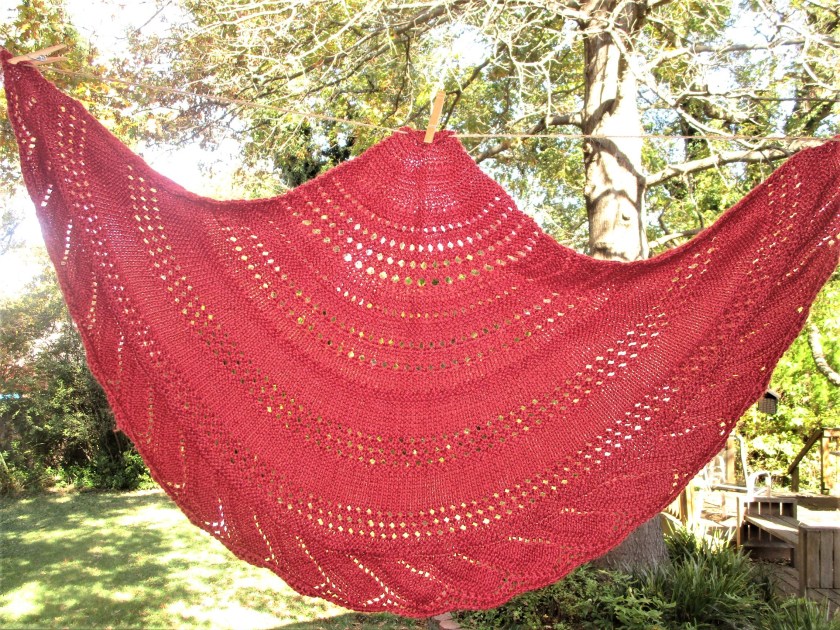
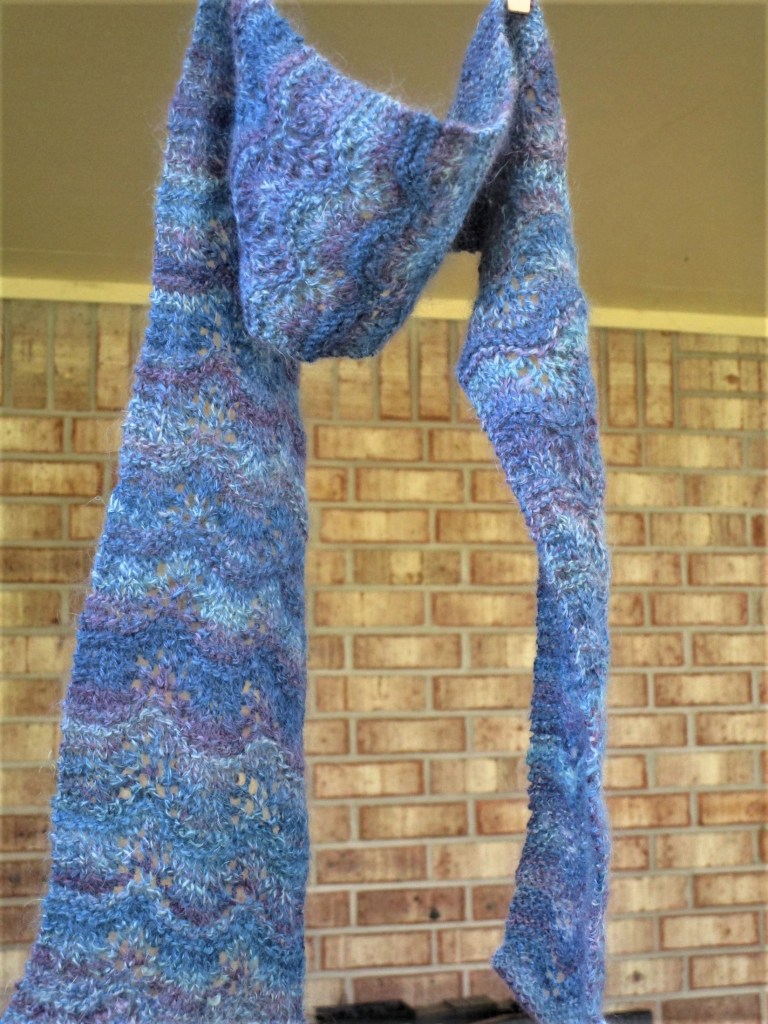
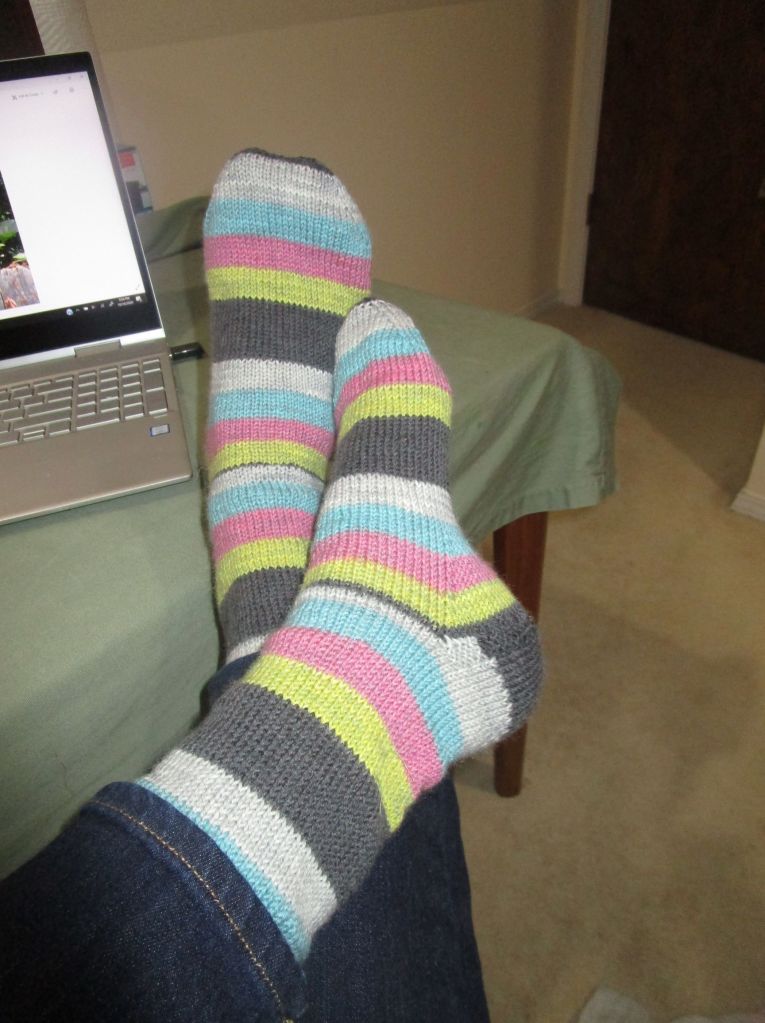
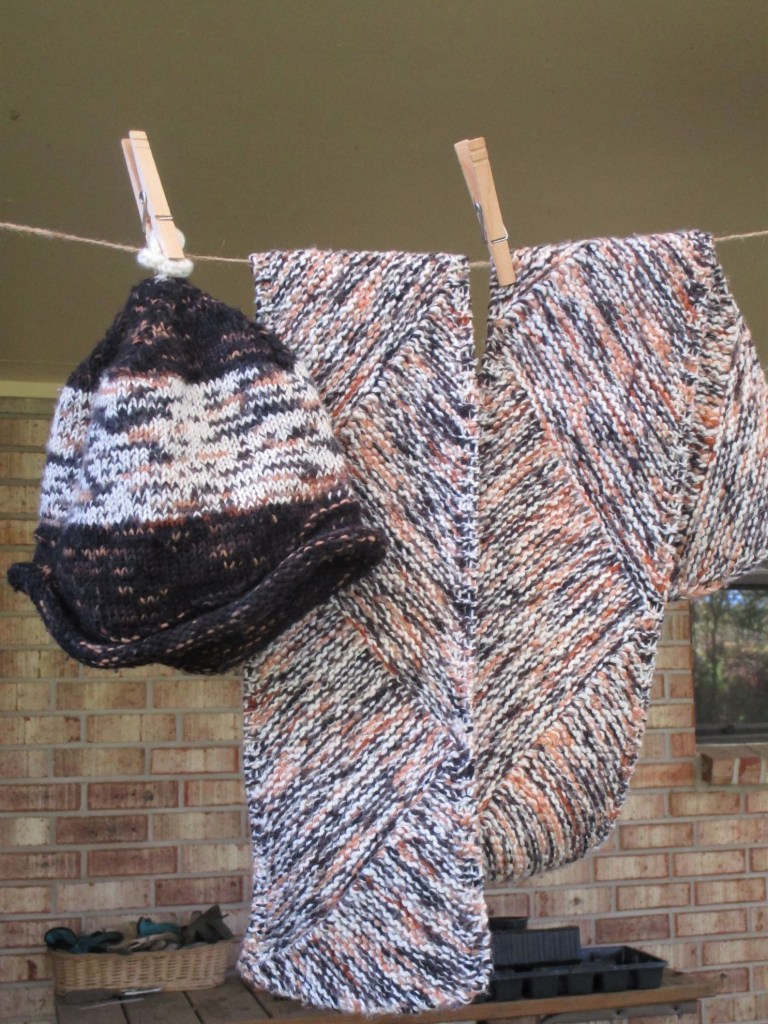
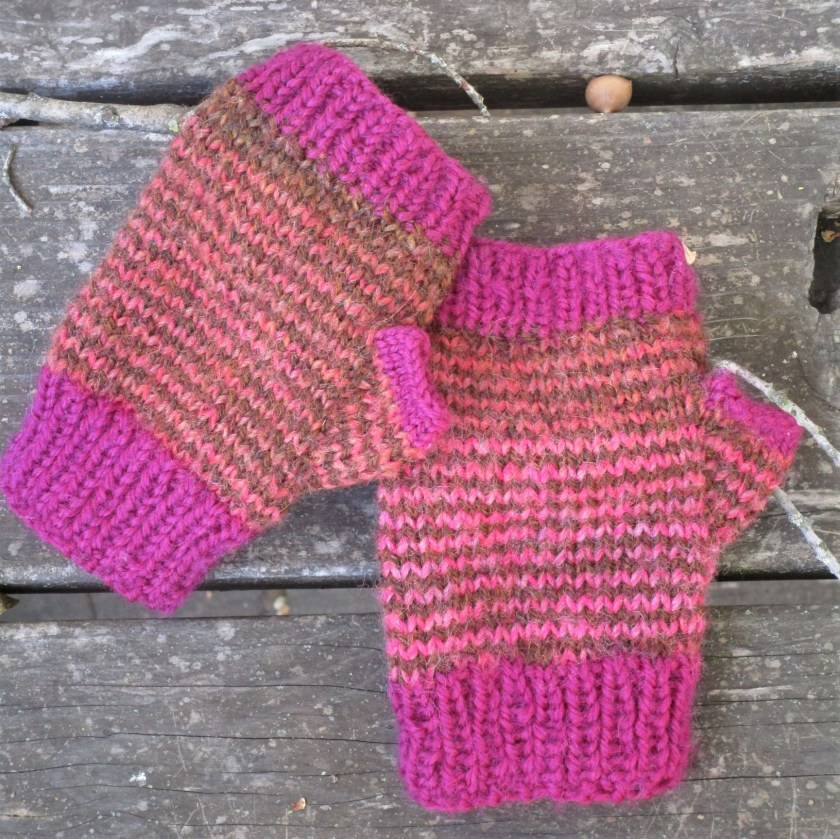
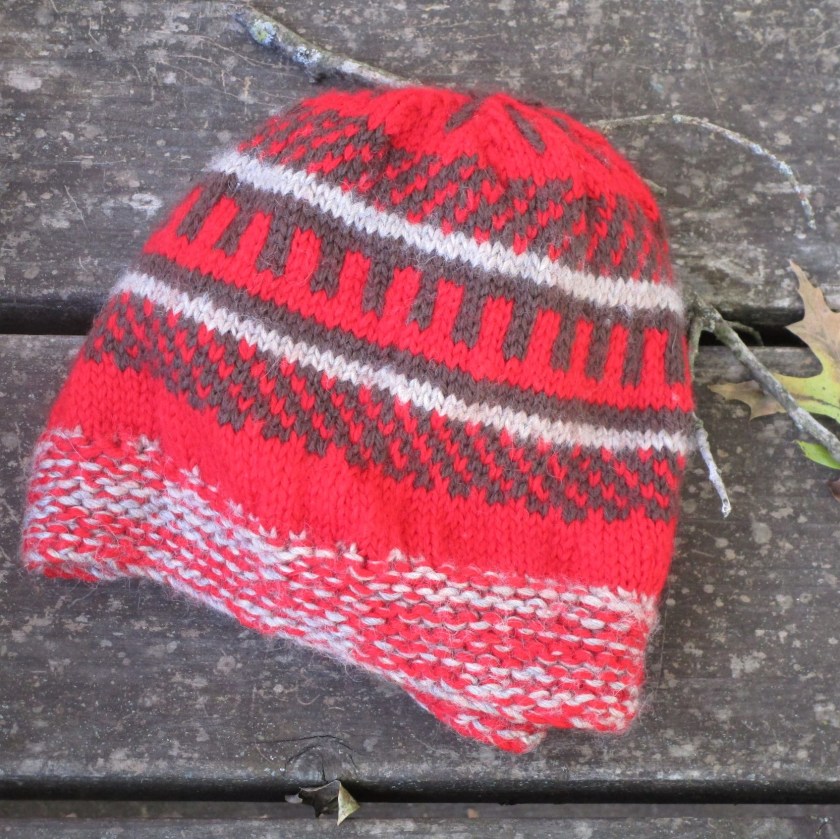
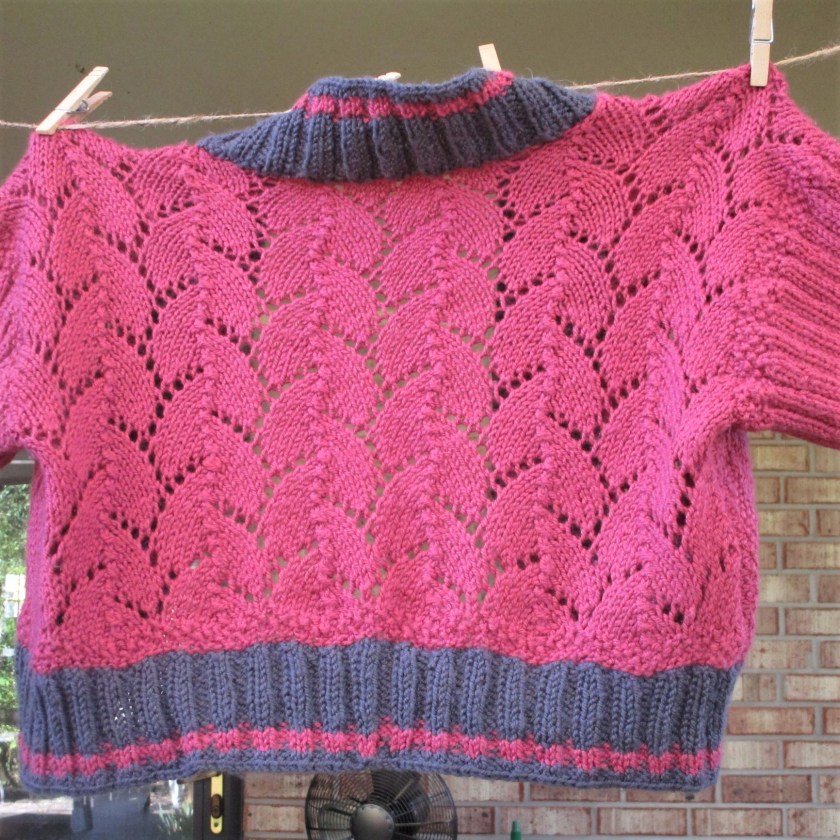
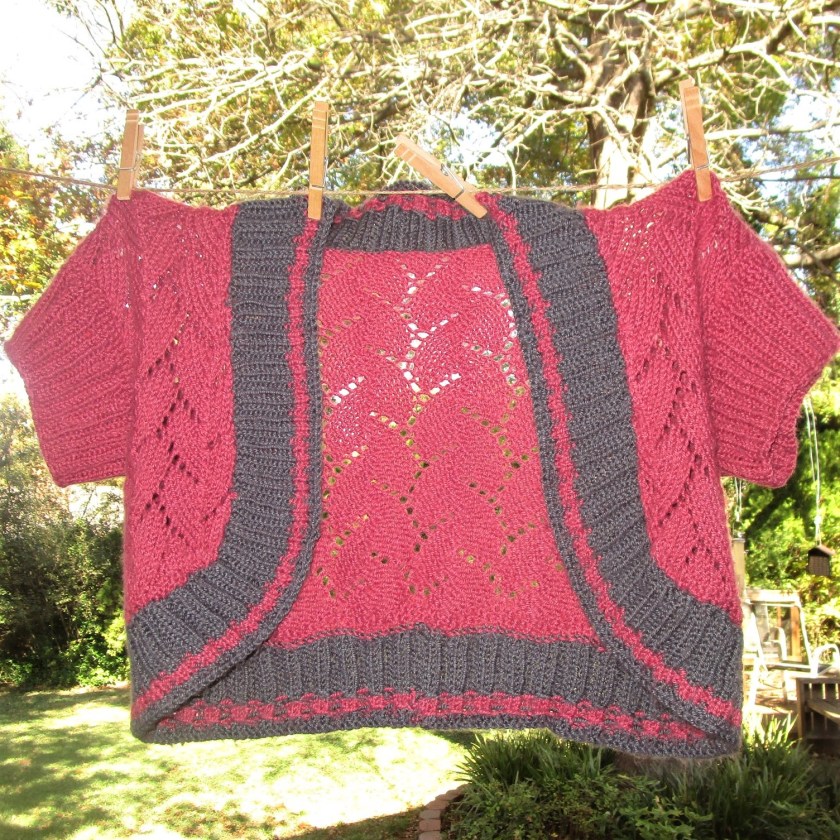
Knitted shawls, scarves, hats and other
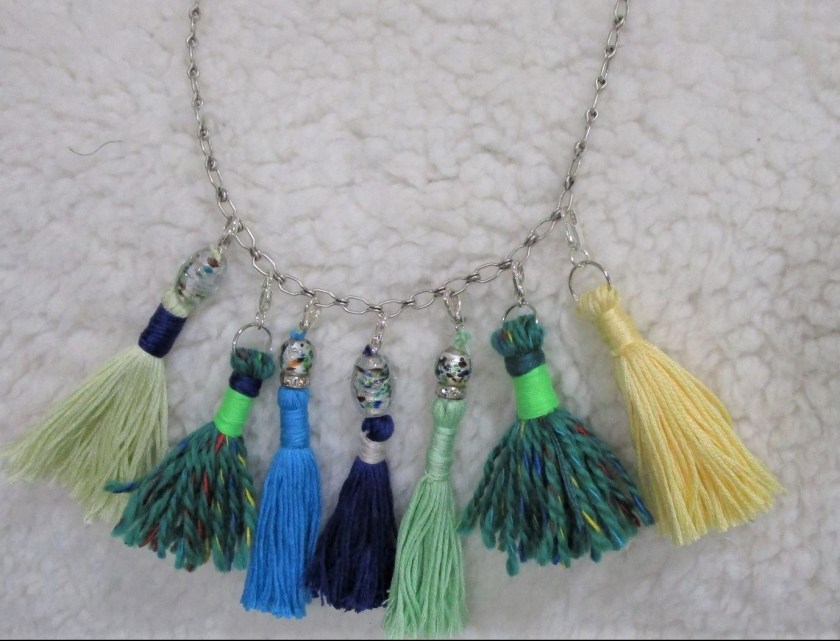
Cotton Floss Tassle necklace
Shawls, Scarves and Hats – one size fits most. Shrug, mitts and socks – Women’s medium
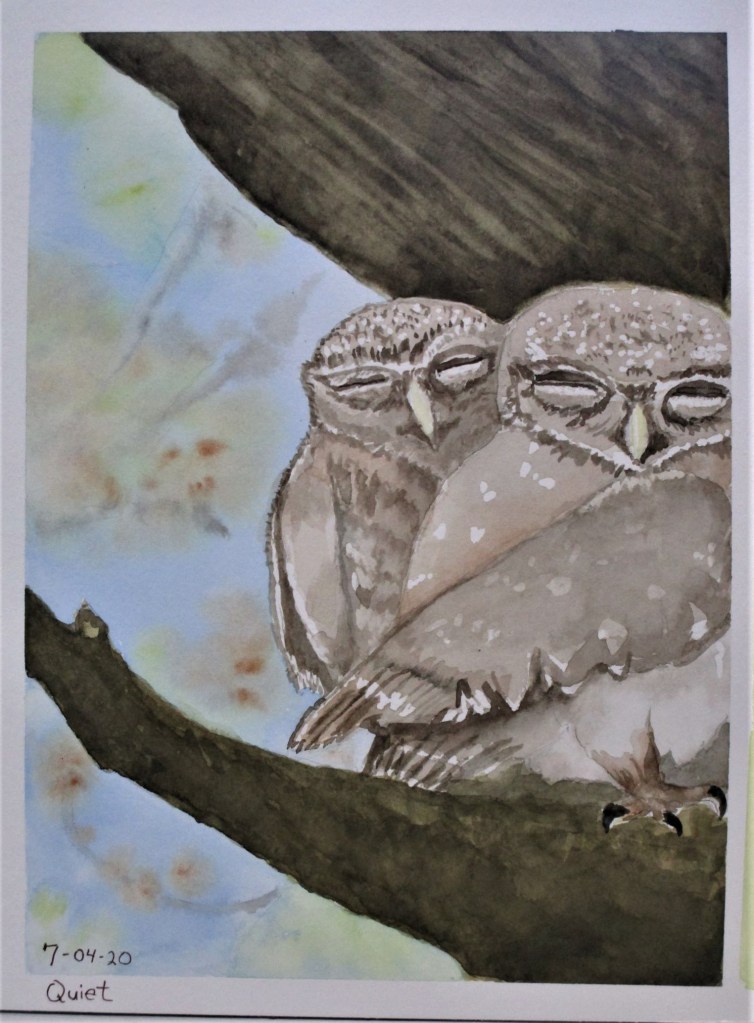
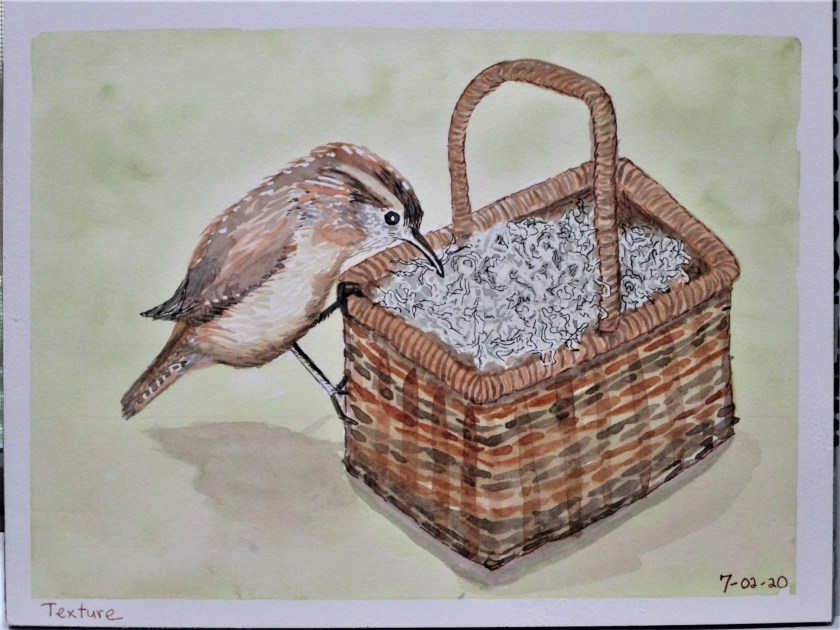
Water color sketches
Sizes range from 7 x 10 to 8 x 11
You may call with any questions or email me, at my aol address.
The last time I posted about my sunflower project, I had just finished fusing all the fabric pieces to the background and was beginning to embroider details on the flowers. There are only a few more steps to share.
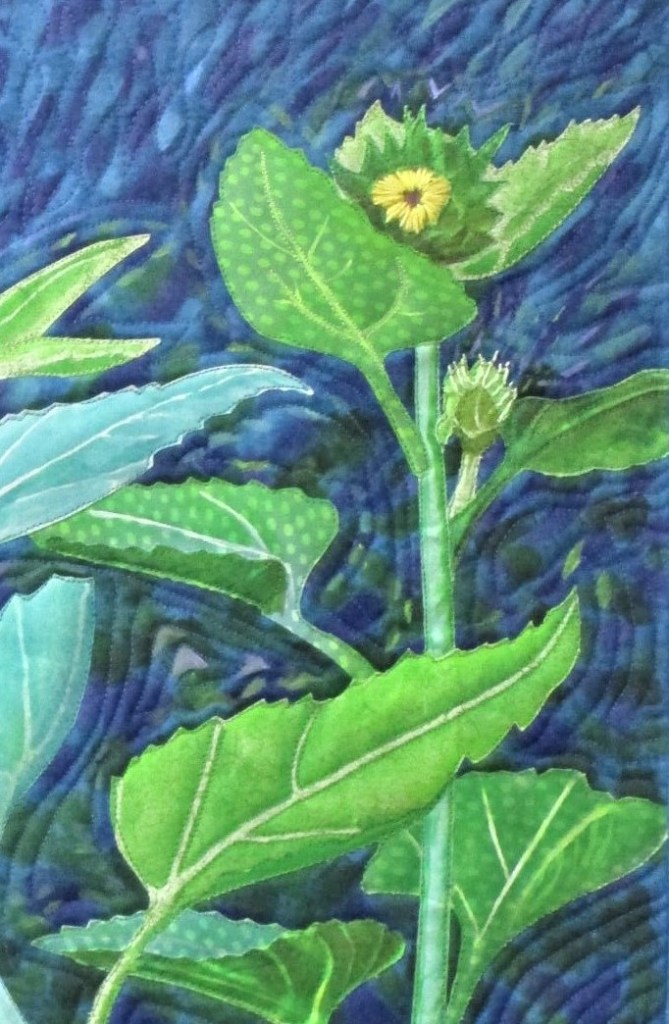
Here is a close up of the embroidery detail, which also shows the machine stitching around each applique piece.
Both of these steps took a good amount of time. I sewed around each piece using my walking foot. It is a great foot for precise work, but it only sews in a straight line. To sew down each petal and each notch in each leaf required lots of adjustments along the way.
Once the outline stitches were finished, I switched to my free motion foot to quilt the background. Now take a look at the Van Gogh painting at the top of this page. You can see, how the artist painted echo lines around the details. The pale dashes around the man’s jacket repeat the line of the jacket, and the edges of the sleeves are echoed all the way up the arm. I wanted to create the same kind of texture in my piece. So I started by sewing echo lines around the flowers and the leaves.
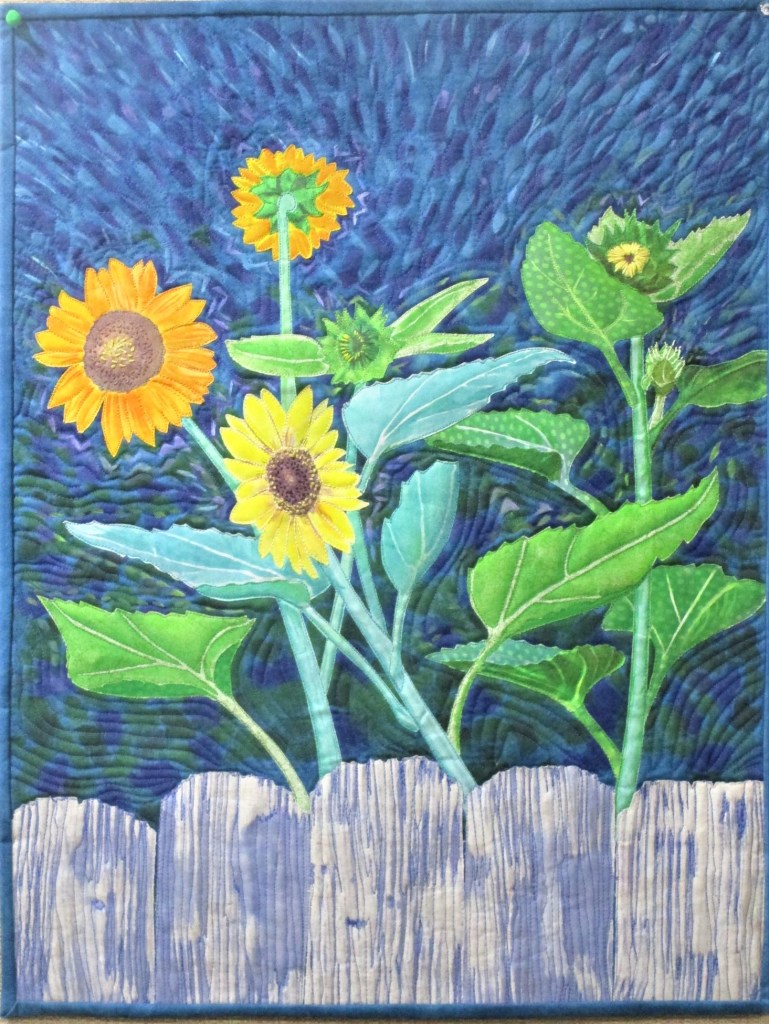
When I reached the sky, I sewed wavy lines around several of the paint dashes and dabs. After finishing the quilting, I bound the quilt on all sides with blue fabric.
For my final step, I mixed some paint. I painted echo lines, focusing on the upper half of the piece, and giving much attention to the flowers. Then I called it done.
Van Gogh-ish Sunflowers
Detail of painting around flowers and leaves.
I feel really happy. While this project took me many hours to complete, I find it very expressive. The quilting and the background paint lines represent the motion of the sunflowers as they sway in the wind. I like to think the echo lines represent the energy that exists in all living things.
Thank you, Mr. Van Gogh, for everything you taught me.