Posted in knitting

Notta Gloves

Trigger mittens, also know as trigger finger mittens, have been used by the American military since at least the Civil War. A clever combination of the warmth of mittens with the flexibility of gloves, these mittens have a separate index finger to allow soldiers to easily operate machinery in cold temperatures.

I made these mittens for my grandson, based on specifications from his mother. She had made him a pair similar to these, but he lost one. Since I don’t care for military associations, I have renamed this style the Notta Glove. The name is self-explanatory.

This basic pattern came from Victory Light on Ravelry. Her design needed adaptations to create the index finger but they were easily made. The original design can be found at https://www.ravelry.com/patterns/library/zen-little-fingers-and-toes-part-1-mittens

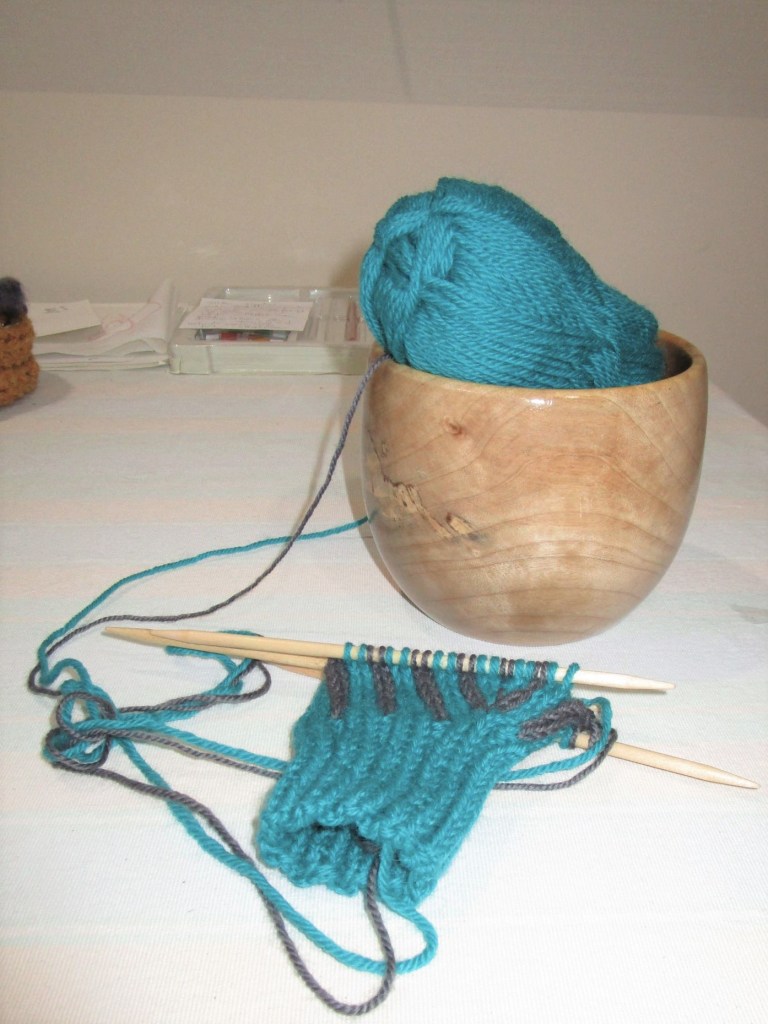
You start the normal way, with a 2×2 rib cuff in the main color. Next, with larger needles, begin the 2 x 2 stranded knitting with the 2nd color.

I inserted a thumb gusset at this point – not included in the original pattern.

Use waste yarn to set up for an Afterthought thumb – I worked it over nine stitches. Continue in pattern to the top of the palm, where you divide for the 2 finger compartments. I put the outer 2/3rds of stitches on waste yarn and worked the index finger with 1/3 of the stitches. Add 2 stitches where the front and back meet between the fingers.

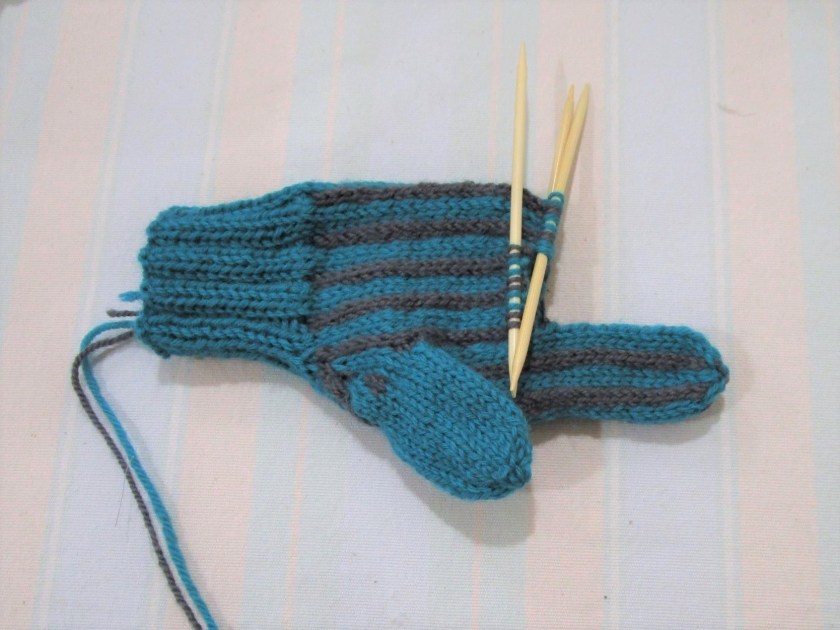
Put the held stitches back on the needles, continue in pattern until you reach the tip of the middle finger, and decrease down to nine stitches in the usual manner for mittens. Put held thumb stitches back on needles and knit the thumb last.

The hardest thing in knitting mittens is getting the second to match the first.
It’s easy to give the OK sign in Notta gloves.

These Nottas are pretty neat and quite warm. I may make a pair for myself.

Posted in knitting, painting

A Hunker-Down kind of day

The wind howled all night and by 8 am this morning, the temperatures were in the lower 30s. I’m told that this is today’s high. The temperature is still dropping and the wind continues to blow. It’s a good thing that I have plenty of fiber objects and other creative endeavors on hand. No need to change out of my comfy yoga pants.

Yesterday I began to learn watercolor painting on paper. It’s been a long-time goal of mine to study this art form. I signed up for Lindsay Weirich’s introductory course Hand-painted Holiday, which can be found at https://lindsayweirich.teachable.com/p/hand-painted-holiday

During an overly-optimistic moment several years ago I had purchased a water color set. I dug it out of a drawer and retrieved several tubes of paint. It took some muttering and a dull yarn needle to pierce some of the foil seals, but eventually I had small quantities of paint laid down onto a cheap plastic palette.

First the tags. Lindsey called these a warm-up exercise. After a few hours I had completed six or so gift tags. Here are some of my favorites:

Next came the cards. I worked the first of the series, stopping when I realized that the afternoon had flown the coop, it was 5 pm and time to cook dinner.

Taking a break from painting, I moved on to knitting. At this point, all of the holiday gifts that I wanted to make were finished and ready to be wrapped. (Mmm maybe I will attach some of those gift tags!) I suddenly remembered that daughter had requested a pair of mittens for her son. She specifically wanted stranded knitting, so the mittens would be extra warm. I found the perfect pattern on Ravelry. It will only require a few adjustments, including the insertion of a thumb gusset for better fit.

Here is my progress so far.

With the weather so brutal outside, there is a chance I can finish these mittens and another watercolor card before the sun comes up tomorrow.

Posted in knitting

Finally using the Black Yarn

A few months ago, I blogged about working with black yarn. https://dailyfiberfun.wordpress.com/2019/03/09/black-yarn/

After months of fiddling around with the luxury blend, coal colored yarn my daughter gave me, I finally settled into a shawl design. Fellow blogger Deb Gemmell has unvented an improvement to the basic triangle shawl which she calls Wedges Shawl. Her goal is to increase the length of the shawl ends without making the body section excessively long. You can read about it on her blog: https://wordpress.com/read/blogs/135503248/posts/1913

I thought I would give this concept a try. I started out normally, with a garter tab cast on. After increasing four stitches every other row for awhile, I began to insert wedge-shaped sections. These are created with short rows. To make a nice contrast with the black yarn, I chose a beige singles yarn and used the classic eyelet pattern of k2tog, yo. I also tossed in a couple sections of garter lace pattern with the black yarn.

After I worked up about 290 stitches, I switched back to the black yarn for one more eyelet row and bound off. Here is a blocked shawl.

I couldn’t quite fit the whole shawl into one photograph.
So I folded it up and took another picture.

It came out rather well. With such neutral colors, it should be a versatile addition to my winter wardrobe. Thank you, Deb, for your improvement!

Her patterns can be found on Ravelry: https://www.ravelry.com/patterns/library/wedges-shawl

Posted in knitting

A Knitter’s Reward

Fern Sweater on the Beach

If you are a knitter, you may have been asked if you sell your knitting. Or maybe a friend offered to pay you to knit her a sweater. This happens to me from time to time, and I’m never truly satisfied with the answer I give – which is always no.

First of all, there is the pain of telling someone no. Then there is the disappointment on the friend’s face. Then, in a effort to soften the “no,” my somewhat lengthy and awkward explanation: the high price of quality yarn, the large amount of time required to knit a sweater, the difficulty in setting a price. But the truth of the matter is this: the market value of a sweater is always much less than the value of time and materials that the knitter spends on creating it. Simple fact.

Truly I am in the knit-for-love camp. The photograph above is an example of my pay-off. When the image arrived from my son-in-law this morning, I felt my heart melt and tears begin to accumulate in my eyes. This is the ultimate reward.

Knitters, are you like this? You offer to knit a garment for a loved one. You take careful measurements. You ask her about favorite colors and what she likes to wear. Then, as you work your stitches, you think about the recipient. You wonder if the neckline will lay flat and if the sleeves will hit her wrist at the exact spot you had planned it to. You think about the moment your gift arrives. You imagine her wearing it. This piece of knitting has now become imprinted with all your intentions, your hope for your friend’s future and love you feel for her.

No amount of money can buy this feeling. And I never expected that it could.

Posted in knitting

Finished Object – Passages cardigan

Despite the long gestation period, this cardigan came out pretty well. I went with silver buttons to add a little bling to this teal blue sweater.

And now if you will indulge me, I would like to share some tips on how to make a sweater that fits. These nuggets of learning were revealed to me the hard way – through many years of experience and the making of several ill-fitted sweaters.

1. Start with the right measurements. For a sweater, these include hip, bust, cross-back, neck to wrist, armhole depth, upper arm width, and length (shoulder to garment hem.) TIP: If you own a coat or sweater that fits you well, you can take these measurements from it. If you don’t, get a friend to measure you.

2. Consider ease. Different body areas require different amounts of ease. Also different styles and yarn weights require more or less ease – thick yarns should have more ease, thin yarns can have no ease, or even negative ease. You may want a lot of room in your hip area, but a close fit at your bust – or vice versa! For an average fit, allow 2 inches at bust and hips and at least 1 inch at upper arm. Then use the schematic of your pattern to choose the right width to match your measurements and desired ease. TIP: Never add ease to the cross-back measurement. This is the distance across your back at the top of your armpits. If your sweater is too loose here it will slide off your shoulders.

Photo shows the cross-back area.

3. Make a swatch. Or two or three. While EZ says to swatch in stockinette stitch, I like to swatch in the same stitch that I will be using for the garment. Always wet-block your swatch. I know, this seems like an extra step. But it’s important because certain yarns (superwash) and quite a few stitch patterns open up a lot with blocking. If you take your gauge from an unblocked swatch, your sweater will invariably end up too long and too wide.

4. If you are curvy, incorporate waist shaping. Adding a decrease section and then an increase section between hips and ribs eliminates bulkiness while making room for your breasts. You can also use short rows under the bust area to add more fabric where it is needed in the sweater front.

5. Block the finished pieces before assembling. It makes the sewing up much easier. For this sweater, I wet-blocked the body and sleeves. I then sewed the shoulder seams with back-stitch and the sleeve seams with mattress stitch. Next I knit on the button band. To set in the sleeves use yarn and back-stitch up from the underarm to the shoulder seam. Tie off yarn and sew up the other side.

I hope that you have found something of value in my long discourse. For those who are wondering, the pattern is called Passages from Knit-Picks.com and the yarn is Camino Alpaca Premium 6-ply from Bremont. It is a wool, alpaca and nylon blend.