Posted in knitting

That was Close

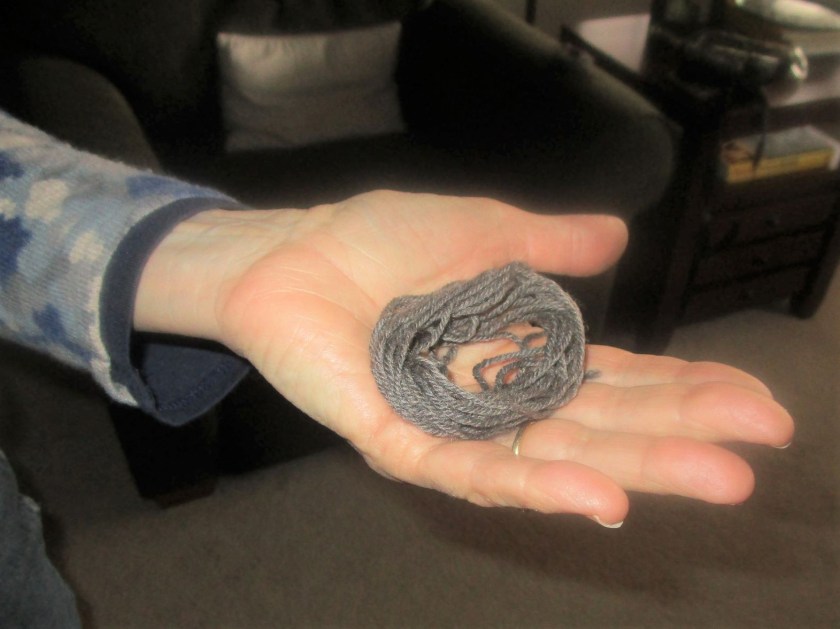
Knitters: What is the big cliff-hanger that every knitter faces? No, not the one about whether it will fit, or if you will finish on time. I’m talking the night-mare proportion, no-turning back, hold-your-breath issue. (Clue: I had 4 yards to spare.)

My latest stash-busting knitting project is the Peace and Love Gloves, from the colorStyle book by Pam Allen and Ann Budd published by Interweave. That book is 10-years old, so I don’t know if you can still buy it. The pattern is by Veronik Avery who has many patterns on Ravelry. Here’s the link.

https://www.ravelry.com/patterns/library/peace-and-love-gloves

This is my second go-round to knit these gloves. I lost the first pair in Milwaukee last spring. But lucky me – I had another ball of the grey Knit-picks Stroll and almost two balls of the 100% alpaca white finger weight yarn.

Fresh off my needles.

The pattern claimed that I would need two balls of the main color, but ha, I didn’t believe it. After all, I had already knit this pattern, using only one ball with a little bit left over. Well friends, that bit made all the difference today. It was used to knit the two thumbs.

Here’s one thumb. Trust me, the left hand thumb is complete and hiding from the photographer.

Okay. I am now ready for winter weather. Dish it up, Mother Nature.

Posted in colorwork, hand embroidery, knitting, sewing

108 Contemporary Gallery

During a shopping excursion to Tulsa, we stopped by the 108 Contemporary Gallery to catch a new show – State of Craft. Works in various media, including fiber, were on display. I thought it would be good to check it out.

There were some large works such as this one by Whitney Fortsyth.

All Things New – Ceramic with oil patina

Interesting wood items like this one by Rusty Johnson.

If you could see the Wind, driftwood and colored pencil

And then there were fiber objects, mostly smaller but exquisite.

Let it Flow, Sheryl Landis, dyed silk, embroidery, paint and beads.

A large work with a fish-eye mirror in the center. White linen with beads.

I particularly like these bags by Rhonda Steiner, hand dyed, painted, and screen printed.

And finally, there were some yarn objects, felted, crocheted and knitted.

Here is a link to the gallery, in case you would like to see more. https://108contemporary.org/event/state-of-craft-2019/

Posted in knitting

Toe-Up Socks

You knitters who have made many a toe-up sock are encouraged to skip this little blog. But those who are new to knitting socks may find the following somewhat interesting. It’s time. After ten years of knitting I am finally making a pair of socks knitted from the toe up.

My inability to learn toe-up sock knitting is 100% the fault of Judy’s Magic Cast On.

Judy, I am sure that you are a fabulous knitter and a wonderful person. But I just couldn’t get my head or my hands around this technique. All the talk of top and bottom needles, wrap the tail end of the yarn around the top and the ball end around the bottom, (being careful not to let go of your needles or wrap the yarn too tight or too loose) it was just awkward and more than a little confusing. So sorry about that. My fault entirely, I am sure. But I ask, why not start with a crochet chain?

Starting with a slip knot and using a hook close in size to your sock needles, chain the number of cast on stitches specified in your pattern plus one. In my example I chained nine stitches. If you study the image above, you will see a top set of loops and a bottom set of loops. Now replace the crochet hook with your first needle. Pick up the loop next to your needle and knit it, then pick up and knit all of the others loops along the upper edge. Rotate your work clockwise until the bottom loops are now on top and to the left of your working yarn. Using another needle, pick up and knit all of the bottom loops (Ignore the slip knot. It will be hidden inside the toe.) When you get to the end of the round your work will look like this.

Divide the stitches over four needles so that there are an equal number of stitches on each needle. Continue with your pattern.

After knitting the next round on four needles.

I know some of you are already pointing out that the toe seam created by this method seems to have purl bumps. I say have courage and knit on. Your seam will not look perfect, but it will smooth out somewhat.

After knitting all the increase rows.

And, by the way, the toe seam will be hidden inside the shoe during wearing, so no one will see. And I promise not to tell.

Posted in knitting

Dropped and Found

Dropped and found

My friend Kathy tossed this knitting pattern at me a few weeks ago with a plea.  She really liked it, but was intimidated by the instructions to drop several stitches and then pick them up again.  I couldn’t understand what she was afraid of.  So I agreed to test knit this pattern.

Here is it, as designed by Jesse at Home.

Dropped and Found Wrap

Frankly, this is one of the easiest patterns I have ever knit.  It is a basic garter stitch rectangle.  The dropping and picking up takes place at the final two rows. I chose to use a bulky 2-ply yarn from Universal Yarn called Marled. I theorized that the frequent color changes would keep me from getting bored while knitting plain garter for several hours. Fortunately, I had a long, easy car trip during which most of the work took place.

120519a
My test wrap is roughly 15 in. wide by 50 in. long before blocking.

Here’s how the braided sections are completed.  On the second to last row, drop three stitches roughly every 12 stitches.  Knit one more row, leaving the needle in place.  Now gently pull the dropped stitches apart all the way down to the bottom row.  Starting with the bottom four floats, use fingers or a crochet hook to braid the floats in groups of four back up to the top.  Put the top loop of each braid back on the needle and bind off.  Voila!

120519b
I made mine narrower than the pattern called for, hence only three braids.

I can imagine several other uses for this decorative technique.  It would make an interesting treatment up a sleeve, or flanking the button band or center back of a cardigan. How else can you imaging using the dropped and found design element?

Posted in drawing, knitting, painting

Life in the Studio

As much as I enjoyed our little trip to visit family, it’s nice to be back into my routine. Just as an aside, the faux suede baby booties, while slightly too big, were well accepted by little L. In the meantime, she had also acquired two other items of footwear – a pair of sneakers and a pair of snow boots. She did a brief baby runway show, modeling all of the above. It was so funny to watch her toddle around the house awkwardly, although looking quite pleased with herself and her ability to work the crowd.

Back at home, I have picked up where I left off on various fiber projects.

First of all, I’m knitting a birthday surprise for my daughter. (A big clue to the surprise is found in the sketch above.)

Secondly, I’ve resumed efforts toward making the Arches quilt. It’s amazing how just writing down the next steps motivated me to work. I have finished drawing the full-size patterns for each block. And by completing this step, I have been able to determine exactly how may squares of each color will be required. Over the past two days I have been painting the background fabric. I chose to paint the background squares on a gray fabric, in order to keep the background looking like the night sky.

Next up will be the fabric for the quilt subject.