Posted in knitting

Finished Object: Child Cardigan

My week-end has been crazy busy, so this post of a finish is coming out today. I bound off the second pocket on the Lavanda little girl sweater on Friday.

https://www.ravelry.com/patterns/library/lavanda

One of the things I like most about this pattern is that when you finish knitting, there’s no sewing up to do – only weaving in ends and sewing on buttons.

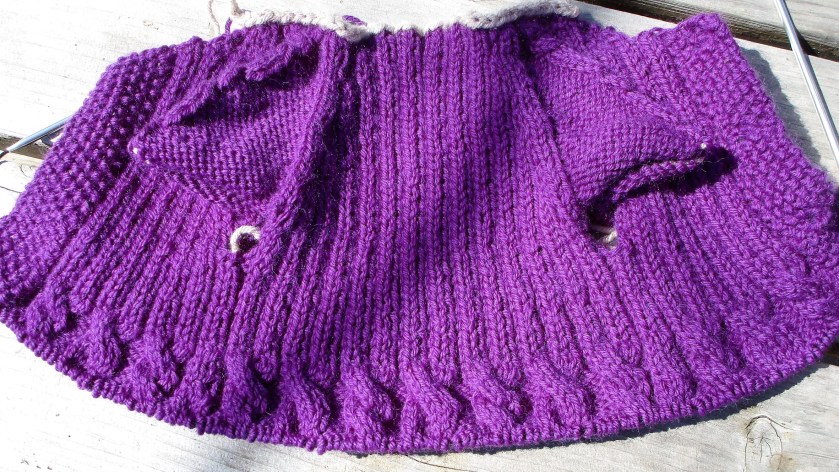
Here’s how it looks before washing and blocking.

Despite the fact that I had found my gauge before starting to knit, the finished sweater looks very narrow. Will it in fact block out several inches wider?

Well yes, Yes it did.

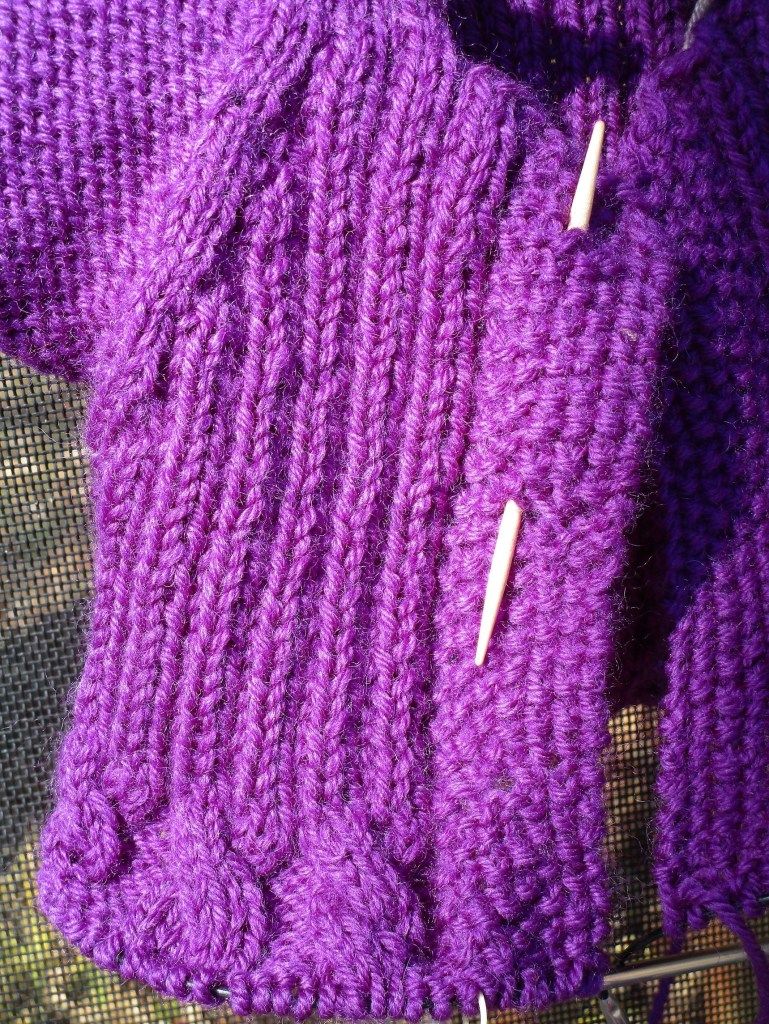
A fun feature of the after-thought pockets is the one-inch seed stitch border. It is made by knitting up from held stitches before knitting the interior of the pocket.

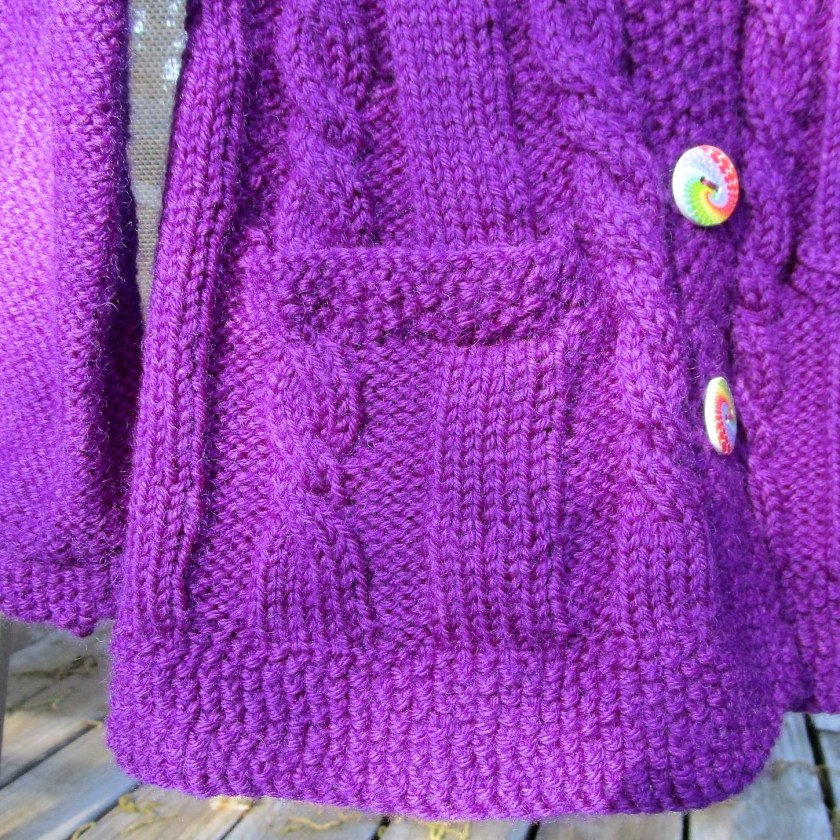
This gives a finished look and little extra depth to the pocket. Those rainbow-swirl wood buttons came from an Etsy vendor in the British Isle. They were surprisingly affordable. She must have been reducing her inventory.

https://www.etsy.com/shop/Craftingforjoy?ref=simple-shop-header-name&listing_id=1036971016

BACK VIEW OF LAVANDA SWEATER

Sadly, I did not have enough yarn to knit the attached hood. The sweet seed-stitch collar is a minor consolation. To complete the outfit, I’ll work my purple yarn left-overs into a warm, wooly hat – one with ear flaps.

I can hardly wait for the moment I will give this to Lu. (sigh) I’m afraid that it’s going to be a long summer for me.

Posted in knitting

Cast-on Monday: I-Cord Fun

Last week I was recruited to teach a class at my local art association. I said yes, but I was at a loss on what to present. The introductory knitting classes which I taught last year were very lightly attended. I had to do some recruiting just to get a minimum number of students.

Thinking about possible roadblocks to knitting, I came face to face with certain inalienable facts about the craft:

  1. The learning curve is steep.
  2. Projects take a long time to finish.

What if I narrowed the number of skills required to a minimum, and what if I used these few techniques to make quick-to-complete projects? ……………..

The answer is I-Cord! This little add-on is used for strings for tying knitted hats and other decorative frou-frou. All it takes is a few yards, a cast-on, and repeated knit stitches over a very short row.

So today I am researching and stitching up all kinds of I-cord accessories. These projects will include jewelry so I will need a selection of beads.

The two strings in the left of the photo were purchased today. All the others I had acquired in the past 3 or 4 four years.

I also perused my stash for left-over fingering weight yarn. (No shortage here.)

To kick things off I worked up this 18-necklace using tonally dyed merino wool and some porcelain beads.

https://www.ravelry.com/patterns/library/simple-beaded-i-cord

My version is made with just one strand because I had only 24 beads. I love how each bead dangles below the cord. I am wearing it over a shirt, but this necklace would also be soft against bare skin.

A bracelet is next.

http://lovingtopurl.blogspot.com/2017/02/3-colors-knitted-i-cord-bracelet.html

I sewed one end of the three strands together, braided them and then sewed the other end. The crimping finial is designed for holding ribbons so that they don’t fray.

For my third item, I switched to worsted weight yarn and move up to a size 5 needle. I was so happy to use up the left-overs of this lovely variegated Malibrigo merino.

This necklace doesn’t use a pattern. It will be made to my own specifications.

And here are my three I cord samples as of dinner time.

This should be enough material to work up a class proposal. I will also try making a headband and a multi-strand necklace.

Posted in knitting

Friday Finish – Chevron Scarf

A day late and a dollar short, here is my finish for yesterday. I made this for a friend’s birthday which, sadly, came and went before I had finished knitting.

The chevron stitch pattern is one I had been wanting to try for a while. This version is created using a slipped-stitch, not a stranded technique – which contributed to the lateness of my completion. Because slip-stitch, also known as mosaic technique, tends to pull the rows up tight against each other, it took 48 rows to create 4 inches of scarf.

The yarn came from Hobby-Lobby, from its new line of hand-dyed fingering weight yarns. Fiber is 100% superwash merino wool.

Bill has kindly consented to serving as my model today.

If you would like to give this stitch a try, I have attached a pdf of the twelve-row pattern that I used.

It was fairly easy to memorize, with only three right-side rows that varied. In this technique all back-side rows are the same: purl the knits and slip the slips. The pattern also features an I-cord edging.

I’m pleased with the result, but mostly relieved that I finished.

Posted in knitting

Finished Object Friday: Cozzy Cusco Kimono

My goal was to make a loose and decorative wrap and this project is just that. It is a mash-up of two patterns. I used the slip stitch chart from Cozzy Shawl…..

https://www.ravelry.com/patterns/library/cozzy-shawl

……….and the shaping instructions from Cusco, by Cheryl Oberle

https://www.ravelry.com/patterns/library/cusco

The result is a garment unlike either of them. I threw in a few random stripe sections and eyelet rows. I also cast on way more stitches than the Cusco pattern called for to create more length.

An unplanned bonus was doing the photo shoot in the snow.

I’m really happy with both yarns I chose. The periwinkle is Rowan Felted Tweed. (and did you know that periwinkle is a Pantone color of the year for 2022?!) The variegated yarn is a discontinued one – I can’t even remember its name. But if you make this with the Rowan yarn, choose any variegated yarn that is a sport weight or dense fingering weight to match the gauge.

While I enjoyed standing in the snow (briefly) I fervently hope that today’s is the last snowfall of the 2021-22 winter – even though the end of winter means putting away all my lovely woolens until next fall.

Posted in knitting

Wednesday WIP: Child Sweater

It’s time to update you on my progress with the Lavanda sweater.

https://wordpress.com/post/dailyfiberfun.wordpress.com/4827

The cool thing about top-down construction is that you can see very clearly how the sweater will look when finished. If your model is near at hand, you can even try it on the little darling.

Since my model is not, I will have to use my imagination.

The sleeve cap stitches are on waste yarn. I have reached the bottom of the yoke section and started the cables at the top of the skirt.

Buttonholes are knitted into the band simultaneously. So far, I have three buttonholes created at a spacing of 16 rows.

I keep going with skirt and button bands until the piece measures 7 inches from the arm hole opening. Then I come to a screeching halt while I knit in waste yarn for two after-thought pockets.

It’s all going swiftly, the same way Spring marches in following Winter. (Oh! That simile works for most year, just not this one.)