Today I am joining As Kat Knits for * Unraveled Wednesday, making something from materials on hand.
I have a souvenir T-shirt that I love, but the neckline has stretched out and sagged something terrible. I no longer enjoy wearing it.
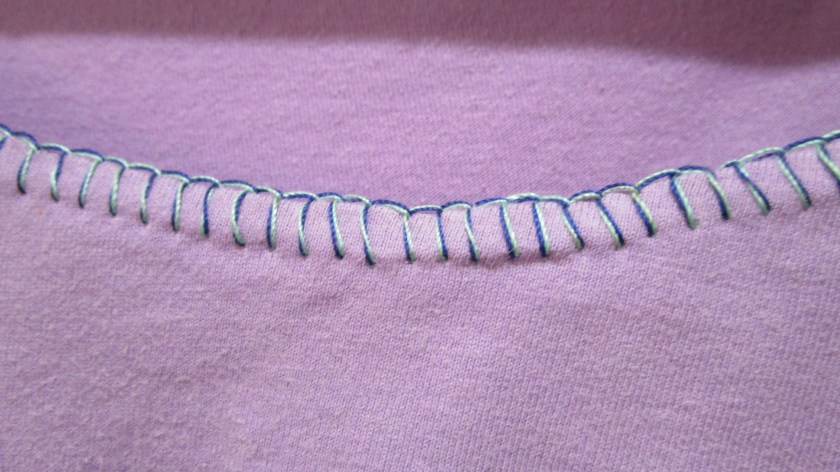
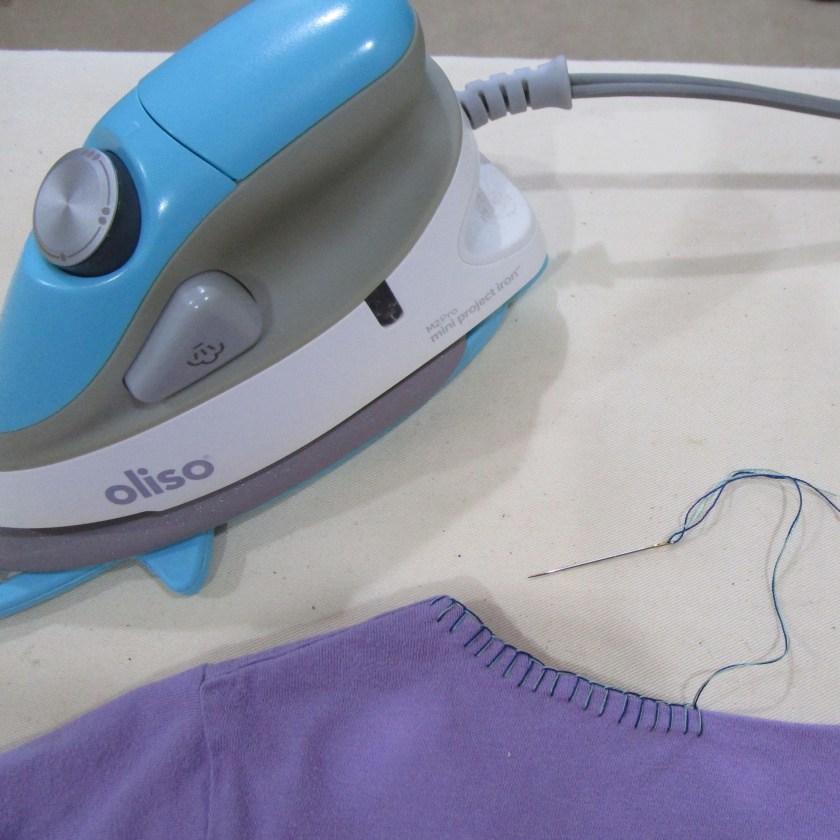
So I got the scissors and cut off the neck binding. After pressing the edge under and fusing it down, I considered how I might embellish the now-scooped neckline. Blanket stitch seemed the obvious choice.
While stitching away, memories flooded back to me of the moment when I learned to sew this stitch. I had just joined the Girl Scouts. Our very first activity was to make a sit-upon out of oilcloth stuffed with newspapers. This object was to be used outdoors when we needed a dry place to rest. To sew the edges of our sit-upons closed, we used blanket stitch.
Sorry, friends, I do not have a photograph of the original item. For obvious reasons, that product didn’t last very long. But the happy memory of the scout meeting when I made it lives on in my brain. I was with my friends, starting on a new adventure – who knew where we would go during scouting. Our future was bright and we were eager.
These days, I still have a soft spot for good old blanket stitch. Today, I held together dark blue and pale green 12 weight threads to give a my shirt some pop.
And here is my revived T-shirt, all tricked out with a sexy neckline.
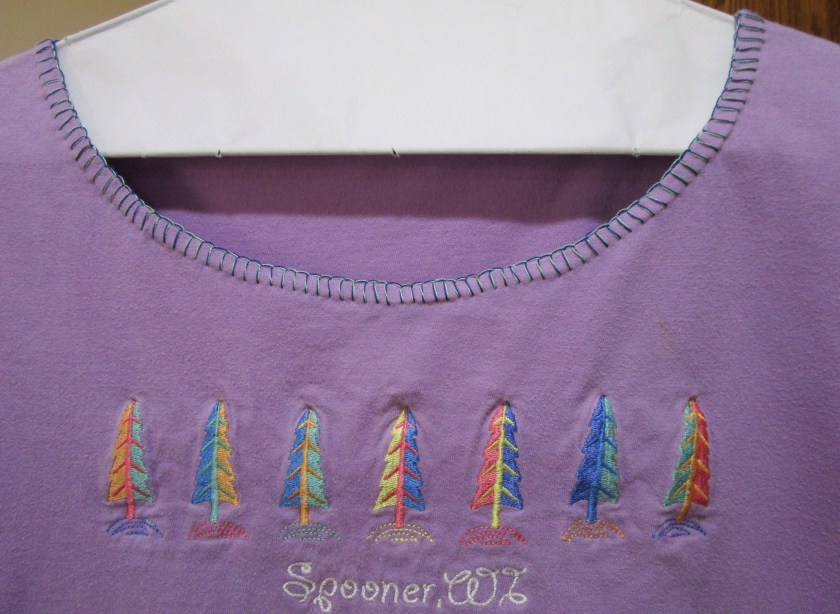
I’m ready for my next adventure.
- oops, my bad, I didn’t realize that Unraveled Wednesday was for knitting projects. I promise to follow the rules in my next post.