Posted in colorwork

Vigil Scene

While I am not an overly religious person, there was a moment in last Saturday’s vigil service that I have been pondering. During the Ceremony of the Light, the Easter candle is carried down the aisle. Each person in the congregation receives light from the candle by passing the light from one to another. The view from the choir loft is stunning. I couldn’t see the people, but I did watch in awe as the reflection of the growing number of burning candles lit the marble walls of the church. This scene has remained with me all week. I want to recreate it using fabric paint and candle wax.

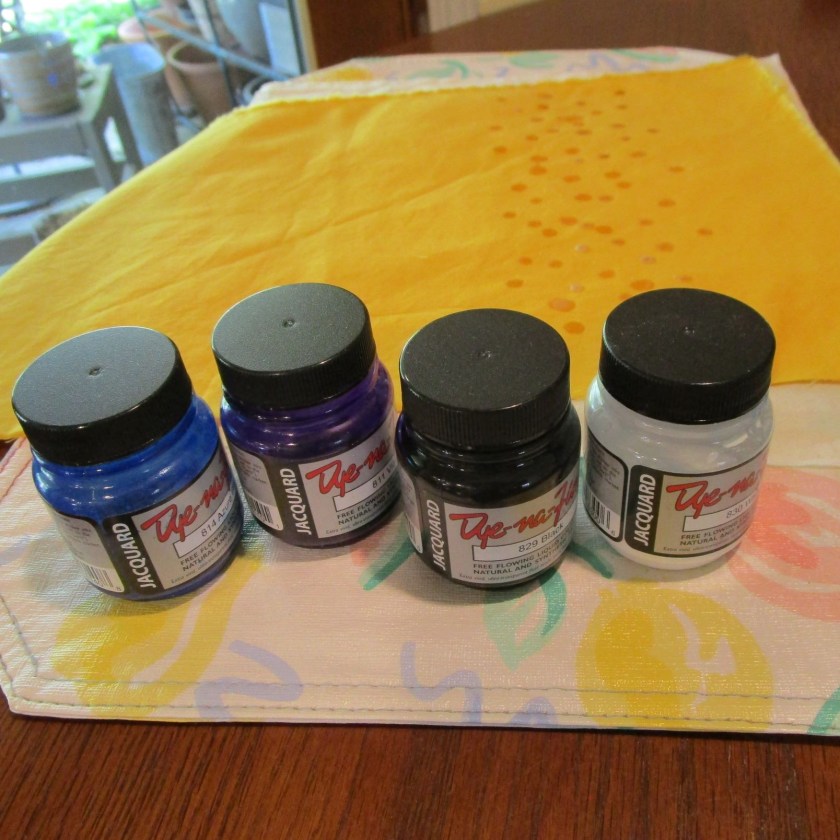
I am using two colors of fabric for my experiment – natural muslin and gold quilting cotton. My plan is to drip dots of melted wax from the lit candle to approximate the reflections that I saw. Then I will color wash the backgrounds in a dark palette.
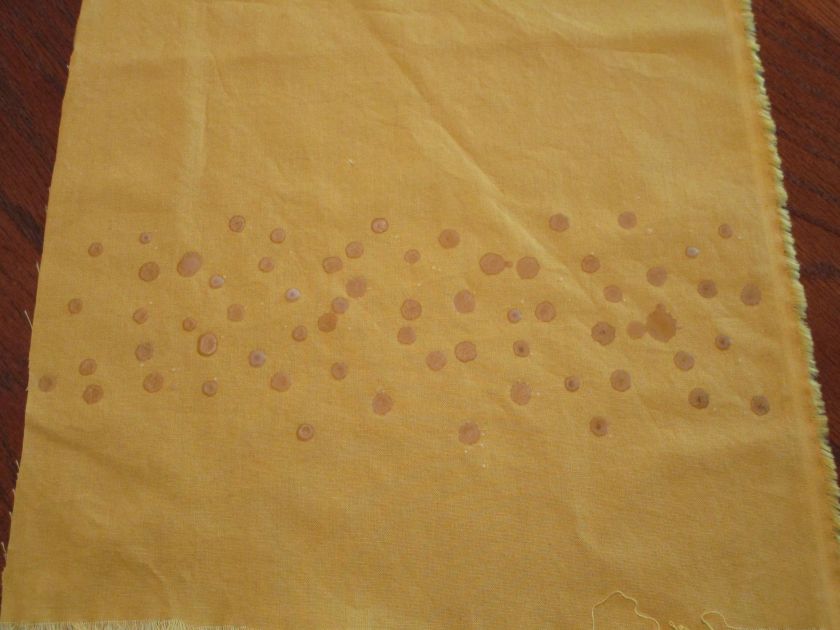
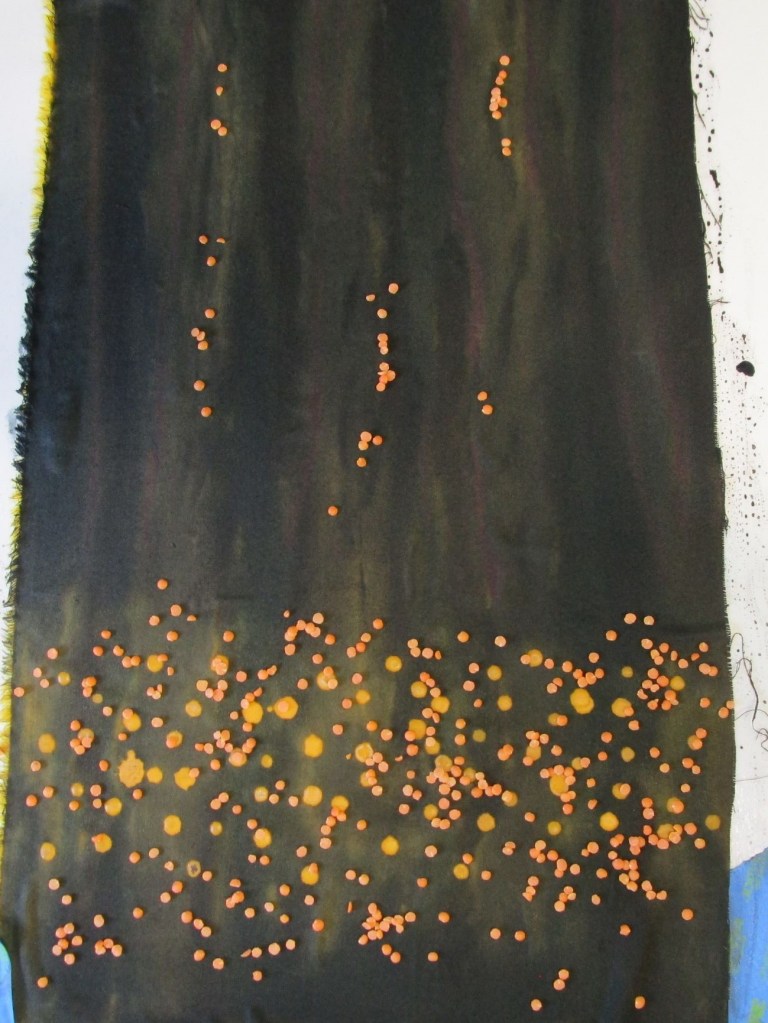
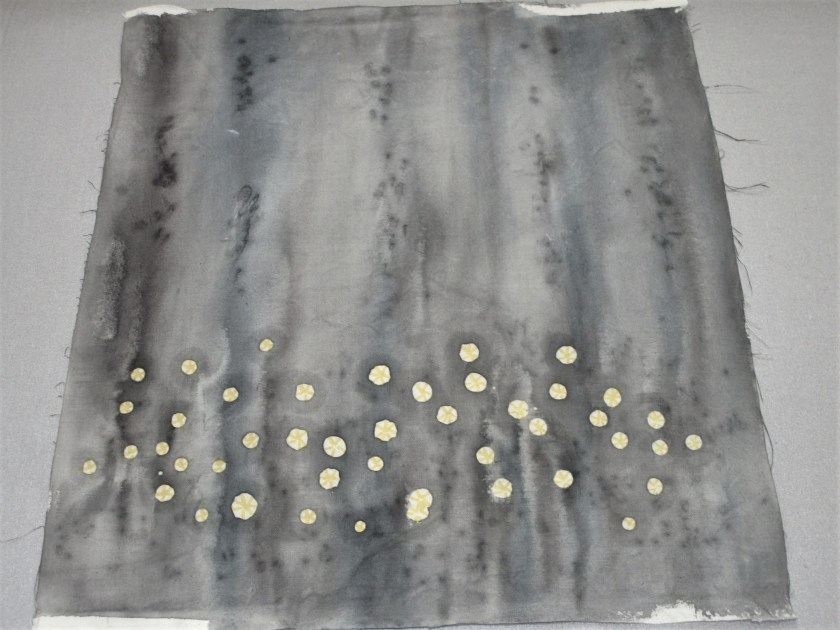
Here are the two swatches after the paint has been applied. I am using lentils to portray the veining in the marble.

The muslin dried quickly. I have used an iron to remove the wax, and applied a little paint to render the warm glow of candles. The background colors look very like the color of the marble walls in the darkened church.

Removing the wax created little halos around the dots.

The gold fabric was much slower to dry, probably because I used a lot more paint. This result is not quite as accurate as the scene I remember, but it is more dramatic.

In a future post, I will show the final versions of the two vigil scenes. I plan to paint in some details and perhaps enhance the textures with embroidery.

Posted in colorwork, crochet, knitting

Colorblock with a twist

Easter and garden events in the past two days have kept me away from my Daily Fiber blog, but my fiber stash has not been idle. I have checked out a few tutorials on some techniques that I have been wanting to try. The first is Tunisian crochet. If you haven’t heard of Tunisian, it is a sort of cross between knitting and crocheting. The hook looks like a crochet hook but with a straight smooth handle, on which the loops are collected up during the forward pass. On the return pass, you crochet them back off the hook. Since each stitch is worked twice, it makes a nice, thick fabric.

Tunisian Simple Stitch.

To be honest, this technique did not capture my imagination. The swatch is just, well, meh. Perhaps it could be used to make a warm pair of slippers. Moving on – the tutorial I watched yesterday is about various colorwork knitting techniques, including fancy stripes, duplicate stitch, inlay stitch (called Roositud in Estonia) and two-color cables. This last technique is the one I am swatching right now.

I’m using the two-color cable technique as a join between two different colors of yarn. In other words, I made a swatch that was two colors, side by side, joined in intarsia technique. I started by casting on fifteen stitches of grey and the same of yellow. Here is the wrong side of the swatch, just as I begin the first cable.

This is a six-stitch cable, bordered by two purls stitches on each side.

Here is my progress for the first two cables:

At this point, I was totally getting the technique and decided to make it a little more interesting. I decided to “travel” the cable from its central position. I did this by knitting two grey stitches together and making one yellow stitch. I repeated this two more times. Here is a view of the swatch back, showing how the two yarns are locked together. To do this, you bring the working yarn of the second color up from underneath the first color working yarn.

And here is my two-color cable swatch after wet blocking.

This was an easy knit. I can think of fun applications for two-color cables, such as children’s sweaters and team color scarves. Can you spot the slight lean in my cable? It’s going to the right, so I guess that makes this a conservative stitch.

Happy knitting!

Posted in colorwork, knitting

Project Unearthed

Yesterday, as I was tidying up my studio, I came across a project bag. In it were four small balls of sock yarn and this inspiration photograph:


Technically, this project is half finished. I knit my first pair of gloves last winter, using an eight stitch square stranded knitting pattern that I had designed. They turned out great and I wore them frequently during the cold months that followed.

Grey is merino wool and nylon, white is alpaca

But I had intended to make patterned mitts to wear over the gloves, as a fashion statement and to give some extra warmth when needed. Today I will start this project. I don’t want to copy the inspiration photo slavishly, rather, I’d like to make something unique.  It will be a bit tricky, because 1: The design must be about 8 inches around because that is the diameter of my hand, 2. The mitts are knit in the round, and 3. I don’t know the gauge yet. I will need to determine the gauge before I finalize the design. Here is the chart that I drew:

This design suggests palm trees to me. Notice that the pattern stitch repeat and the pattern row repeat are both multiples of eight. My plan is to cast on 64 stitches, assuming that I will get a gauge of 8 stitches per inch. At least that is what I usually get with sock yarn and stranded knitting. So here is my 64 stitch swatch fresh off the needles:

Hm, it seems a little bit big.

It knit up pretty well. I kinda like the design. Here is the swatch blocked:

If you have sharp eyes, you will notice that the blocked piece is 4 and 1/2 inches across, making it 9 inches around. Too big! While I could try to get gauge with smaller needles, I’m not sold on this design for the mitts. The scale is too large.
I’ll go back to the drawing board and try again. Thankfully, the cold weather is over for the next eight months.

Posted in colorwork

Heliographing

I have been waiting for the right weather to try my hand at heliography. In this technique, a color wash is applied to the damp fabric, and then various objects are laid on the surface and the piece left to dry in the sun. The weather must be just right – clear sky, not too cold and no wind. Today’s weather met the mark, so out I went into the garden to paint. I learned this technique from Cindy Walters, who presented this technique in a class on craftsy.com, aka Bluprint.com. https://www.mybluprint.com/ It works because the fabric under the object will dry more slowly than the fabric exposed to the sun. With Jacquard Dye-na-flow paint, the faster it dries, the darker the color. Here are the results of today’s experiments:

A nice assortment of leaves, violas, and a few twigs

First I determined my arrangement. Once the paint is laid on, you must work fast.

Objects on dry fabric. I am using a square of white cotton bedsheet.

Here is the arrangement laid on after painting:

And here is the finished fabric after drying:

My next experiment used pebbles, marbles and rice.

And lastly, I used a bunch of fallen pecan twig, with flowers attached.

This was a lot of fun, and only took me about an hour. To make the color fast, I’ll wait a few days, hand wash in cold water, and then machine dry at high heat. The fabric will then be ready for whatever technique I want to try next.

Posted in colorwork, sewing

Prayer Flag #4 – Water

Today we consider the fourth in the series of Tibetan Prayer Flags. It is green, and represents water. Because I am so happy when around or in water, I feel especially drawn to this element. There are so many blessings related to this substance. In the form of rain, it is yearned for when scarce and cursed when excessive. Rivers, lakes and shores are places of rest, relaxation and sport. Today’s message is about the water that is within us. We are told that in the human body, water content ranges from 50% to 75%. I am grateful for access to clean water, so that I can replenish my cells. This flag is pieced together, with color-wash muslin and fabrics that I colorwashed and salted. The letters are written with pen and stenciled.