Posted in colorwork, painting

DIY Fabric Color – Pattern

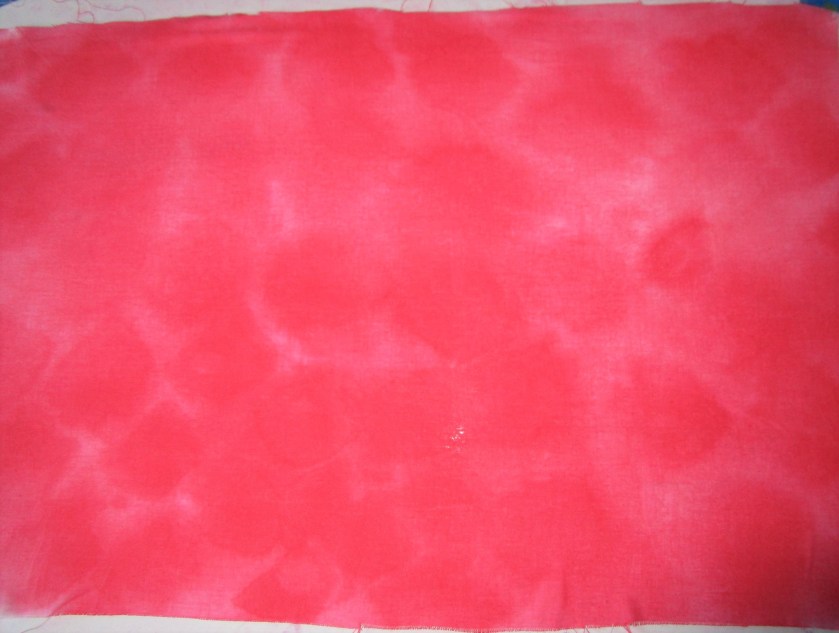
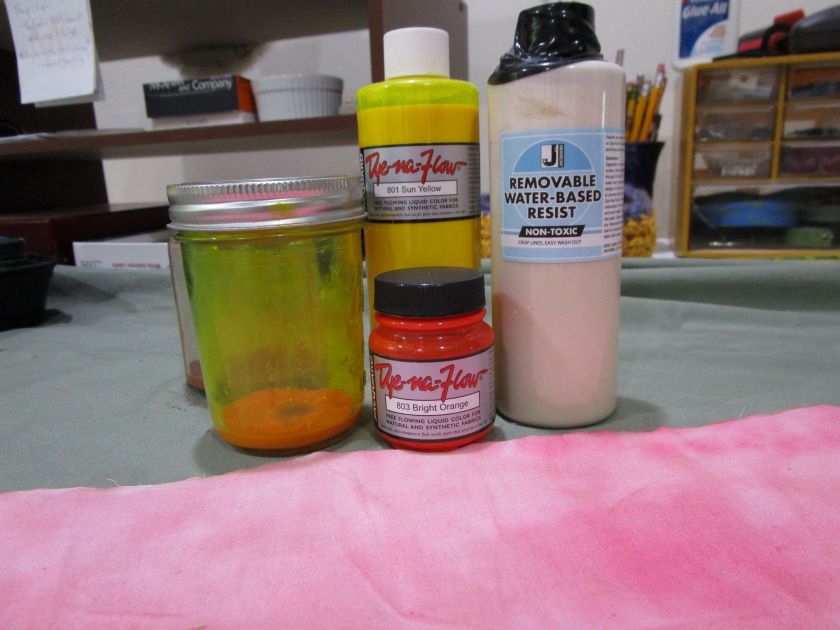
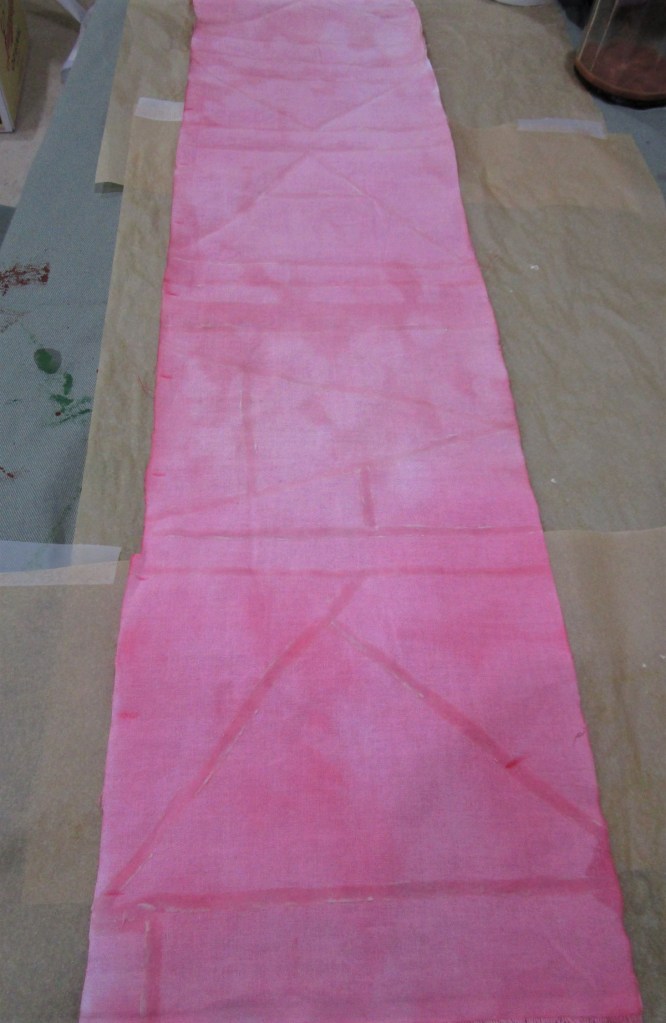
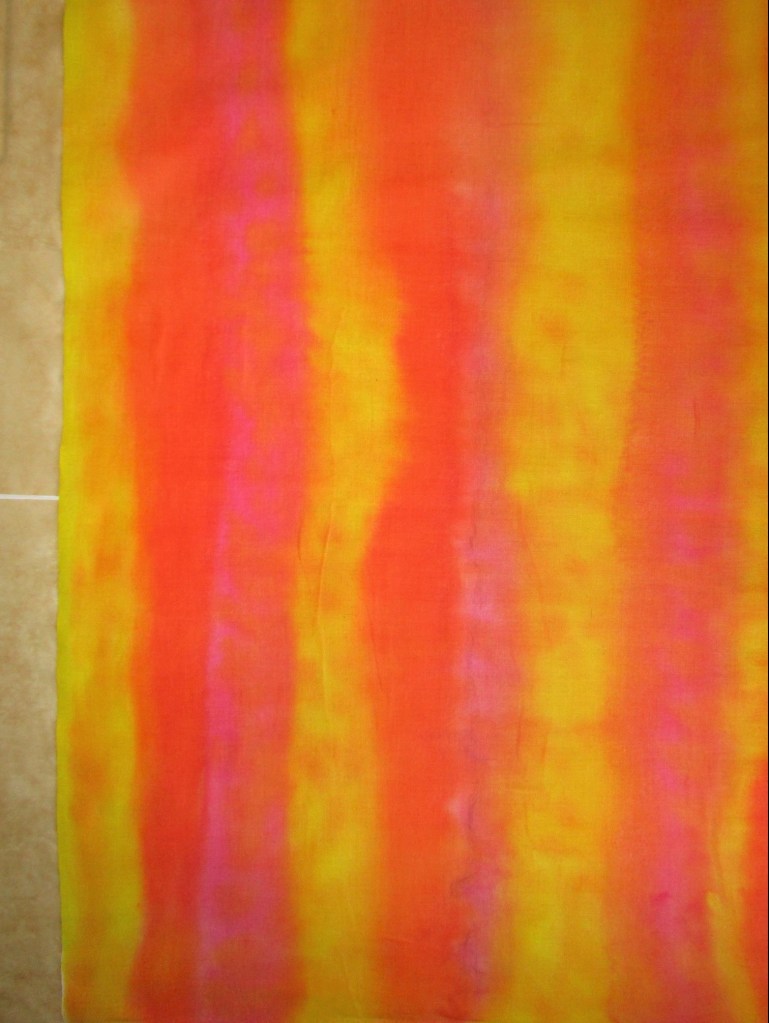
Today I will be enhancing the fabrics I color washed yesterday with more color. I’m excited to try water-based resist, a product new to me. I will be using it on the pale pink strip of fabric, also pictured, above.

The product came with a little applicator. I quickly discovered that it was impossible to get the gloppy resist paste into the tiny opening on the applicator. So I moved on to using a narrow paintbrush. But first, I wanted to try some crayons, just to see if the crayon marks would resist the paint. Here is my swatch all crayoned and resisted, before I flowed in the paint.

I mixed yellow, orange and ecru Dye-Na-Flow paint to get a bright gold color.

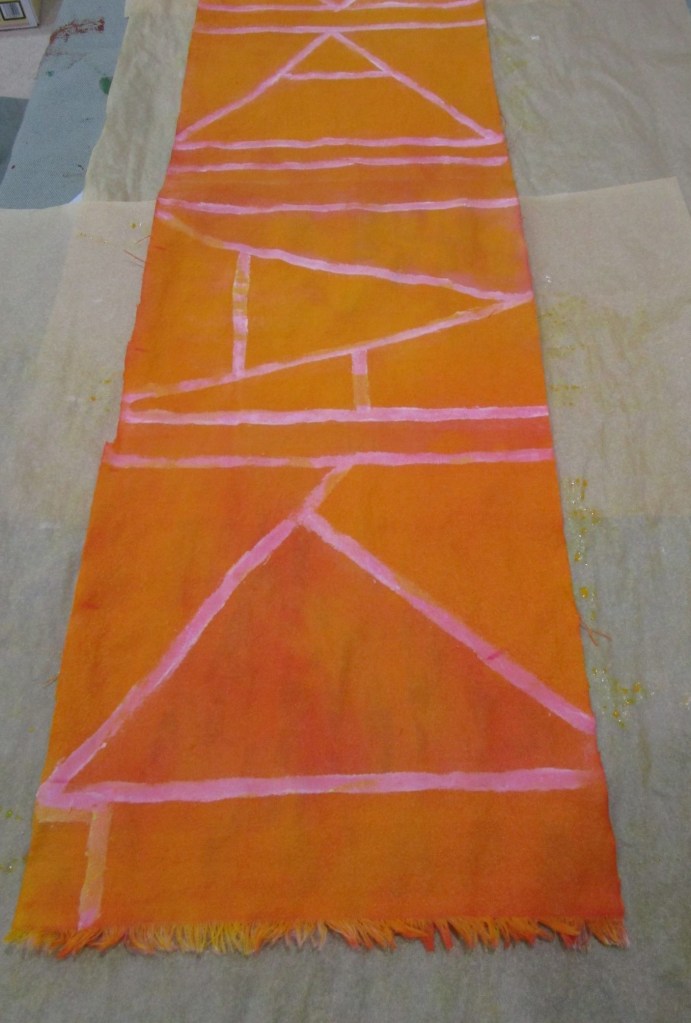
Tomorrow we will see whether the resist worked. Next I moved on to the striped piece of fabric. I wanted to print it with the following item:

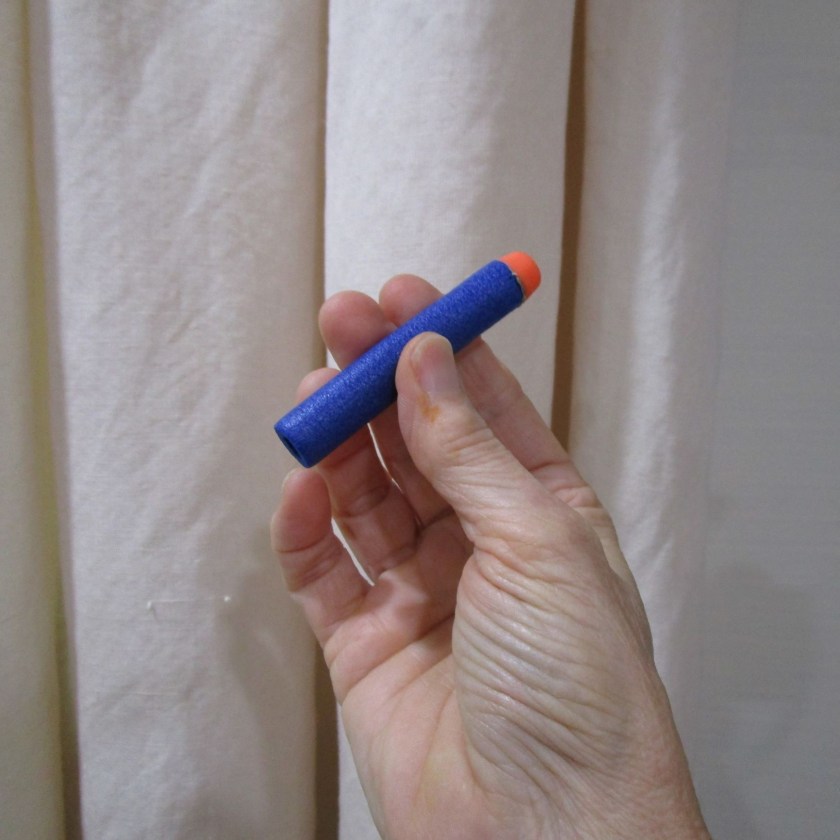
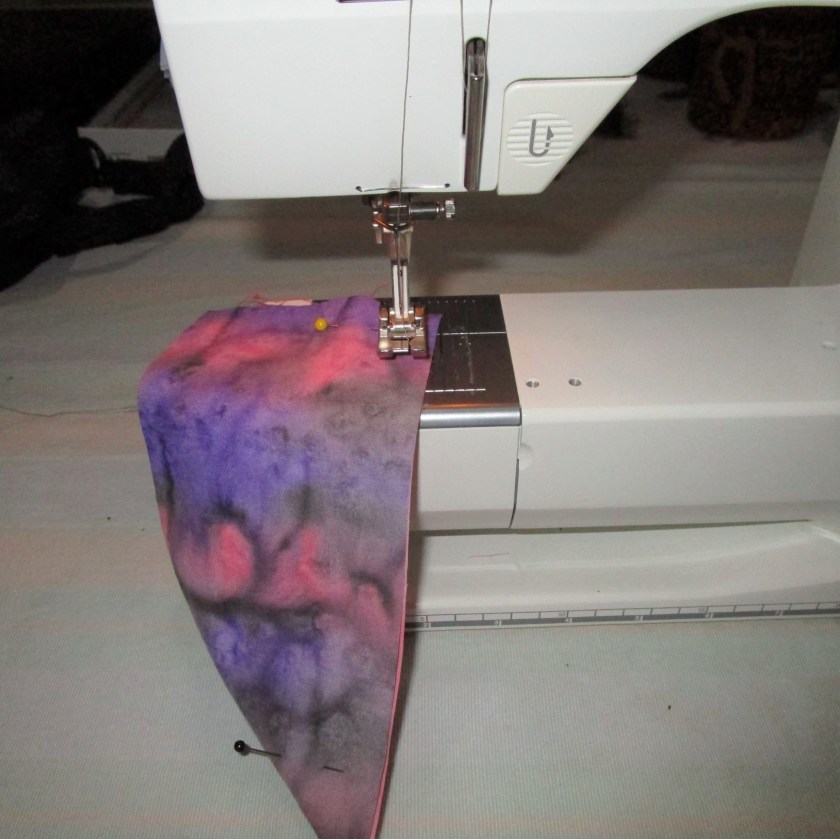
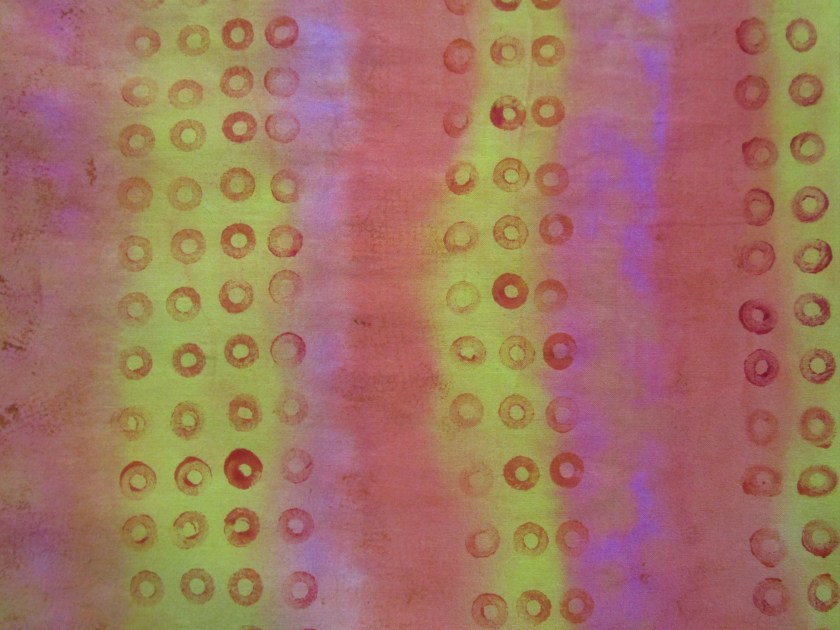
Any one who is related to a son or a grandson will recognize a foam nerf bullet. I will be printing with the back end of the bullet, which makes a very nice circle. Here is the fabric before and after printing with orange Jacquard Textile paint.

Before. (In this image the paint is still wet.)
After

I would say that this fabric is unique.

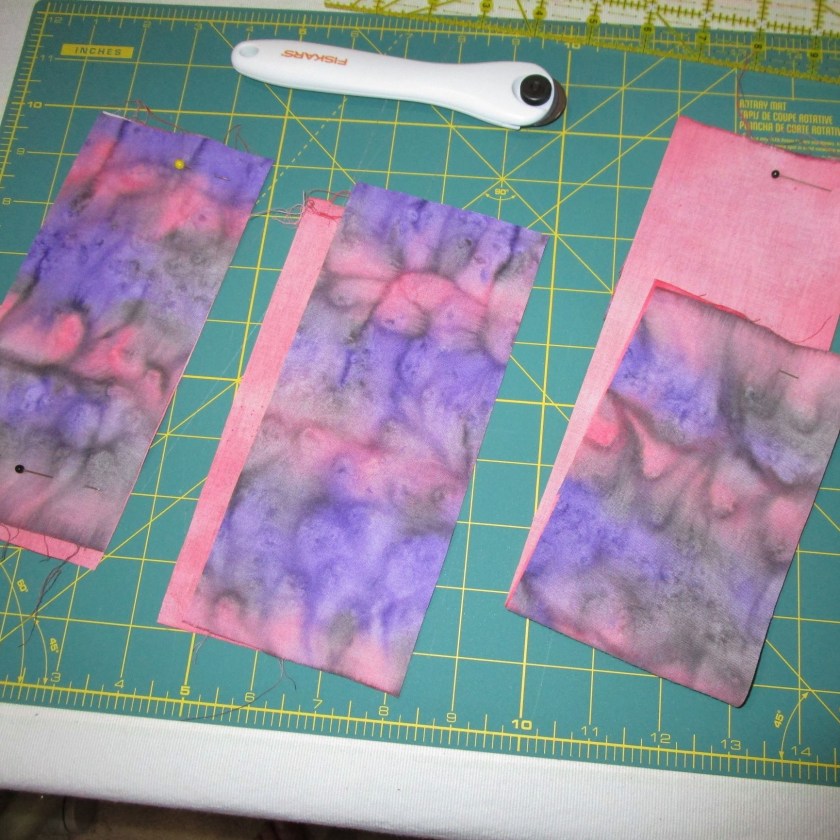
Addendum to this post: I thought you might be interested in seeing these fabric swatches after they were washed, dried and pressed.

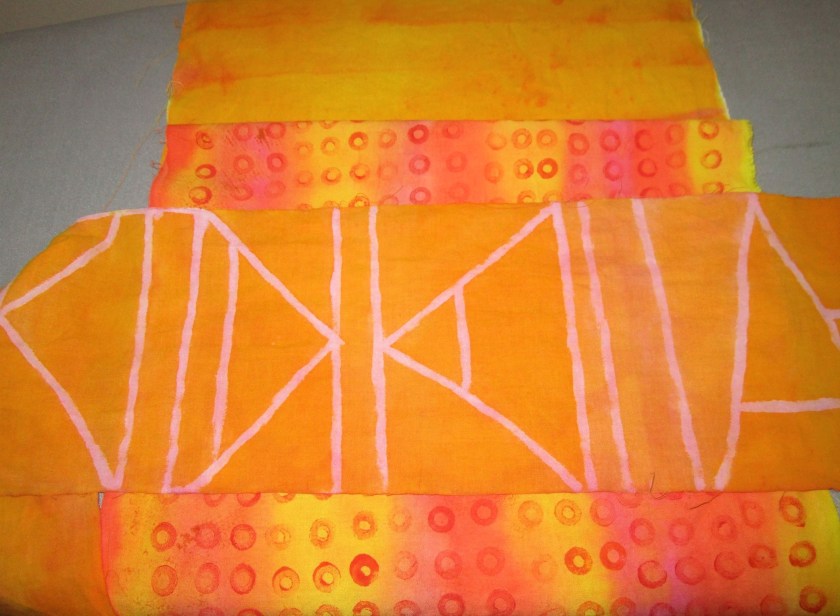
I’m pleased with these swatches, but especially so the water resist piece. Even though the lines did not resist all the way through the fabric, the front of the piece shows the pink lines clearly. The only negative is that the resist hasn’t completely washed out of the fabric. I will probably need to give the fabric an additional soak.

Posted in colorwork, painting

Colorwashed Landscape

Fireweed

We are busy day today, getting ready for hosting company. So instead of working up a new fiber object, I thought I would share this colorwashed piece of fabric which I made a few months ago. How it came to be is somewhat interesting, at least to me.

I started with a square of white cotton poplin. Using slightly wavy strokes and starting at the top, I applied blue, purple, red and green. Before the fabric dried, I used the “scrunch” technique – crumpling the fabric in various places. This causes the paint to run and dry unevenly, resulting in the dark creases you see above. Immediately, I thought it looked like a view of the Rocky Mountains. Dark brown and black appeared in the creases where the red paint met the purple and green. This reminded me of the mountains in recovery from a forest fire. To enhance the effect, I printed on the fabric in brown and green with blocks cut in jagged shapes, to represent the tree trunks, both living and dead. I painted snow on the mountains. Then I used fabric markers to delineate the sky and a field of pink blooming fireweed.

This landscape feels to me as if it appeared by magic.

Posted in colorwork, drawing, hand embroidery, sewing

Inspired by O’Keefe

My fiber efforts have been rather uninspired over the last two days, so no new posts. Then I picked up this book written by Georgia O’Keefe. It is an autobiography told in her own words and in beautifully reproduced images of her paintings. It got my creative thoughts moving again.

While she spent most of her life living in and painting the American Southwest, in the early stages of her career O’Keefe was best known for her large-scale paintings of flowers. Here is what she has to say about these works:

Nobody sees a flower – really – it is so small – we haven’t time – and to see takes time, like to have a friend takes time. If I could paint the flower exactly as I see it no one would see what I see because I would paint it small like the flower is small. So I said to myself – I’ll paint what I see – what the flower is to me but I’ll paint is big and they will be surprised into taking time to look at it.

Exhibition catalog, An American Place, 1939

So I decided to create a fiber flower, because I want to look closely at a flower. I chose to make a Moonflower, partly because of its star-like shape, and partly because I don’t see them growing around here. When I lived in Texas, I grew some moonflowers. It was way too hot to enjoy the garden during the day. Instead I sat outside at dusk, when I could watch the moonflowers swirl open.

Here is a pencil sketch I made of my moonflower:

I plan to use white poplin for the flower, with fabric paint on the shaded areas and embroidery on the bright areas. Here are some green fabrics I have chosen for the background and the flower shape I will cut from the white poplin.

The next steps are to piece together and sew the background.

Background with paper template showing flower placement

Tomorrow I paint.

Posted in colorwork, quilting

Lemons to Lemonade: Tales for fiber artists

Once upon a time, there was a sad fiber artist. Alas! She had spoiled her hand-painted fabric by her own foolish actions. But she didn’t give up hope. Soon her mistakes were transformed into a pretty little quilt block through the magic of cutting them into small pieces and sewing them log-cabin style to some batting.

Today’s lesson is to keep everything. You never know. You could use all the ugly ducklings to make a beautiful swan.

Posted in colorwork, quilting

Salty Squares – Recovery

I’m back today to finish my nine-patch square project. Boy, if it takes other people three days to make one quilt patch, there would be far fewer quilts in the world. Anyway, I’m over it now. After considering touching up the ruined pink swatch, I decided it would be far faster just to start over. Unfortunately, I was almost out of pink paint. Here is the replacement swatch in the drying phase:

Did I say that I am a novice quilt maker? It is still true. I discovered Soooo many You Tube videos on making the nine-patch square. My favorite is by OurHalfAcreHomestead. Here she is, explaining everything very clearly: https://www.youtube.com/watch?v=IMDE0I7ABzc.

So off I go! Cutting, stitching, ripping out because I sewed the wrong sides together, stitching again and pressing.

Finally I have ONE nine-patch square. To take advantage of the scale of the printed fabric, I used a 3 1/2 inch measurement for the pieces.

It is a pretty one.

Today’s lesson is to plan the size of my initial fabric pieces so that they match with the necessary lengths and widths of the square’s requirements. My You-Tube coach would probably tsk, tsk, at my wastefulness. But I expect that my mom will be proud.