Posted in colorwork, quilting

Inspiration, Gestation, Implementation

INSPIRATION: The idea for creating a fiber object based on the Gateway Arch has been rattling around in my brain for some time. It really started way back in 2012, after my husband and I visited the Gateway to the West museum in St. Louis. At that time, he took a series of photographs showing every possible angle of the Arch at ground level. They are rather remarkable, taken as a group. Here is an example.

Earlier this year, I asked for copies of these images and began to imagine how a series of different views would look on quilt blocks. I printed out nine pictures and pushed them around against each other. In the end, I shelved the project. I decided that I really lacked the necessary technical skills to realize my idea.

GESTATION: Over the summer I completed several on-line quilting lessons and actually made a quilt based on my own design. I now feel ready to tackle the Arch project. So yesterday I pulled the photos back out and arranged them into a nine-block design with a look that pleased me. It took me hours to get it right.

IMPLEMENTATION: Dear me. Thinking about the many steps required to move a quilting project from the idea stage through to completion is giving me pause. Let’s take stock of where I am so far:

  • I have a design and a layout, pictured above. Each image represents one block at 1/3 scale. I’ve decided that I will need a paper template for each arch image, in order to draw and cut it accurately from the background material. For this task, I have located a pad of giant post-it notes. From it I have cut nine pieces that are 14 and 1/2 inches square.
  • Block Content: Each block will consist of 16 squares with a finished size of 3 1/2 inches. The flowing arch will be cut free-hand into the sewn blocks and inserted.
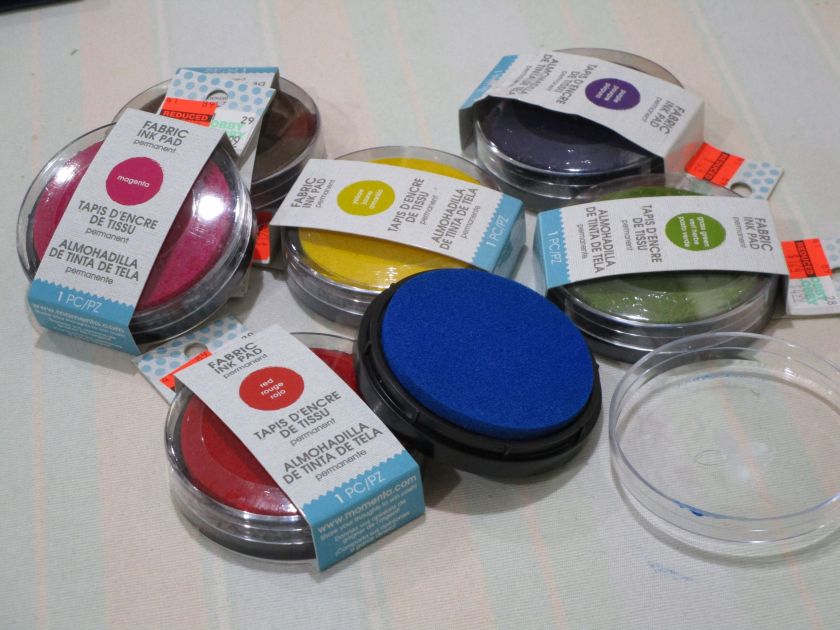
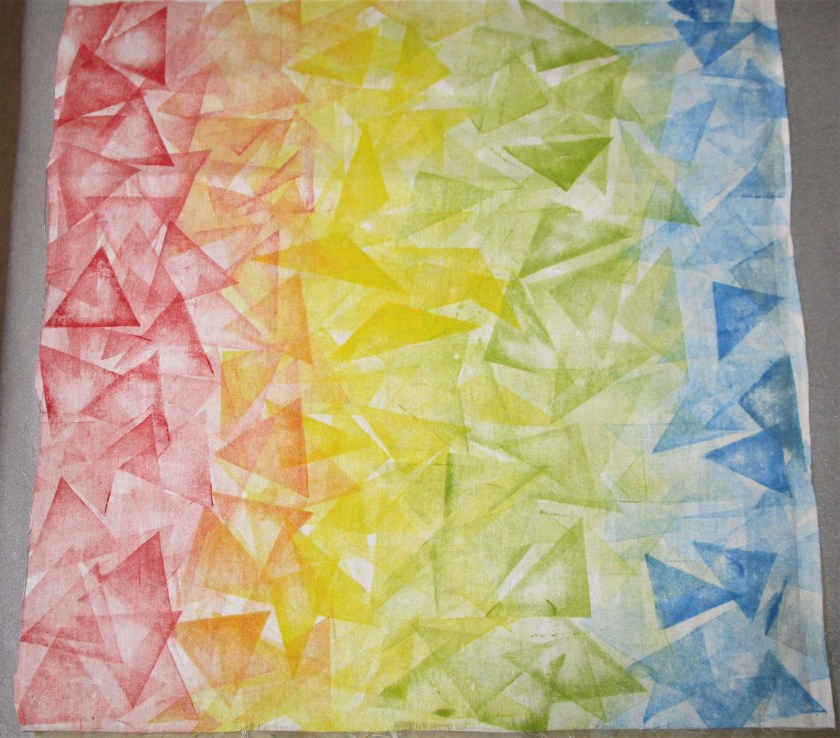
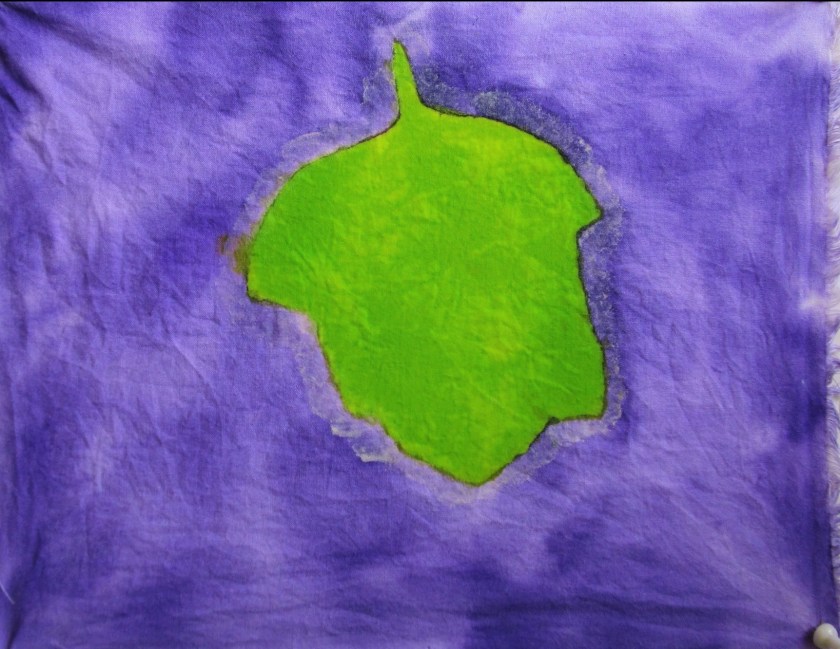
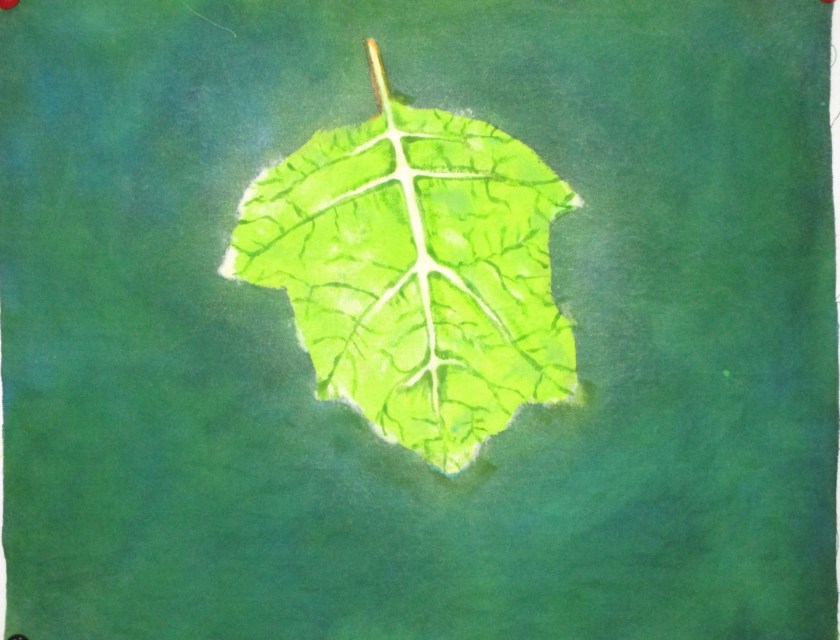
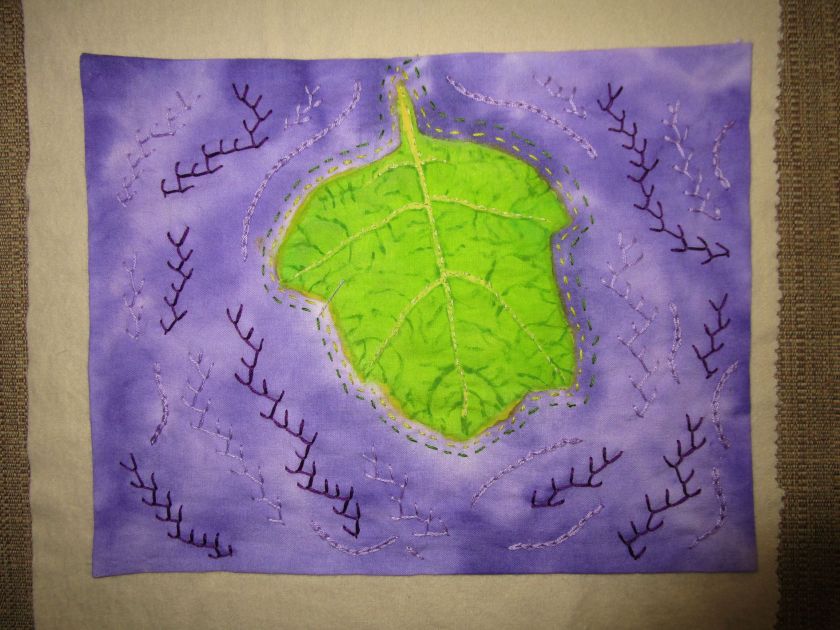
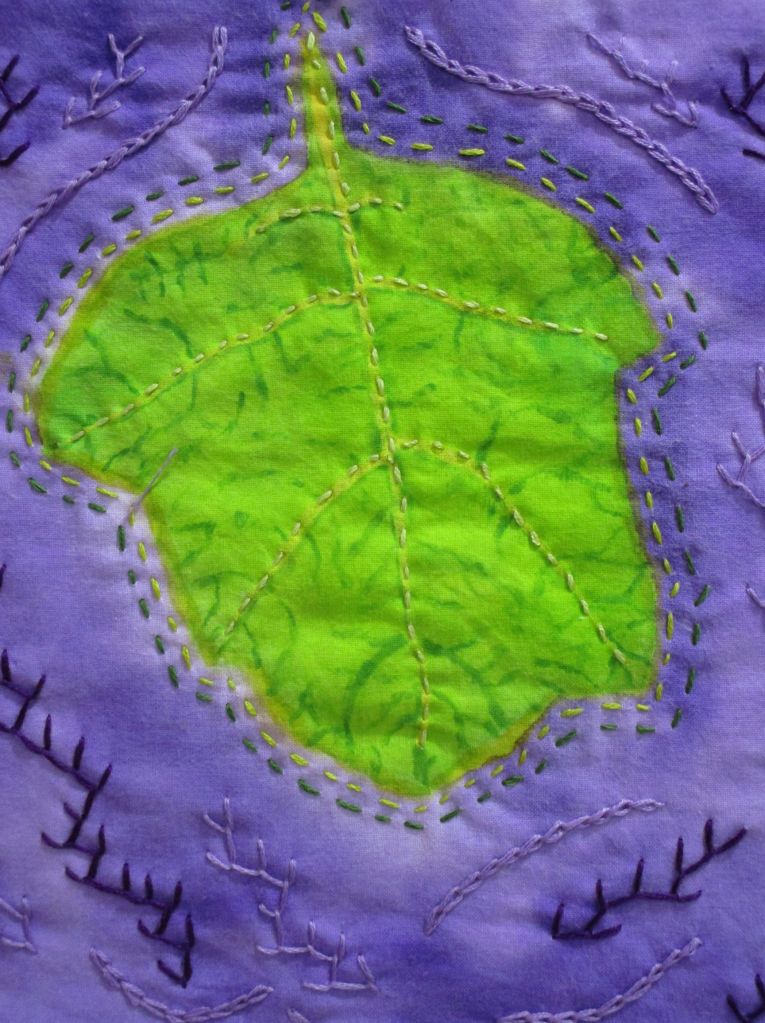
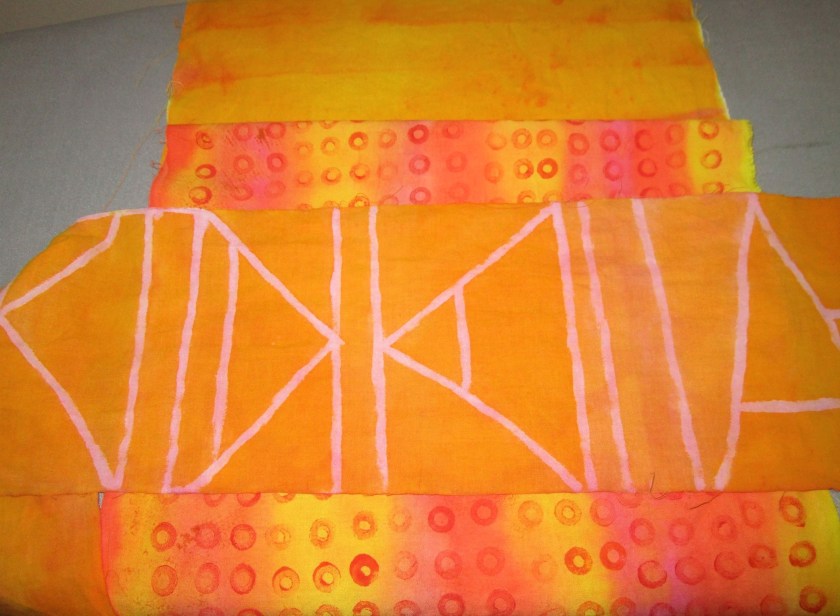
  • Colors: There will be three background colors in hand painted fabrics, moving from left to right they are purple, blue-purple, and blue. The arch section which winds through each block will be made of golden-orange-pink fabric. Here are some samples that I made earlier this year.
  • Other design decisions yet to be made: sashing or no sashing, type and number of borders, backing. While I plan to quilt it myself, I haven’t decided on a pattern yet.

Next steps seem to be

  • Draw to scale the templates for each block
  • Determine yardage needed for quilt top and purchase fabric
  • Cut fabric into manageable strips
  • Hand dye strips according to design plan
  • Cut out the squares
  • Practice cutting free-style curves.

A wise woman said, the journey of a thousand stitches begins with one thread.

Posted in colorwork

Experiment with stamping

While shopping yesterday, I discovered some fabric ink pads seriously discounted.

This is something I have been wanting to try for some time. I have done a little bit of stamping/printing using fabric paints and homemade stamps. I’ve never been quite satisfied with the process and medium. The fabric paints start to dry and clump before I have finished my project. This results in a lot of wasted paint. So I am intrigued to try stamping with ink instead.

First I made a color swatch using some square stamps.

I like the red, blue, green and magenta the best. When stamping yellow over blue, I noticed that the inks blended – a desirable trait for my work.

The instructions say to let dry 24 hours and then press for 3-5 minutes to set the ink. This morning when I pressed the samples, I noticed that they weren’t quite dry. But by this afternoon they seemed okay. I quickly made up some triangle stamps out of foam pieces with the idea of stamping an angular rainbow on white fabric.

This was fun.

Next I tried the ink on a pale gray printed fabric. While my stamping technique was a little crude, I thought that the result was okay.

My verdict: I’m glad that I paid so little for these ink pads. It took a lot of color worked onto the stamp for each press, and the color intensity on the fabric was lacking. I’m also not thrilled that it takes so long to dry. Do any of my fiber arts friends have a product that you would recommend?

Posted in colorwork, painting

Another Hydrangea Leaf

…..With apologies to readers who might be tiring of images of leaves.

I’m experiencing momentum on the oakleaf hydrangea project. While I intend to create 12 leaf blocks, I promise that I won’t blog about every single one of them. But I think today’s block is worth a few words and images. Here is the reference photo.

After making my sketch on the fabric, I masked the veins with resist and applied a pale emerald green wash. In this photo the piece has dried, and the leaf is covered in resist before undergoing the second wash.

I went really dark.

After the paint dried overnight, I pressed the background in an effort to set the color, then washed out the resist. Before I started painting in the details, I sampled several colors of paint over the pale emerald on waste fabric, because I had no idea what color would give the effect I wanted. I ended up applying yellow-orange, let it dry, and then painted in the major and minor veins.

This image has strayed pretty far from the reference photo! It is no longer a summer leaf, but a slightly battered early fall leaf, getting ready to change color before dropping to the ground. I love the chalkboard look of the background. Because it is black, I was able to use an Ultra fine point Sharpie to draw the leaf margin.

Posted in colorwork, hand embroidery, quilting

Oakleaf Hydrangea – The First Leaf

Yesterday and today I resumed work on the oakleaf hydrangea fabric paintings. Above you see the reference photo for the first leaf I am painting. I chose to do two experiments. Here are the two paintings after the first round of painting. The color wash – resist steps were complete and the paintings left to dry. In these photos, the water resist medium has not been washed out yet.

And here are the two paintings, washed, dried and with final details added, using Jacquard Textile paint inTurquoise and Goldenrod, so palette was quite limited.

It was a learning experience, trying to paint on dry fabric with thicker paints. I discovered how to add depth to the background by dry brushing. And I learned that my skill in painting delicate lines needs work. After the pieces dried, I pressed them and continued on to the stitching phase. I chose to work with the purple piece first, hand quilting with embroidery floss. Instead of backing with regular batting, I used cotton flannel, since it would be easier to push the needle through.

I carefully stitched over the major leaf veins, and then made two borders around the leaf margin. After finishing the leaf, I just improvised the background, using two shades of purple and two stitches – feather and chain.

So far, undecided about how to stitch down the edges. The choices are blind stitch or use a decorative blanket stitch. Does anyone have a recommendation?

Posted in colorwork, painting

Consolidate. Gestate. Internalize.

For the past three days I have been irresolute about making new fiber objects. I haven’t been idle – not a chance of that! But I felt more internal about my efforts than external, that is, not ready to show or talk about them.

Consolidate: (verb) 1. to join together into one whole. 2. to make firm or secure.

Gestate: (verb) to conceive and gradually develop in the mind.

Internalize: (verb) to incorporate within the self as conscious or subconscious guiding principles through learning.

If you ever start to feel you are stuck creatively, I suggest you reframe your status with the verbs above. It could be that you are not stuck at all but are internalizing.

A week ago, I agreed to offer fiber arts lessons again to the local homeschool association. To keep from being overwhelmed, I suggested that I teach project or workshop-type lessons. So part of my time has been spent on writing syllabi for these workshops. The first topic is crochet. I propose to teach crochet in the round.

View of my worktable with two crocheted baskets in use.

I finished the syllabus for this workshop and made this sample.

It has been a while since I’ve created with yarn. It felt good to get back to it.

Secondly, I have been fooling around with pattern and paint on my color washed fabrics. Using foam, felt, cotton yarn and cardboard, I made these stamps.

Stamps sitting on color wash sample

I then proceeded to use them on this sample as well as a dark gray sample. My paint selection included Jacquard Textile paints, which are semi-transparent, Pebeo Setacolor opaque white, and some metallic acrylic paint I had laying around. Here are my doodles.

I’m loving the dark sample, especially the way the white opaque shapes and the glittery bronze shapes jump forward from the brooding background.