One of six children, I was raised by a busy mom, who instilled in me a love of fabric. Though I learned to sew and knit at a young age, it was the arrival of my first grandchild that pushed me into action. A long-time knitter, I am now ready to explore all things fiber.
No, I’m not burning my quilt. Instead, I have applied this round’s prompt of Diamonds to my Fire block. My logic for this choice is that tongues of flames, such as you see in the image above, can be stylized as acute triangles, with the narrowest point at the top. If one has a more romantic leaning, one might say that diamonds are created by the forces of pressure and HEAT in the bowels of the earth.
The piece of fabric I chose to represent Fire is a beautiful brocade woven on white with a clear orangey-pink thread. The shape can be described as a series of diamonds inside overlapping circles.
I chose these fabrics for the diamond-inspired border:
The yellow and orange print is one of my hand-painted fabrics. I created the circles by stamping red paint using the back end of a Nerf bullet.
Fortunately, I learned how to make triangle shapes out of strip sets from a Craftsy class presented by Joanna Figueroa.
After sewing a light and a dark strip together, I cut the sets on a 45 degree angle to get diamonds. Then I sewed them into strips and attached the strips to the right and left sides of my brocade fabric.
For the bottom border, I used a strip of the soft coral ombre fabric.
Here is my block so far.
It’s not perfectly square, and I have yet to decide on what fabric to use at the top of the block. I’ll have to let the options stew about in my brain for a while. Once completed, I intend the block to measure about 17″ square.
If you’re interested in seeing more Round Robin projects made by some awesome quilters, check out Emily’s blog and the Linky party invitation embedded in her post.
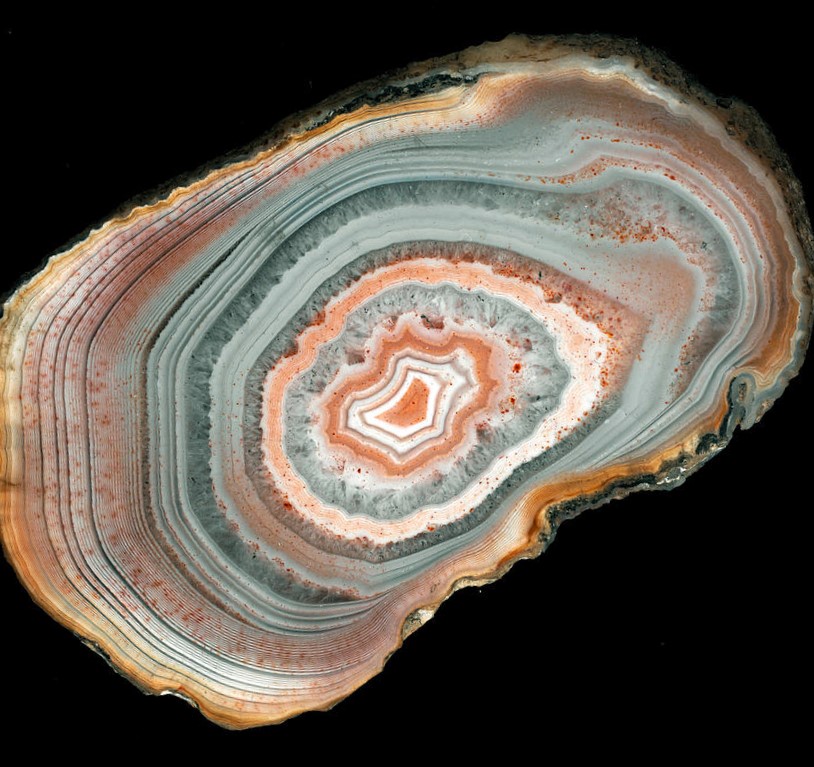
I wanted to try the geometric glazing technique that I used for Belize Memory on another subject. This is an image of an agate in the collection of the Natural History Museum, London.
I thought it would work well as a subject for the technique.
I started with an ink drawing showing the major lines in the striations.
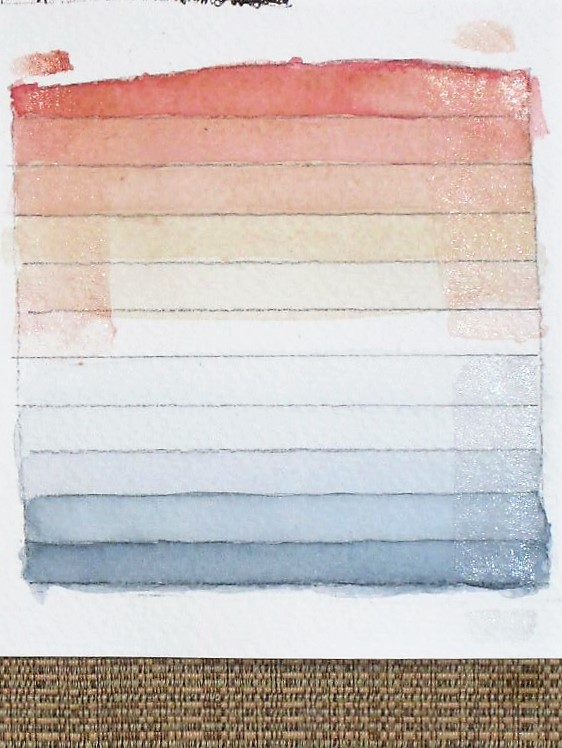
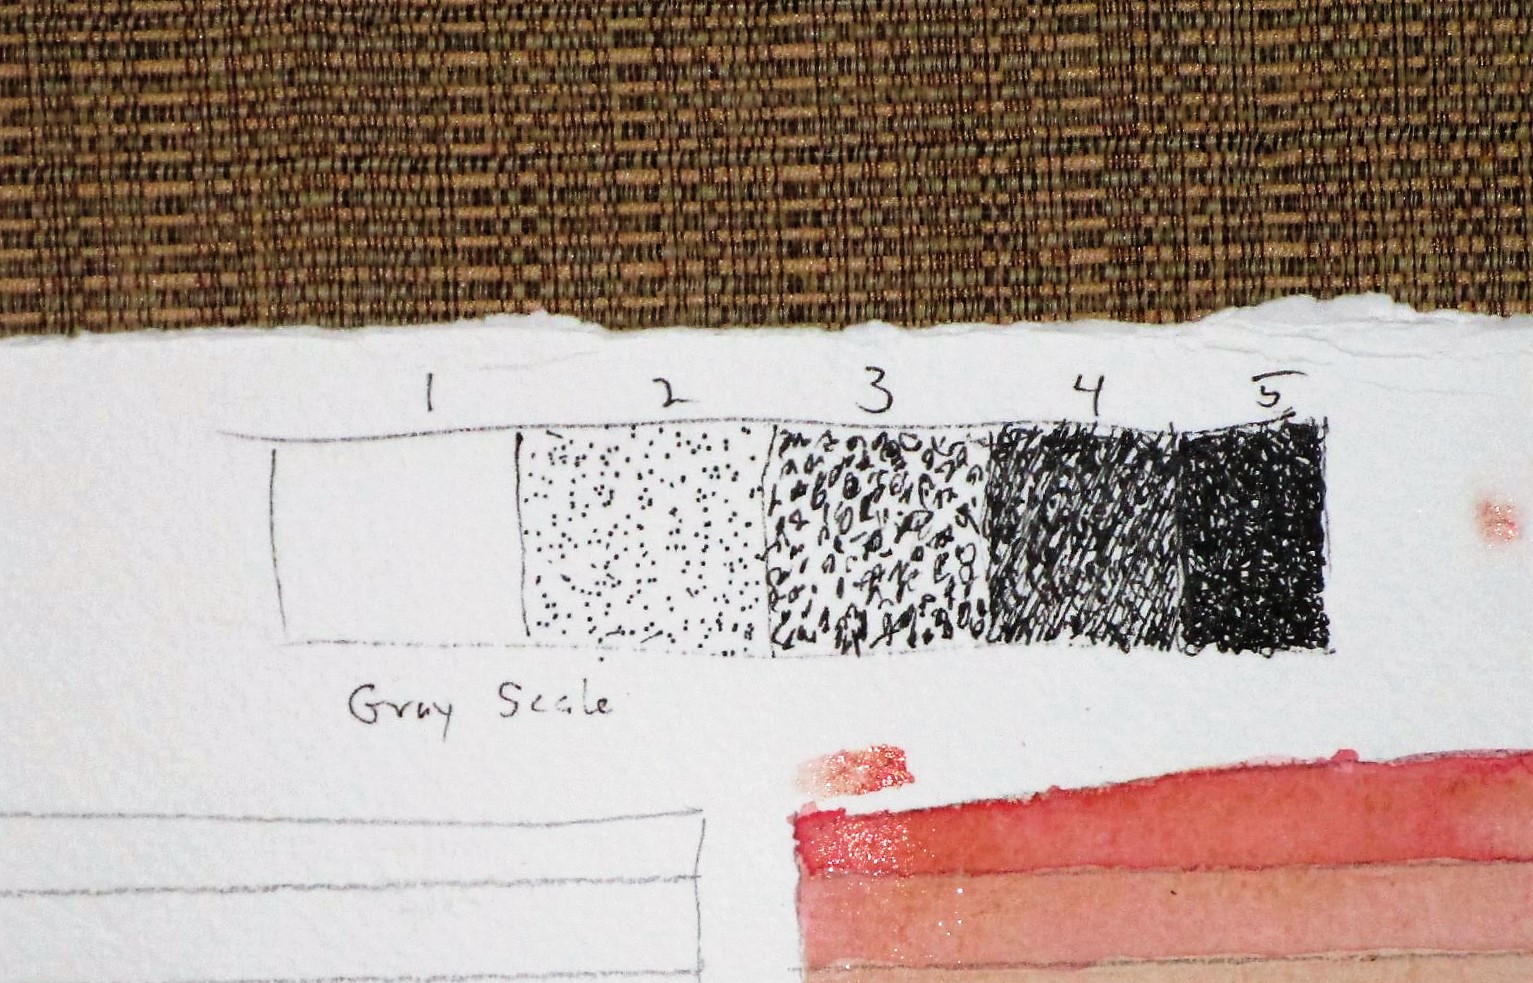
Next I created a color swatch and a gray scale to guide my work.
With a lot going on today, I had to stop working. Here is my agate painting with initial washes and a few details.
At this stage, I’m encouraged. Perhaps I can finish up tomorrow.
Micron pen on watercolor paper with raw sienna, burnt sienna, quinacridone red and Payne’s gray.
I was so glad that Anja chose the prompt of Curves for the first round of this year’s Round Robin quilt along. In working with the vintage weavings chosen for my center block, I had observed that the maker had used lots of curved lines in her color patterns. Some were vine-like, some looked like hairpins and some are just little wriggles. I was keen to echo these curves in the quilt as I built it.
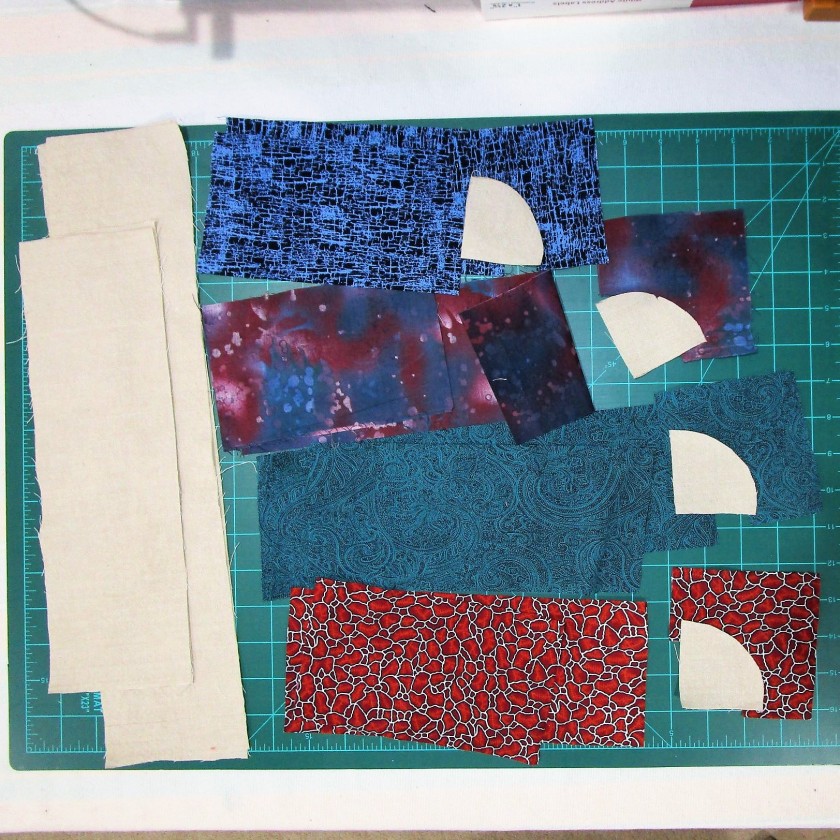
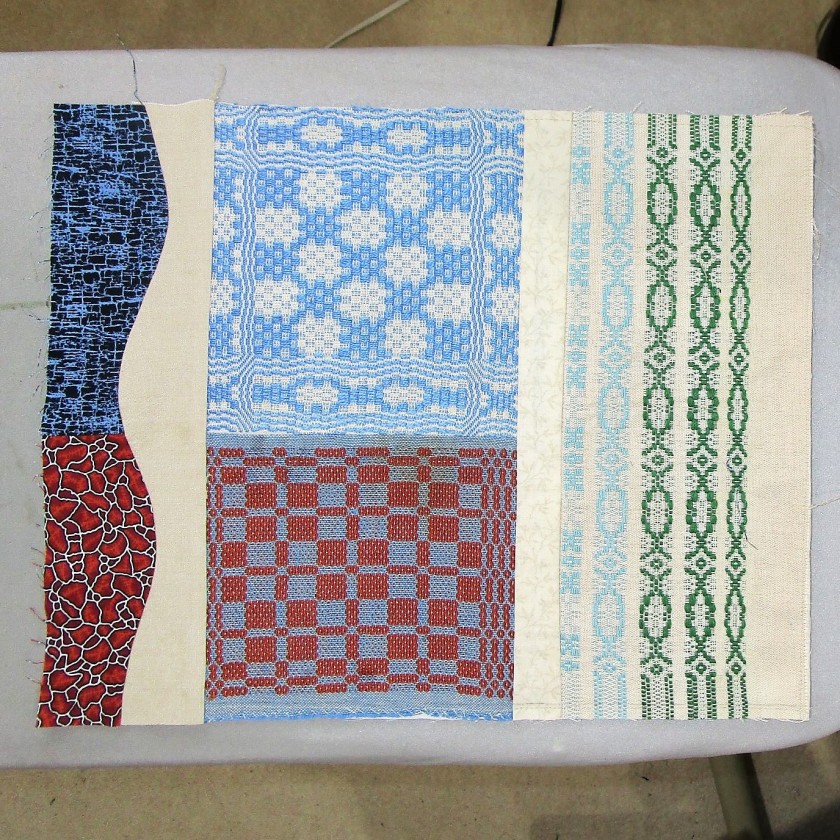
To start my round, I chose four fabrics with colors and patterns that reinforce the theme of the four elements. I am using the linen-colored background fabric to make the other side of the curve. Next I made a little template for the corner blocks. These will have a quarter circle in the inside corners using the background fabric. Here are my pieces, cut and ready to be sewn.
First I joined strips of two different colors for each side of the block. Then I cut strips in the background fabric to match the length of the block sides
After sewing together the corner blocks, it was time to make my curves. With the front of fabric facing me, I overlapped the two strips and just sliced a curve through the center of the strips with my rotary cutter.
Here is the first side sewn together and ready to attach to the center block
And here it is, sewn and pressed.
Side two and one corner block are added.
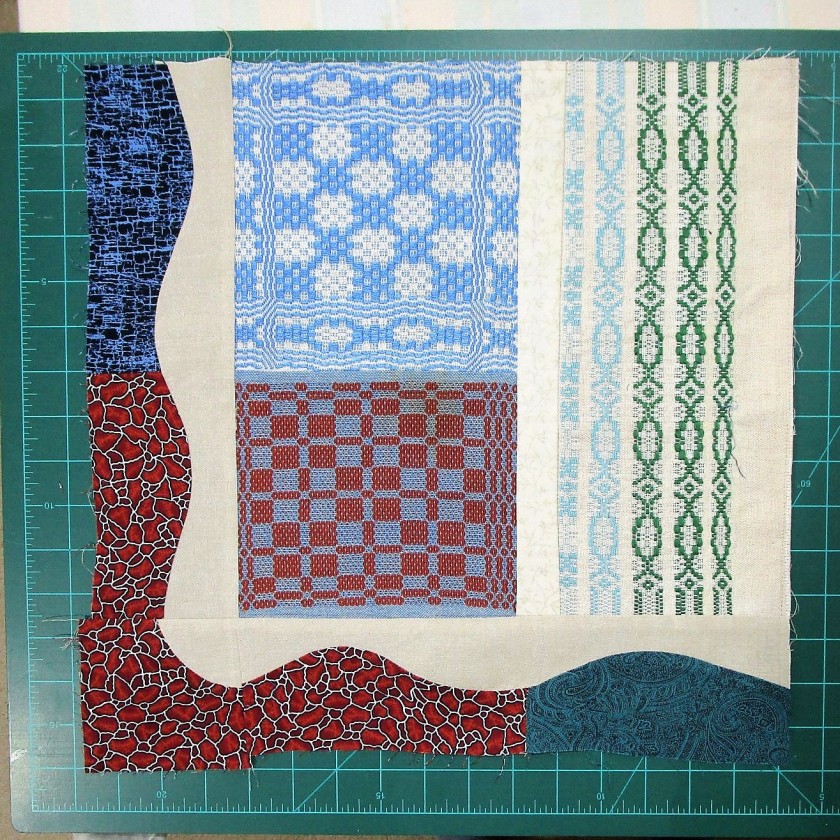
Working carefully, matching up edges as well as I could, I finished this round in about three hours. Here is my block, pressed and squared up.
I like the way the dark colors draw the eye to the three woven pieces, which are outlined in the background color.
It now measures 18- and 1/2-inches square and is ready for the next round. I had no trouble with the woven samples shifting or bunching. I think my tactic of backing the pieces with muslin did the trick.
If you would like to see how other participants are making their curves, check out the linky-party, below.
The process of making up a quilt from scratch has many challenges. One I face today is building my Stay At Home Round Robin quilt around another maker’s pieces. None of the swatches are the same size or shape. How can I fit them together?
Here’s how I went about finding an answer.
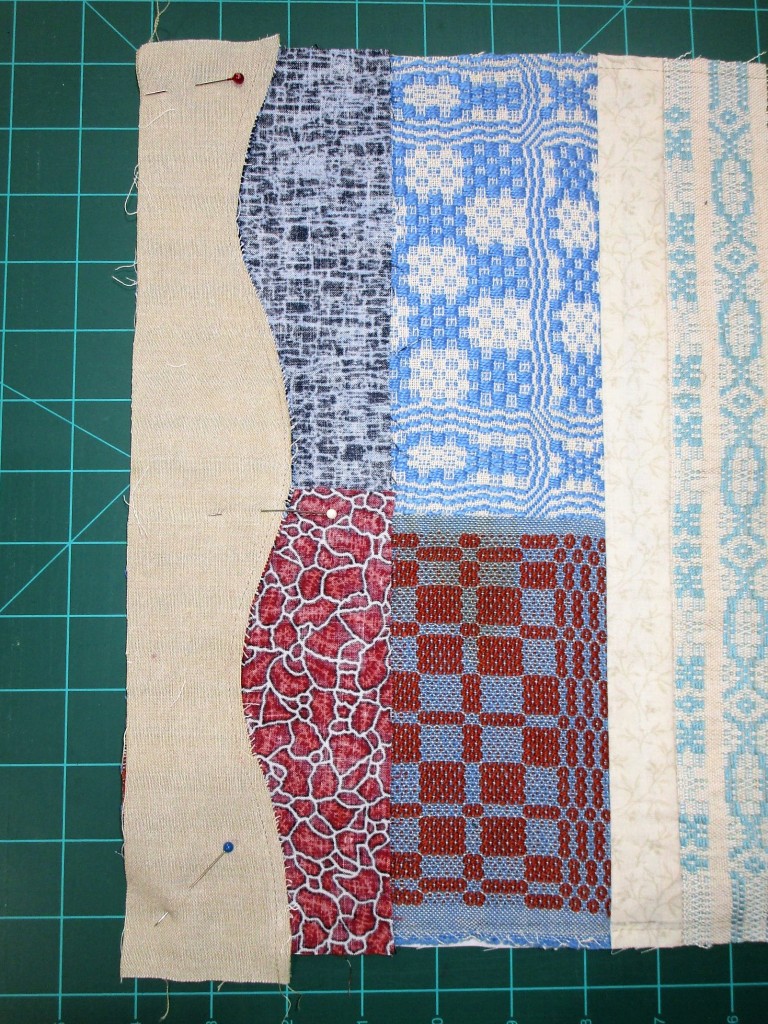
The first step I took was to get them as flat as possible. Each swatch was hemmed by hand on the warp edges to keep it from fraying. As I began carefully picking out the stitches, I marveled at the how small each was. That got me to thinking about the maker, Margaret Howard. And I began to imagine her at her cottage on the lake, where she lived three months of the year. (Since this cottage is still in the family, and I had been there several times, my imagination has lots to work with.)
I imagine that, despite the passage of years, the grounds surrounding the cottage are very little changed. There are towering trees, both deciduous and coniferous, providing lots of shade. The path through the trees to the cottage are lined with wood ferns, all the way up to the door itself.
Margaret is sitting in the main area of the cottage, sewing this hem. She has a view of the lake through a large picture window. While the trees now are quite tall and obscure this view, back then she likely could see the lake easily.
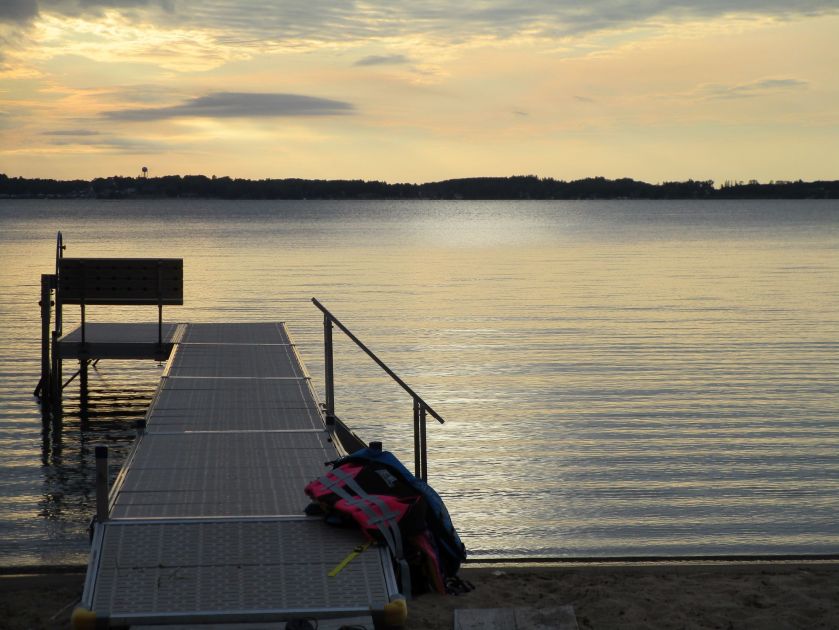
There were other families, her relatives, staying in cabins nearby. Each evening as the sun sank low, they gathered on the shore to toast the passing of the day. I feel certain that Margaret would join them. That bit of the beach is on the east side of the lake. The sun sets directly across the lake from this beach.
Having been there during one of these sunsets, it’s hard to describe exactly how beautiful it is. When the waves on the lake are gentle, one feels that the lake is bringing the colors of the sunset directly to one’s feet, like a precious gift.
A contemporary view of Shell Lake, with a new metal dock.
Back then, the silence must have been profound.
Of course, on special occasions, or when the air is too cold, a campfire is a must.
At this point in my musings, I brought these ideas together, and came up with a plan for the quilt. If you have been following this project in my earlier post, you saw that I sewed together three swatches to form the center block.
What if I divided the rest of the quilt into four sections, making a large block to anchor each section. And each section would show one of the elements enjoyed by the maker at her cottage on the lake – woods, fire, water, sky. Thinking more deeply about these elements, I realized that they corresponded to the basic elements described by ancient civilizations of the world: Earth, Fire, Water, Air.
To tie everything together, I did some research on the colors that the ancients associated with these elements:
Earth: Green and brown. Fire: Red and orange.
Water: Blue and pastels. Air: White and yellow.
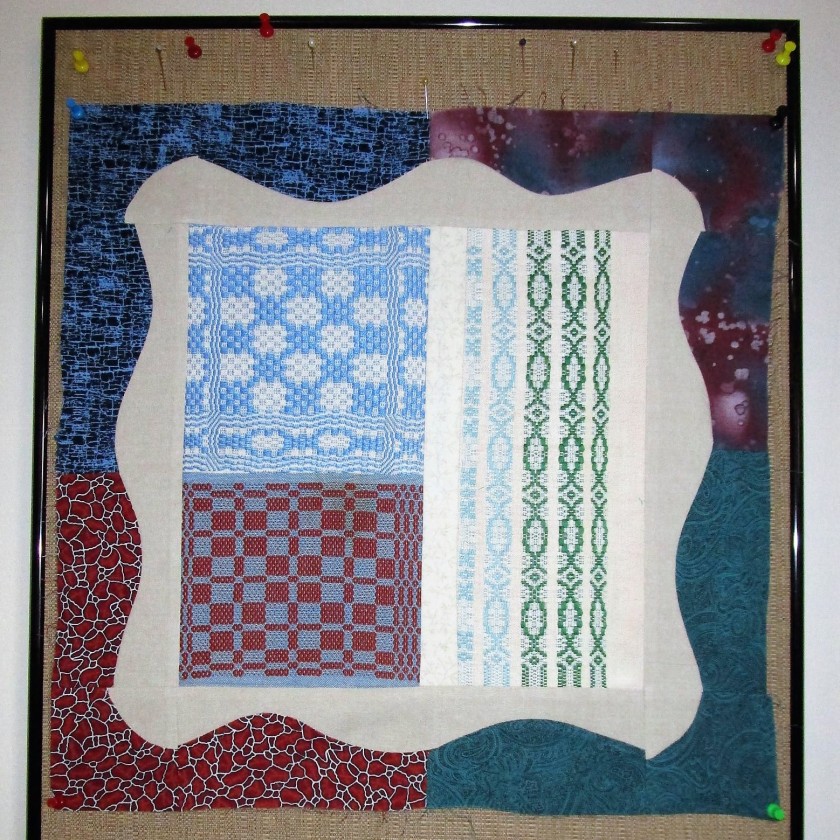
And here is my (somewhat crude) plan for the quilt, sketched in watercolor.
This is my first go at the layout. I’m not sure about the dark sashing. But there will be plenty of time to audition some other fabrics as I work along.
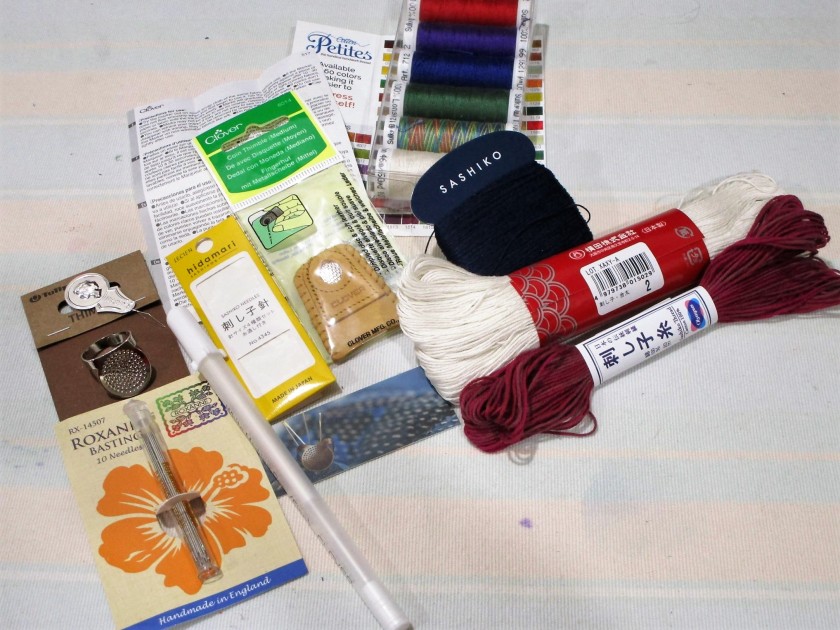
By the end of last week, my order of supplies had arrived.
My new supplies: thread, needles palm thimble, leather thimble Clover white marking pen
After spending time reading about sashiko (pronounced sah’ shee koh, by the way) I realized that it would require special tools and materials to work this style of stitching successfully. Fortunately, nothing was terribly expensive. I have to give a shout out to KimonoMomo’s Etsy site for its diversity of product, reasonable prices and swift delivery. I purchased needles, thread, thimbles and a marking pen there.
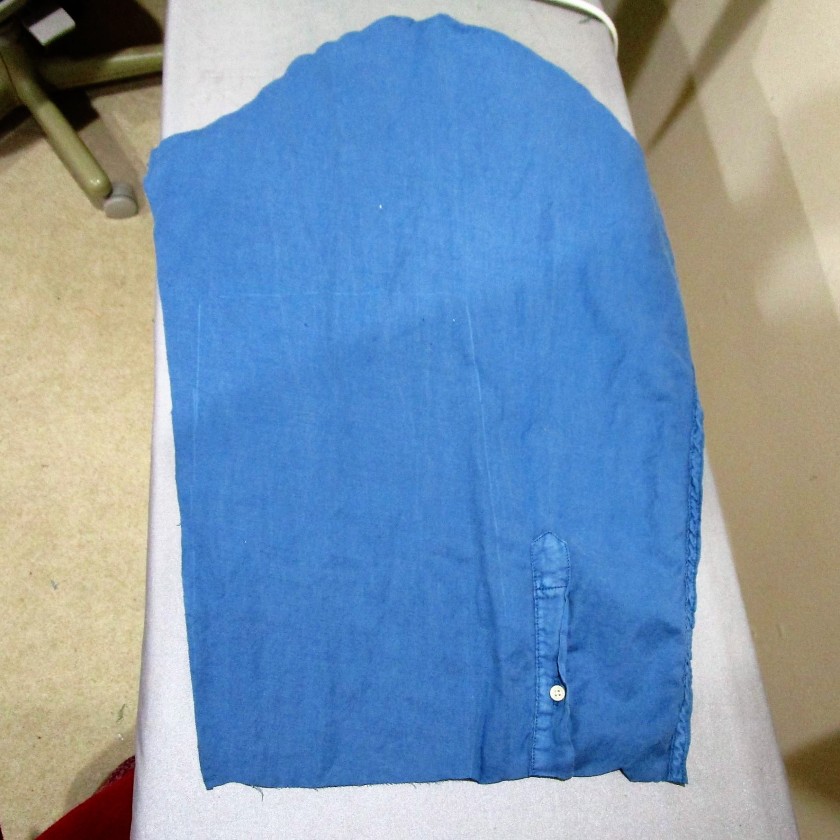
Today was the day to get started. I chose the sleeve of a man’s blue shirt to practice on, because blue is the traditional color for sashiko-stitched fiber objects.
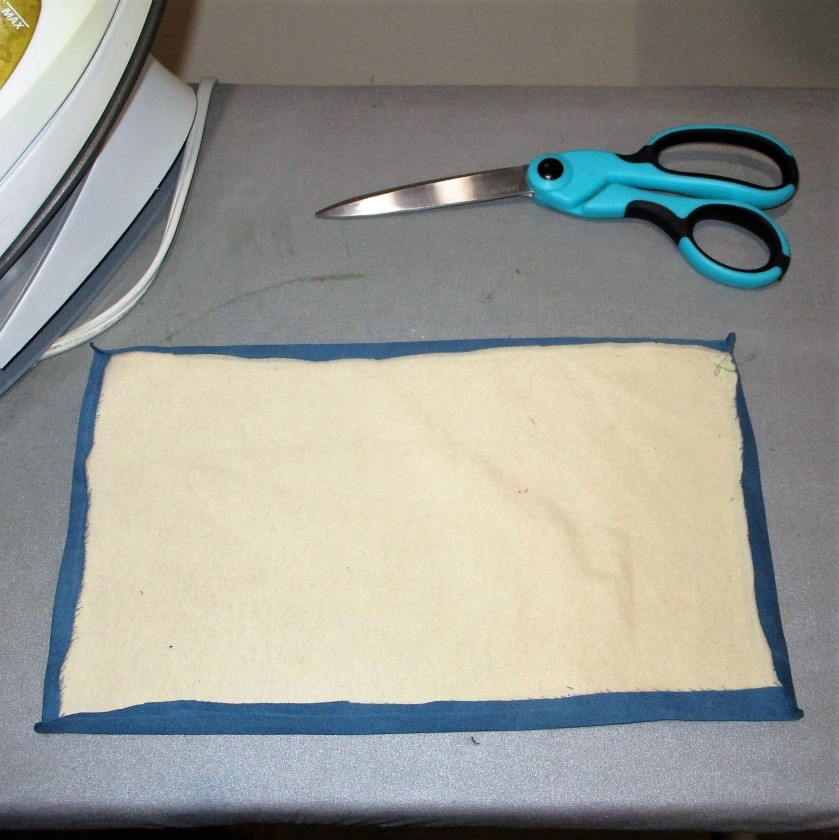
A piece of beige cotton flannel became a backing.
I started by folding the edges under, gluing the corners, and basting the swatch around all sides with ordinary sewing thread. Next came the marking. I just used my rectangular clear quilting ruler to create a diamond grid.
The traditional sashiko thread is sold in a skein. After carefully stretching the skein out fully, I found where it was knotted, then moved to the opposite end of the loop from the knot and cut the skein through. Next the skein is braided loosely and tied. To remove a length of thread, it is pulled out at the top, near the knot.
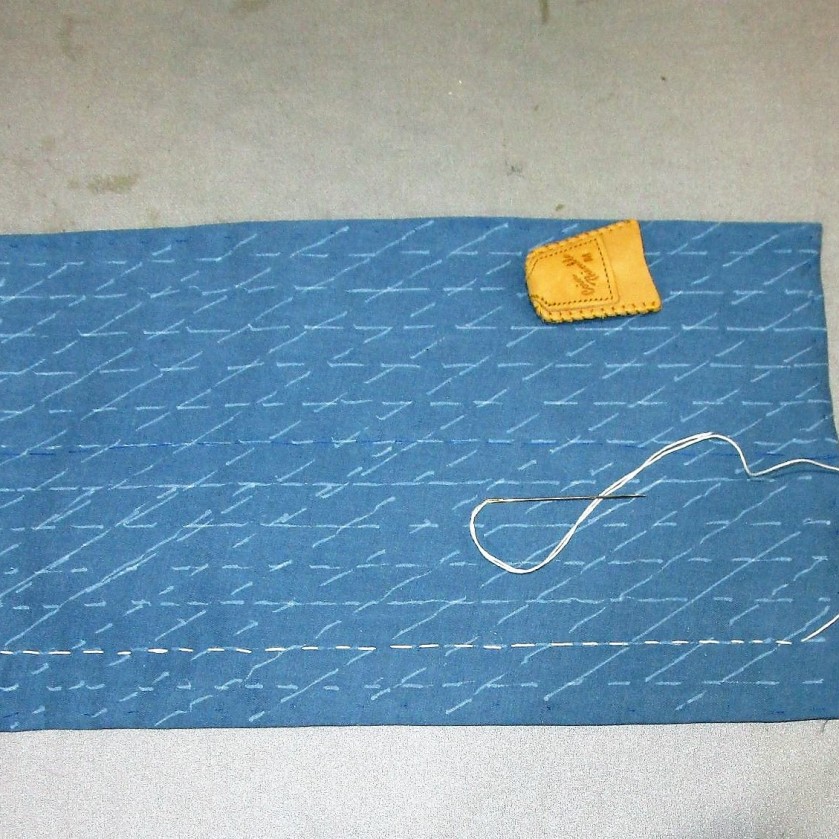
Here are my materials, ready to work.
And here is the first row of stitches.
Sadly, it was necessary that I perform other tasks, did not get to practice any more today. But I am confident that I have the knowledge and skill now to use sashiko as a tool in my fiber manipulation toolbox. I’ll post a photo of the finished sample in the near future.
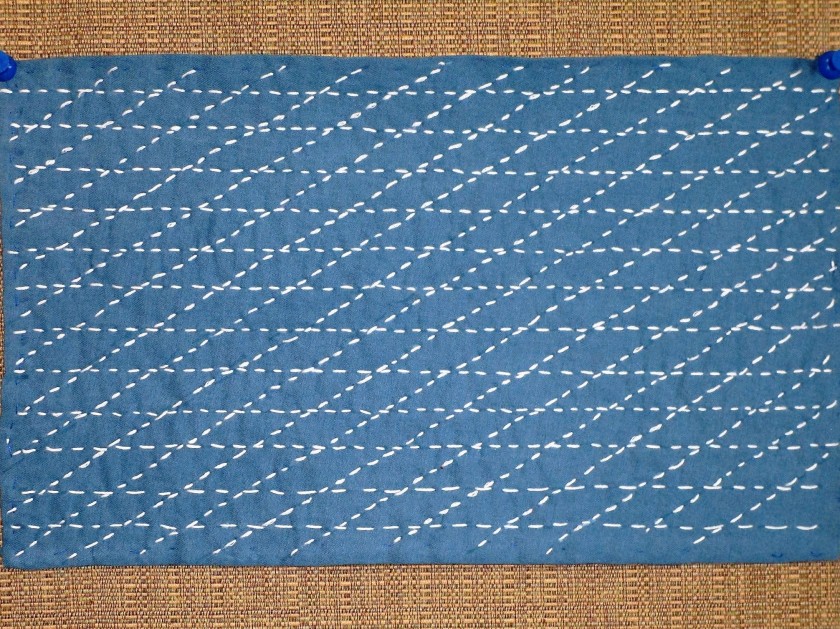
Update, Jan 21, 2022: And here is my finished sample.
As I stitched along, I began to develop a little more consistency in my stitch length. It didn’t take nearly as long to complete as I feared.