One of six children, I was raised by a busy mom, who instilled in me a love of fabric. Though I learned to sew and knit at a young age, it was the arrival of my first grandchild that pushed me into action. A long-time knitter, I am now ready to explore all things fiber.
Last Wednesday, at the art association’s open studio, Cheryl introduced the group to a technique of painting into wet paper using a credit card instead of a brush. She referenced the work of Lena Gemzoe.
Very intriguing, but clearly, it takes a lot of practice to get results this good.
For the class, I decided to use granulating colors that would settle out into the texture of the paper. Working from my imagination I attempted a mountain view, with a stream in the foreground.
To finish it off, I used my brush to make a tree, island and grasses.
Cobalt blue, Payne’s gray, raw sienna, burnt sienna, yellow ochre and a little white gouache on Arches 140 lb. cold press paper.
I’ve decided to adopt Wendy’s little four-point star for my own. The yellow batik fabric will form the star body and arms. I’ll vary the construction by using three rectangles and one square with stitch-n-flip triangles sewn on. These pieces are then sewn around the center as in log cabin block construction.
Test Block completed
The result is slightly wonky star arms – a look I find sort of charming.
Stars in the heavens like snowflakes: No two alike.
And here is my quilt with the addition of rounds two and three.
While I’m happy with the result, it’s clear that I will need a plain border to give breathing room to the center. I’ll continue with the little sparks of yellow throughout the design, hoping that this device will create unity and lots of rhythm.
Feb 3 – Border sewn together and added to the center block.
Don’t forget to check out the work of other participants at the InLinkz party.
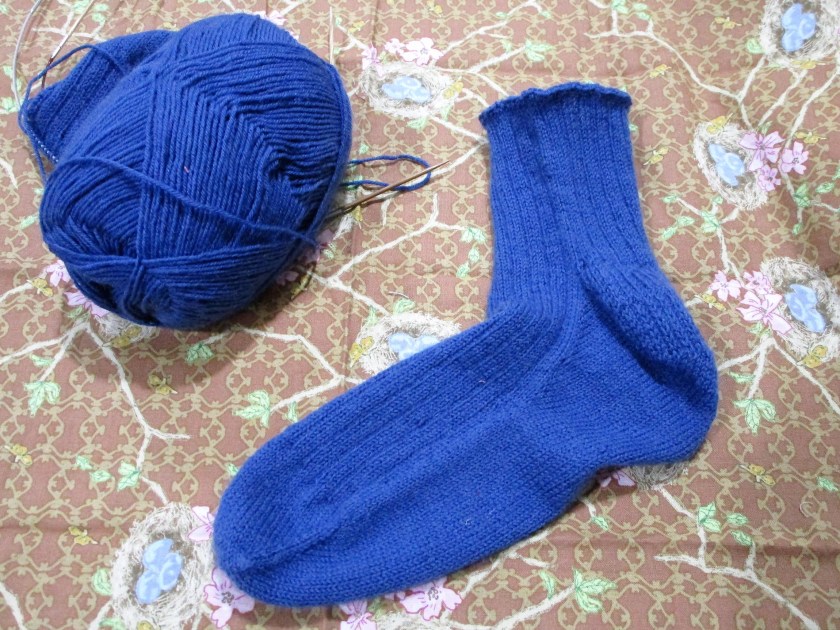
It’s been almost 2 months since I cast on this lovely blue 4-ply sock yarn by West Yorkshire Spinners.
I’m feeling guilty about my lack of progress since then on socks for my DH. It’s been very cold here and he has nearly worn out all the other socks I’ve knit for him.
In early January I picked this project up again and I hope that they’ll be finished soon.
This photo shows the toe-up method using two size one needles. Gauge is about 12 rows per inch. Because the stitches are so small, I find it difficult to work on this in low light.
But Ta-Da! I have one completed sock.
Today I worked on sock 2 during Westham United’s game against Darby. At the whistle, I had completed another 1 and 1/2 inches on the foot section. I’m hopeful that cast-off will take place before another week has passed by.
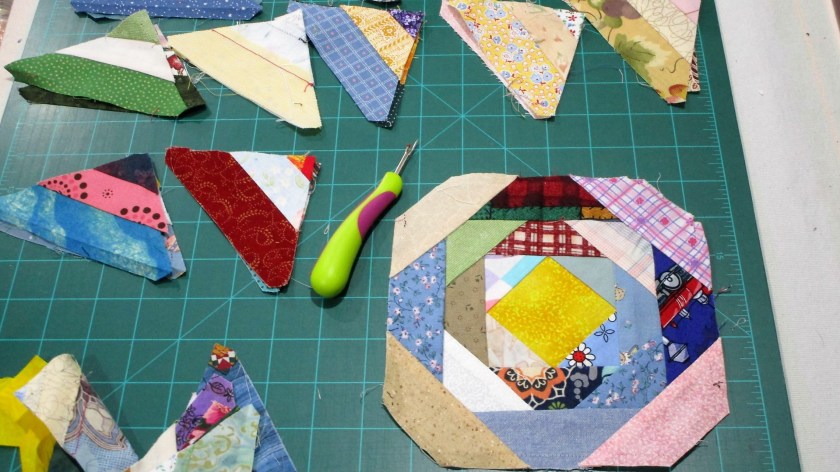
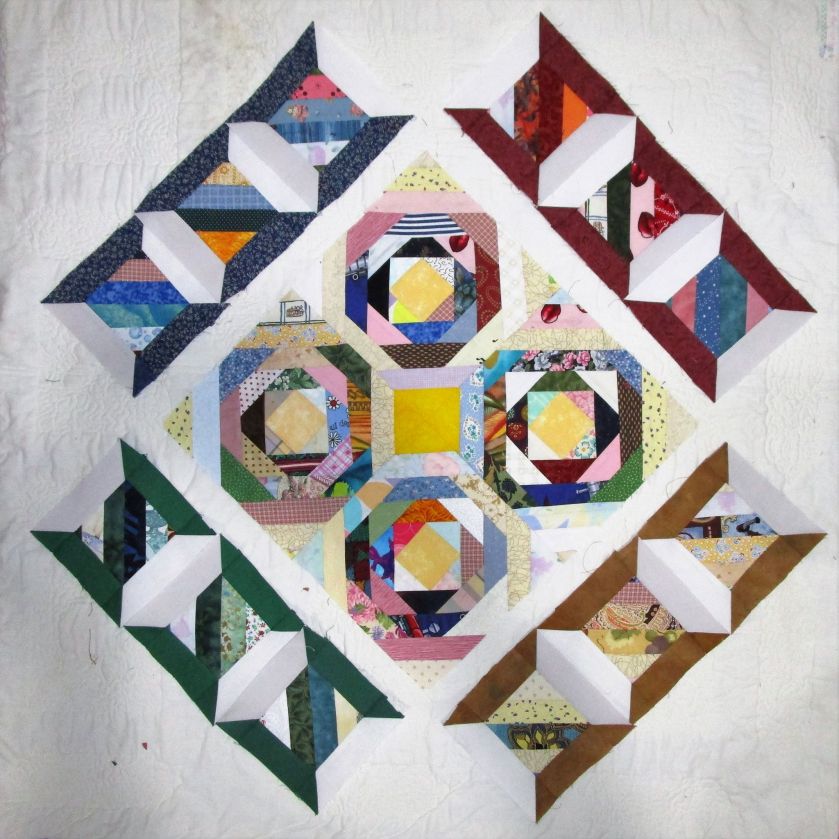
This week’s prompt for the Stay At Home Round Robin quilt challenge comes from Home Sewn By Us and it is the spool block. This is one I haven’t tried yet, I believe it’s one of the easier blocks to make. And I have a good idea for using fabric from my orphaned quilt blocks for this challenge.
Using my seam ripper, I removed the corners from several of the blocks. (Can anyone tell me what this block is called? It’s a sort of square in a square with at least four iterations, but then stripped corner pieces were sewn on.) Anyway, I took these triangles and sewed two of them with long edges together. This gave me a square about 3 and 1/2 inches which formed the “thread” part of my spools.
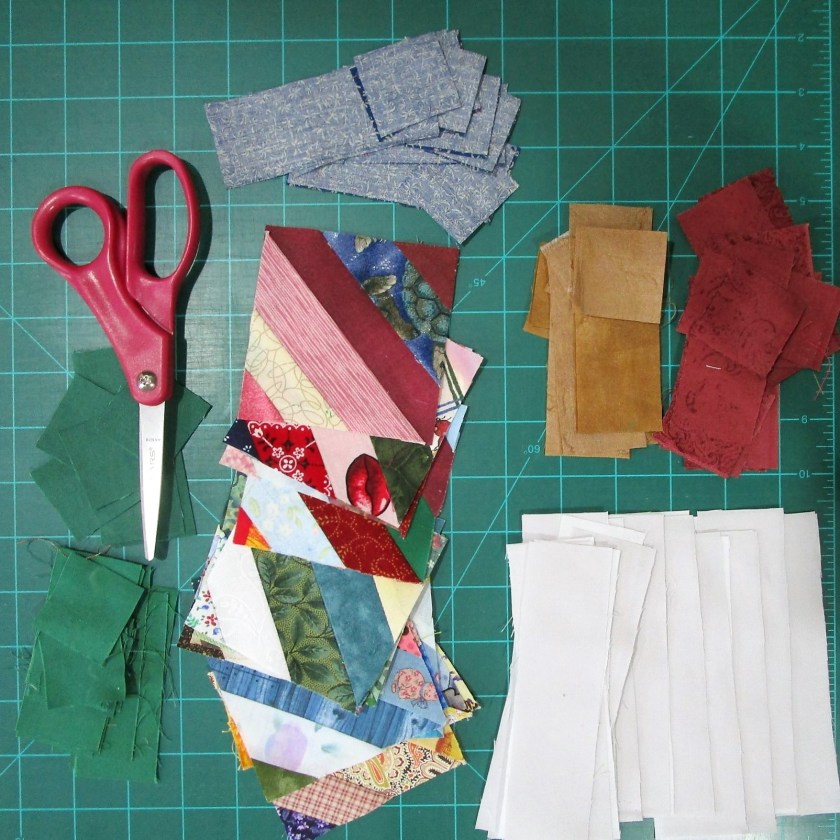
To support the center pieces, I cut pieces from four dark colors and two shades of the background fabric. Three of the dark colors were left over from my Creation quilt. The brown fabric was used in my Badlands art quilt.
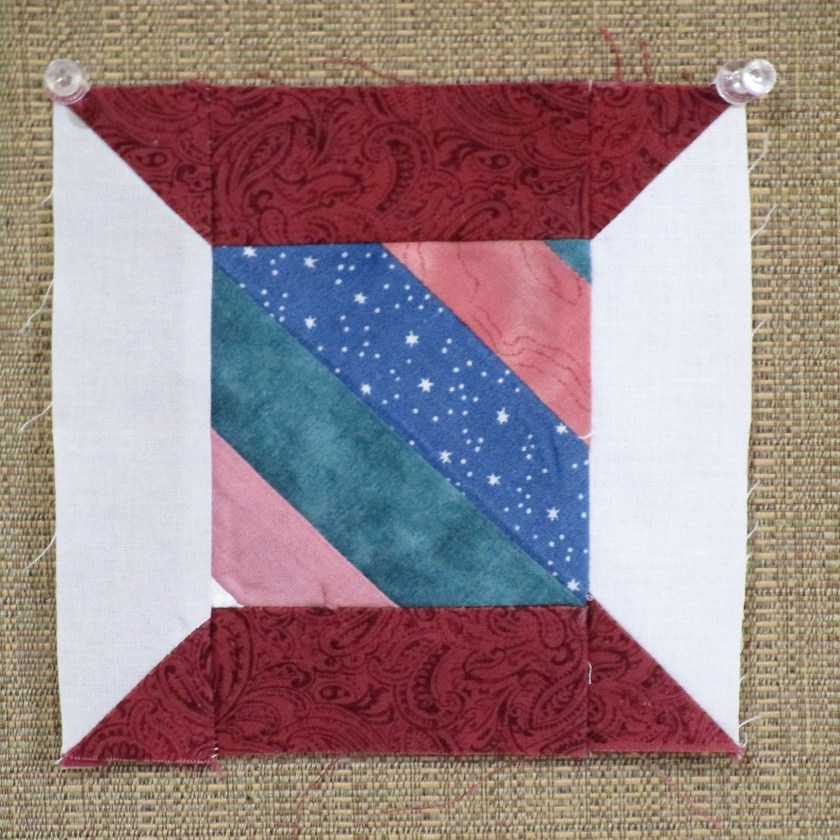
Here is my first block all sewn together.
I like the way the diagonal lines on the spool look like spiraling thread.
Eventually I made four 5-inch blocks in four different colors. My original design would have the spool blocks in a continuous border. When I started positioning the blocks, it became clear that there would be too much visual clutter. I settled on using three blocks on each side, leaving the corner areas available.
I will reserve the corners for the next round, or fashion corner posts using background fabrics.
To learn more about SAHRR 2023 and see what others are making, here is the link to this week’s round.