Posted in painting

Taking a Break from Quilting

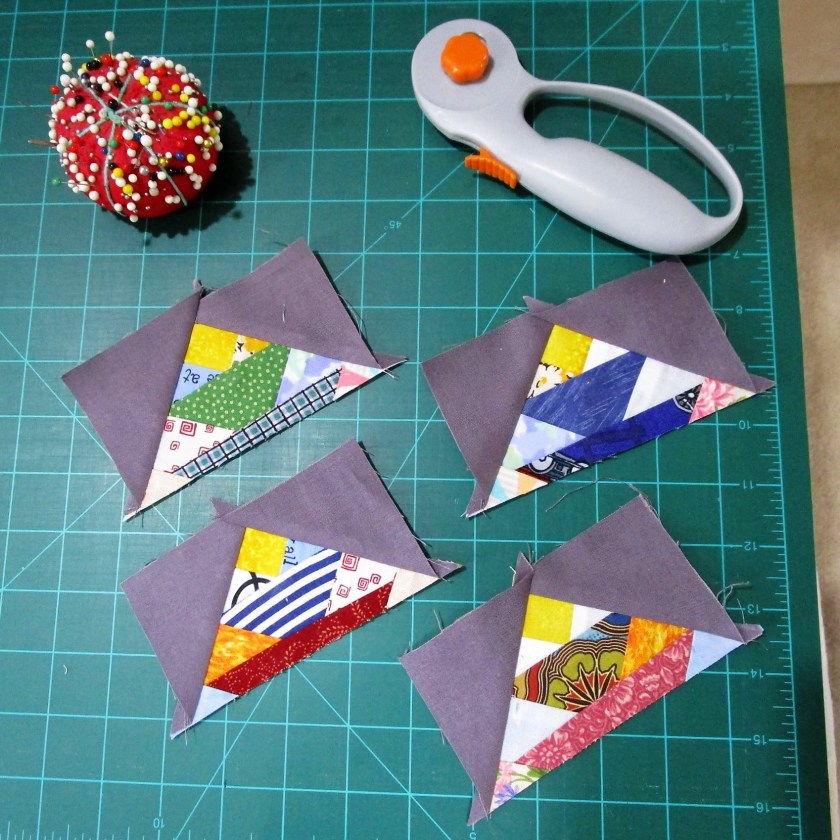
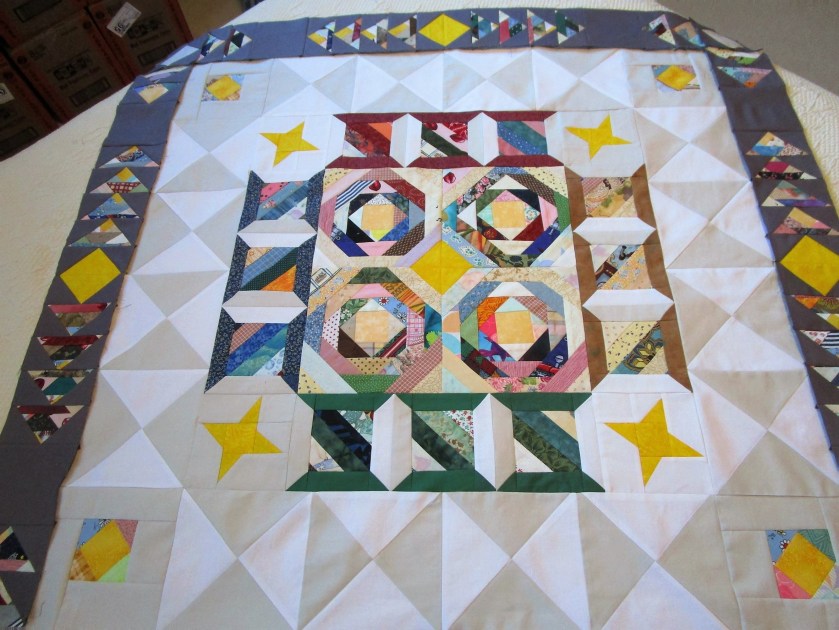
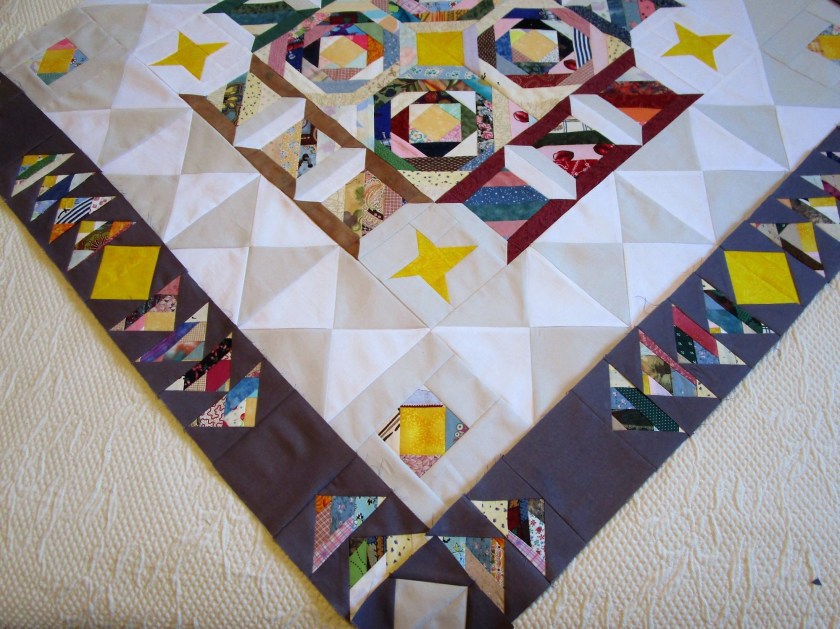
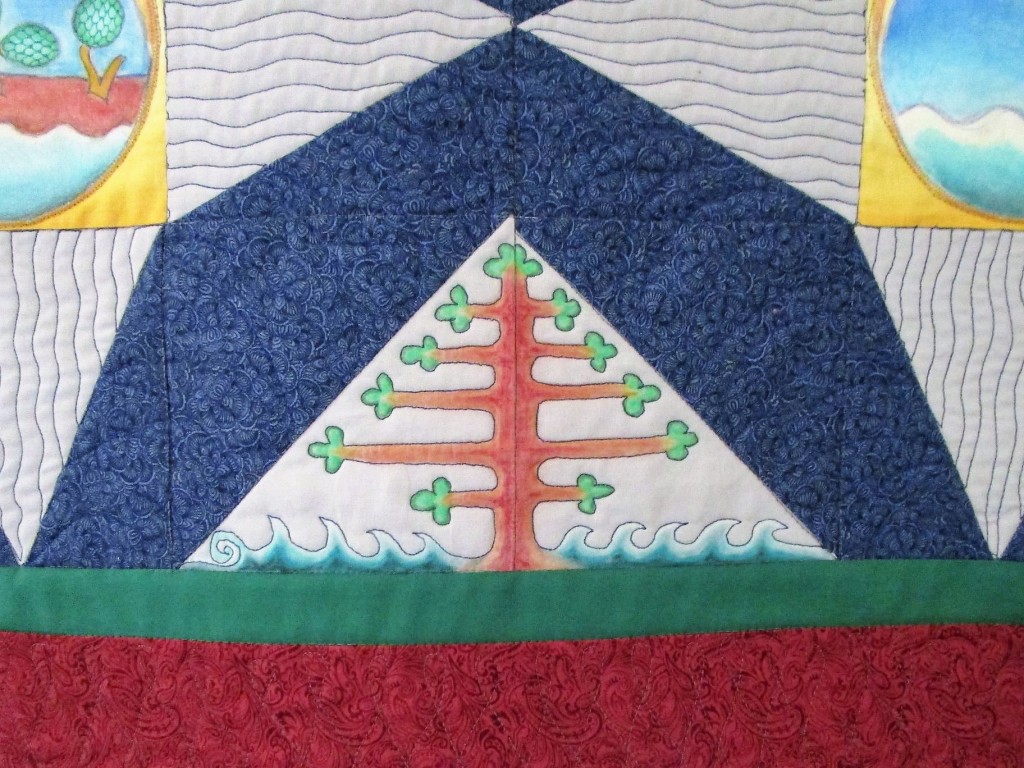
The last two weeks have seen me working intensly on two quilts. One is finished (yay!) So today I am taking a break from quilting, if not from thinking about quilts.

It’s time to get more watercolor postcards painted. I have some new watercolor paper made especially for postcards that I am excited to try out.

A sample of this 100% cotton paper by Winsor and Newton was included with an order from Dick Blick. Since I liked the sample, I decided to buy this packet of 15 sheets. It seemed affordable and is the perfect size for postcards.

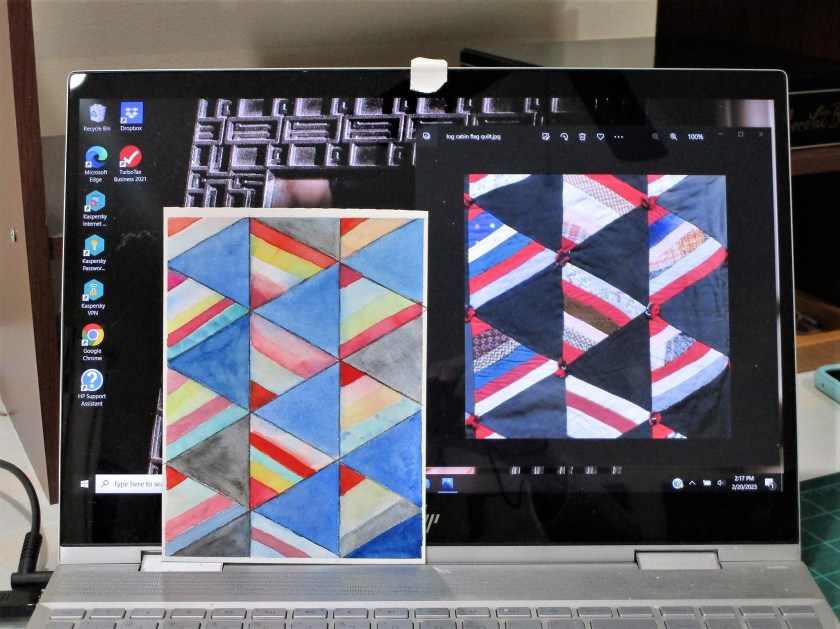
In perusing my library of reference photos, I came across an image of a quilt that really appealed to me. I described it as a log cabin flag quilt. I saved it with the idea of making a similar quilt.

But now I think it’s the perfect subject for a geometric watercolor painting.

I started by dividing my paper vertically into three columns. Determining that the angle of the flags is sixty degrees, I drew several intersecting lines. The painting process was slow and relaxed. When I was satisfied with the color, I grabbed a black watercolor pencil to reinforce the lines and darken a few of the blocks. Done.

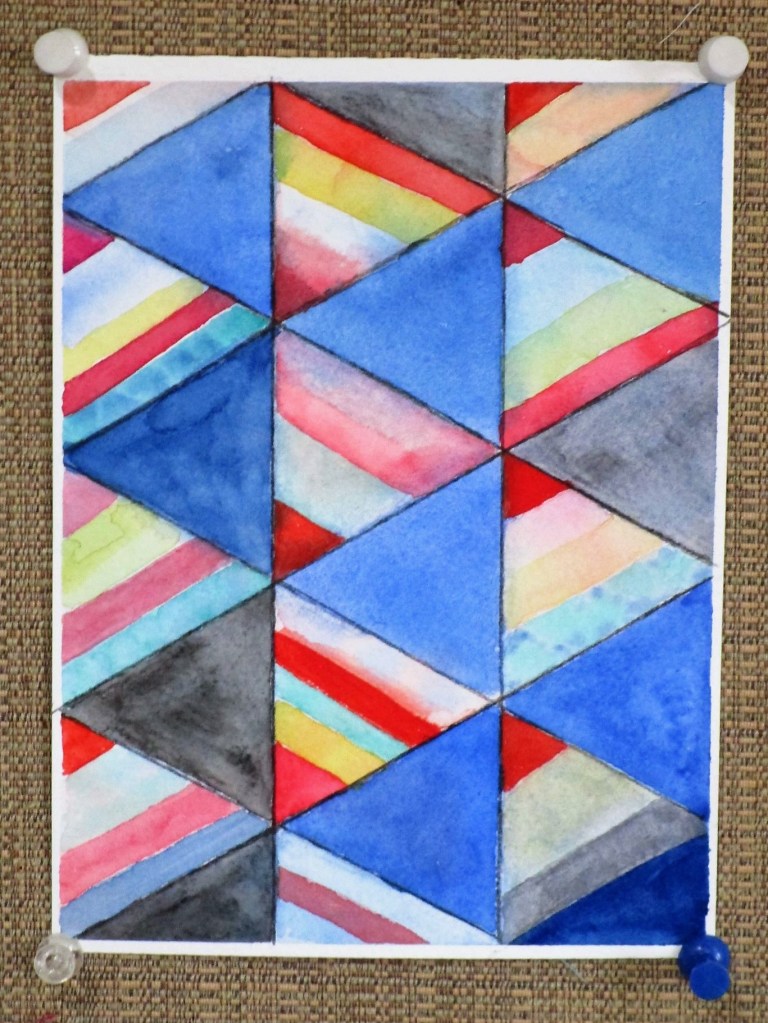
What do you think? It’s not a slavish copy, more of an interpretation. Where the quilt has patterned fabric, I chose to allow colors to mingle.

SIDE BY SIDE.

I used all my reds, which included Pyrol scarlet, alizarin crimson, quinacridone red and magenta. Blues are cobalt and prussian. Rounding out the paints were quinacridone gold and Winsor green blue shade.

Posted in quilting

SAHRR 2023: Scrappy Geese

Anja, of Anja Quilts, suggested flying geese for Round 4 of this year’s Stay-at-home quilting challenge.

https://anjaquilts.blogspot.com/2023/02/stay-at-home-round-robin-round-4.html

I was feeling very much up to the task. Two years ago, during the SAHRR, the flying geese block was brand new to me. It didn’t go well. I made a bunch of them that ended up the wrong size. This year I wisely followed the tutorial of Quilting Jet Girl. She even provides a fabric cutting chart for all sizes of geese. Her technique yields four blocks at a time. Check it out:

My particular take on the goose block has me cutting down my scrappy pineapple blocks to make the feature fabric of the goose block. This was a time-consuming task, but I was absolutely determined to make it work. Here is my first group of four:

Using the 2-inch wide block size will require 20 geese per side for my quilt. After experimenting with placement, I l felt that a continuous line of that many geese causes too much visual motion in the design. To break it up and create resting places for the eyes, I inserted plain gray squares. I also made a block of two geese in solid yellow at the border’s midpoint. This image shows the two resting spots sewn up with the scrappy blocks.

POOR BUNNY DOESN’T LOOK VERY CONFIDENT THAT I CAN PULL THIS OFF.

Okay, so here goes. This photo shows three completed borders.

View of the border from on point,

Close up of one border.

My quilt has now reached my desired width. For the 5th and 6th borders, I will be building up and down from the mid-point, inserting setting triangles as needed. Anyway, that’s the plan for now. It’s all an experiment, so subject to change.

To see what other quilters are making, follow the link to the Linky party.

https://anjaquilts.blogspot.com/2023/02/stay-at-home-round-robin-round-4.html

Posted in embellishing, painting, quilting

Friday Finish: Creation Wall Quilt

Today I’m showing the finished wall hanging that I made based on a 13th century illuminated manuscript. The project got its start when I wanted to try out my new watercolor pencils on fabric. This link shows the original artwork that inspired me.

After getting the blocks sewn together, I quilted the sections in a dark blue thread. I was proud that my free-motion quilting skills were proficient enough to make swirls, wiggles, spirals, shapes and lettering.

Most of the fancy stitches were done on the pale grey fabric. In each of the four cardinal compass points, I stitched images that were in the style of those found on the medieval manuscripts. That style is typified by drawings of flowers, animals and figures worked into lots of filigree lines. I love the flat imagery and the primary colors used by the artists of the time. They were simple monks living a simple life.

The giant focal point, God’s eye, is sewn with spirals: symbol of the cycle of Life.

This quilt done, I can now focus my time on the Stay-at-Home round robin quilt. Right now I’m working diligently on a large number of flying geese blocks. If I stick to it, the border will be finished in time to post to the Linky party before it closes.

Posted in knitting

Friday Finish: Socks for him

At long last the toe-up socks I had been working for the past two months are done. And while I was cross at times over how tedious it was, in the end I fall in love with the finished product, just like every other piece of knitting that I finish.

As a reminder, the yarn is Signature Four-Ply by West Yorkshire Spinners. It is a blend of wools with 25% nylon for strength and regain. I purchased it in Madison, WI at a shop whose name escapes me. I used no1 circular needles, knitting in a 3 by 1 rib.

After washing and then left to dry flat, the socks became very soft and luxurious.

If I have the opportunity, I will buy more this yarn.

Posted in quilting

2023 SAHRR Round 3 – Hourglass Block

This week Chris Knits and Sews is choosing the block and providing the linky party for quilting participants to post their work in the annual round robin challenge.

https://wordpress.com/read/feeds/32776/posts/4536905279

I approached this round with a plan to give some rest for the eye from the colorful center. Here is my quilt at the end of the last round.

I used two colors of background fabric to make the hourglass blocks. Here is one row attached to my quilt.

For the corner blocks, I cut the centers out of some pineapple blocks.

They are about 3 inches square. Next I sewed strips of light grey fabrics around all four sides to bring the corners up to the correct size.

I think they are pretty.

After attaching the corners to the last two strips of hourglass blocks I stitched them to the quilt.

What I learned from this round:

1 It pays to work slowly in sewing the blocks together to ensure a very accurate seam allowance. If one seams is too narrow or wide, it’s worth it to rip back and re-sew.

2. Sometimes it’s okay to press a seam open, particularly when sharp points are involved. It can help diminish lumps and bumps.

So far I’m having lots of fun making a stay-at-home round robin quilt. If you’d like to sew along, here is the list of the hosts and rounds.