Posted in recycling, sewing

Friday Finish: Sewing

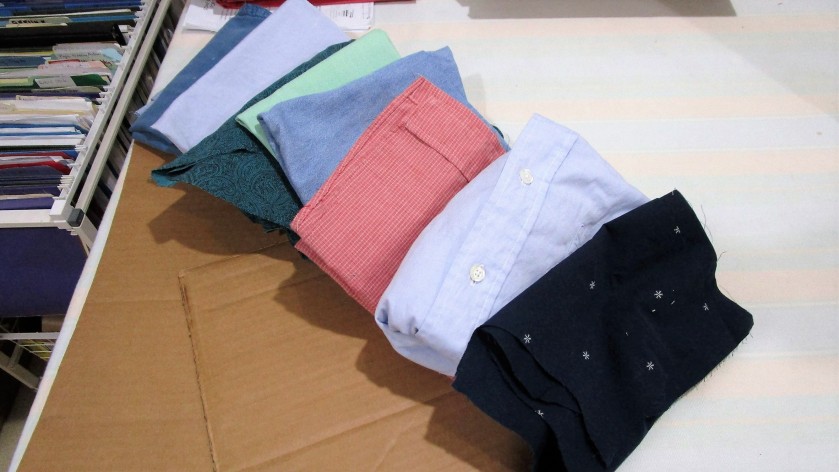
While tidying my workspace last week, I noticed all the shirt pieces I had left over from making the Howard Wabi-Sabi quilt. Since I had used only the backs, the leftovers included sleeves, fronts and collars. It occurred to me that there is a potential fiber object buried inside each one of them.

Naturally, I turned to U-Tube, to see what others have made from discarded men’s shirts. Not surprisingly, there were many, many projects. I wanted to make an apron, but I also spotted a cute little girl’s dress.

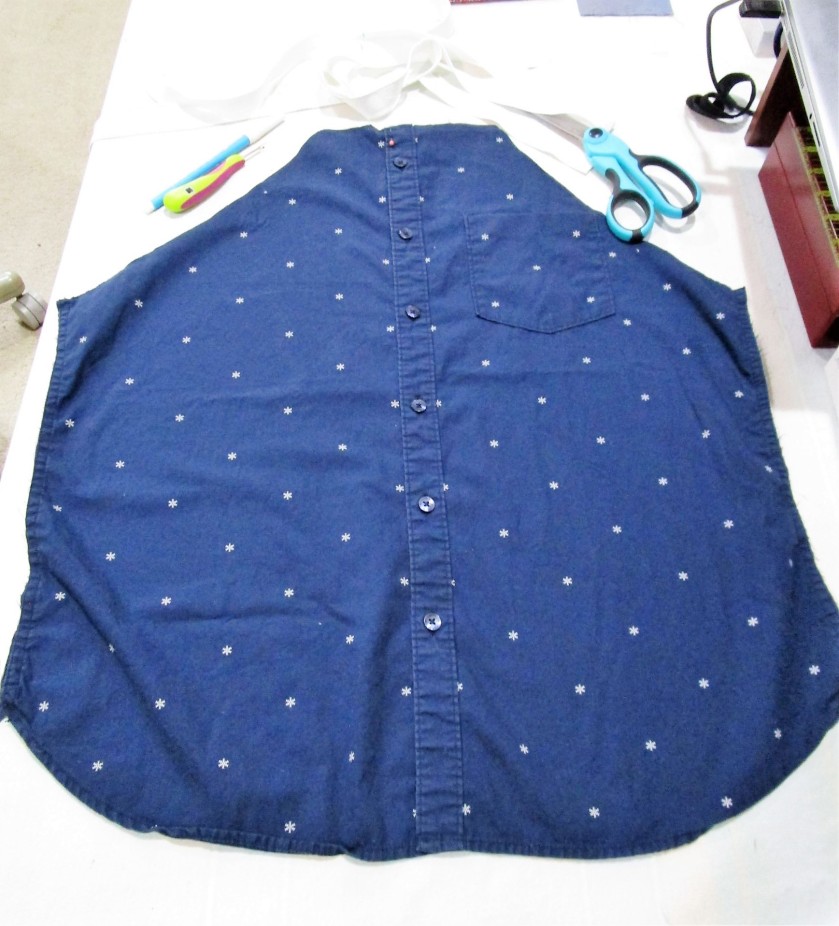
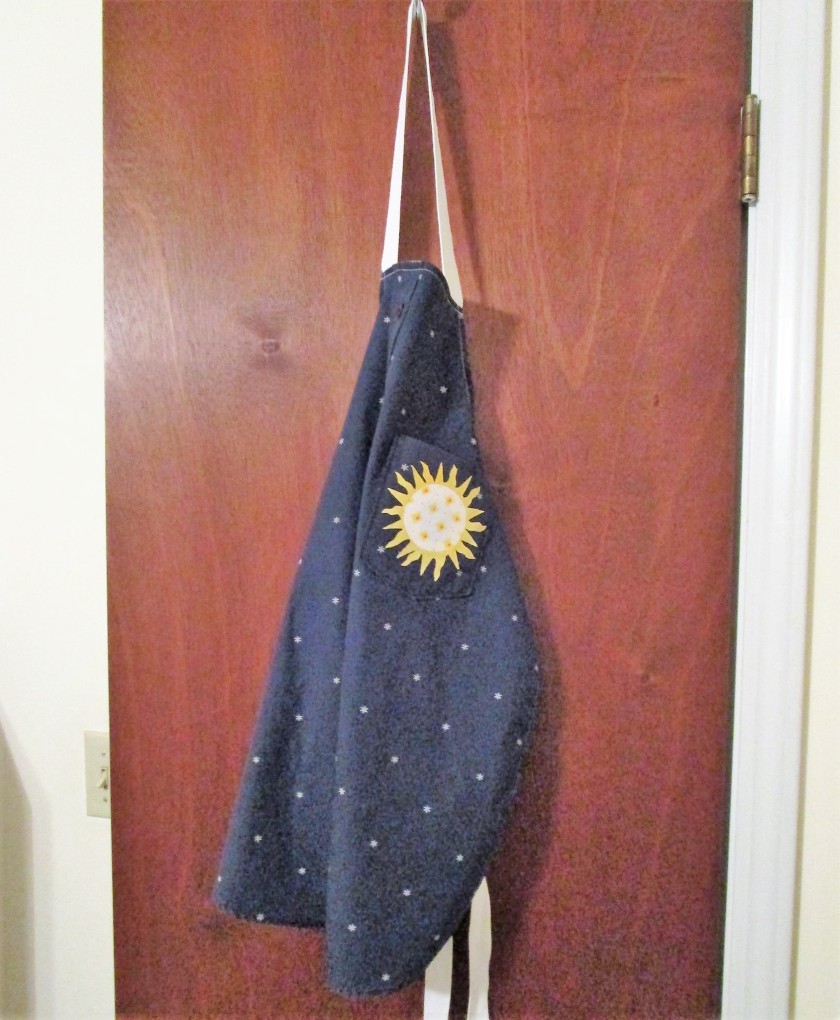
That idea I will save for another day. For today I am focusing on this dark navy all cotton shirt front.

I also happened to have a whole spool of 1-inch white twill tape which will work very well for the neck strap and the ties.

First I removed the breast pocket. This will be jazzed up a bit to add some fun color to my apron. Since the shirt fabric featured a little star motif, (okay, it’s really a snowflake, but go with me on this one) I decided to make a sun using yellow fabric and fusible interfacing. In fact, I happened to have saved some suitable yellow fabric that already had fusing attached to its back. I cut this into the shape of a corona and fused it to the pocket.

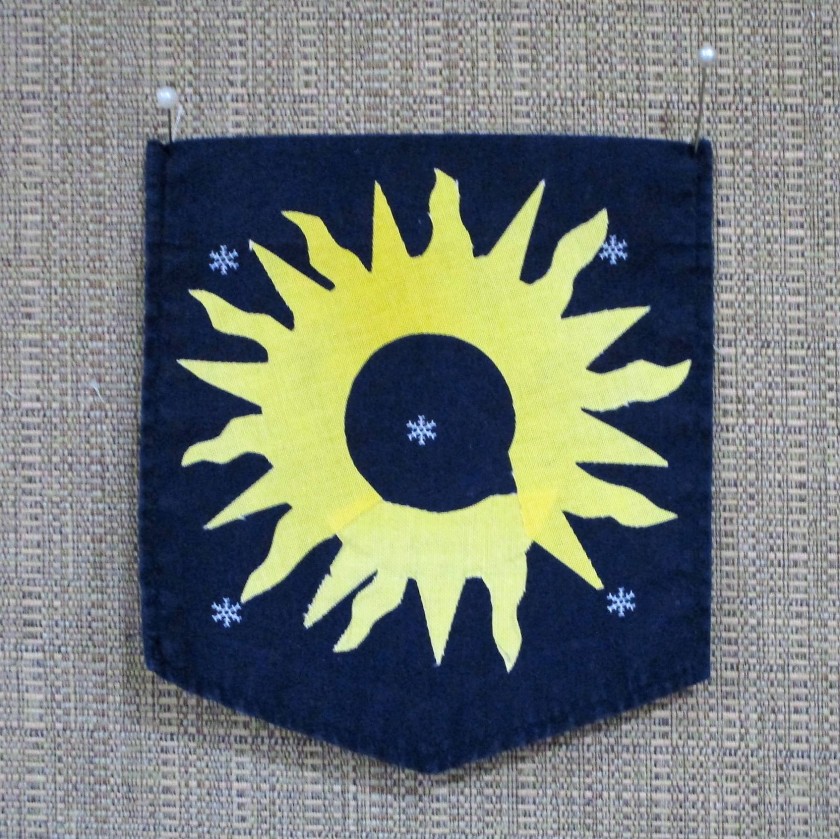
Next I traced a circle onto white printed fabric, pressed fusing to its back, cut out the circle and pressed it over the yellow corona.

Sun Shine!

Getting back to the shirt, I trimmed the upper edge into the shape of an apron front and sewed the button opening shut. Next, I sewed a piece of the twill tape to the neck edge and folded it over the raw edge, This made for a sturdy facing. With the rest of the twill tape, I found its center, measured down each leg to reserve a big enough neck loop and marked where to start sewing the side edges. These were sewed down in the same manner as the neck facing.

After zig-zag stitching the apron string ends, I re-attached the pocket, and was done!

POOR QUALITY LIGHT ON THIS PHOTO – SORRY

The apron fits me just fine, but it will work also on shorter persons.

This fun project cost me a few dollars and only an hour of time. With several more cut-up shirts hanging around, I can easily spend a little more time and a few more dollars to make unique, personalized gifts for the artists and cooks in my life.

Posted in painting

Agate Painting Revisited

On Sunday I returned to work on the Agate still life watercolor begun in January. (I’ve developed a habit of setting aside partially finished paintings and I’m making a promise to myself to stop doing this.) Here is my last posting:

https://wordpress.com/post/dailyfiberfun.wordpress.com/4678

And here is the finished painting.

I found it very soothing to build up the various rings with glazes using matching and contrasting colors. To add more texture, I applied salt to the wet paint in places. After it had dried, I scribbled with a black Prismacolor pencil on the outer layer and darkened some of the rings. To finish, I flecked on spots of copper metallic paint using a toothbrush.

Paints included raw sienna, burnt sienna, quinacridone red, Payne’s gray, cerulean blue and Prussian blue.

The reference photo is found on Pixel and was sourced from the Natural History Museum of London.

https://pixels.com/art/natural+history+museum+london+agate

Posted in drawing

Sketchbook Sunday

This past week, I completed a 4-week drawing class. The final lesson involved sketching from life. This is my rendering of a pint of grapes sitting on a book with drapery over top and in the backdrop.

When we had finished our drawings, the teacher asked us to add one or two colors with pastels or pencil. I chose the yellow to highlight the container, and purple to pick out a few luscious grapes.

This lesson was so fun and relaxing. It made me wonder why I don’t stick with graphite instead of beating myself up with watercolor painting.

Posted in knitting

Finished Object Friday: Cozzy Cusco Kimono

My goal was to make a loose and decorative wrap and this project is just that. It is a mash-up of two patterns. I used the slip stitch chart from Cozzy Shawl…..

https://www.ravelry.com/patterns/library/cozzy-shawl

……….and the shaping instructions from Cusco, by Cheryl Oberle

https://www.ravelry.com/patterns/library/cusco

The result is a garment unlike either of them. I threw in a few random stripe sections and eyelet rows. I also cast on way more stitches than the Cusco pattern called for to create more length.

An unplanned bonus was doing the photo shoot in the snow.

I’m really happy with both yarns I chose. The periwinkle is Rowan Felted Tweed. (and did you know that periwinkle is a Pantone color of the year for 2022?!) The variegated yarn is a discontinued one – I can’t even remember its name. But if you make this with the Rowan yarn, choose any variegated yarn that is a sport weight or dense fingering weight to match the gauge.

While I enjoyed standing in the snow (briefly) I fervently hope that today’s is the last snowfall of the 2021-22 winter – even though the end of winter means putting away all my lovely woolens until next fall.

Posted in knitting

Wednesday WIP: Child Sweater

It’s time to update you on my progress with the Lavanda sweater.

https://wordpress.com/post/dailyfiberfun.wordpress.com/4827

The cool thing about top-down construction is that you can see very clearly how the sweater will look when finished. If your model is near at hand, you can even try it on the little darling.

Since my model is not, I will have to use my imagination.

The sleeve cap stitches are on waste yarn. I have reached the bottom of the yoke section and started the cables at the top of the skirt.

Buttonholes are knitted into the band simultaneously. So far, I have three buttonholes created at a spacing of 16 rows.

I keep going with skirt and button bands until the piece measures 7 inches from the arm hole opening. Then I come to a screeching halt while I knit in waste yarn for two after-thought pockets.

It’s all going swiftly, the same way Spring marches in following Winter. (Oh! That simile works for most year, just not this one.)