“When we last saw our heroine, she had cut and sewn all the pieces needed for a triangular quilt sampler. Let’s check in on her now.”
Okay, folks, not quite all the pieces. In reviewing my block cut, it seemed that two more hexes would be necessary if I wanted a complete sampler of the technique. So I cut and sewed two more. Here are my pieces before beginning assembly:
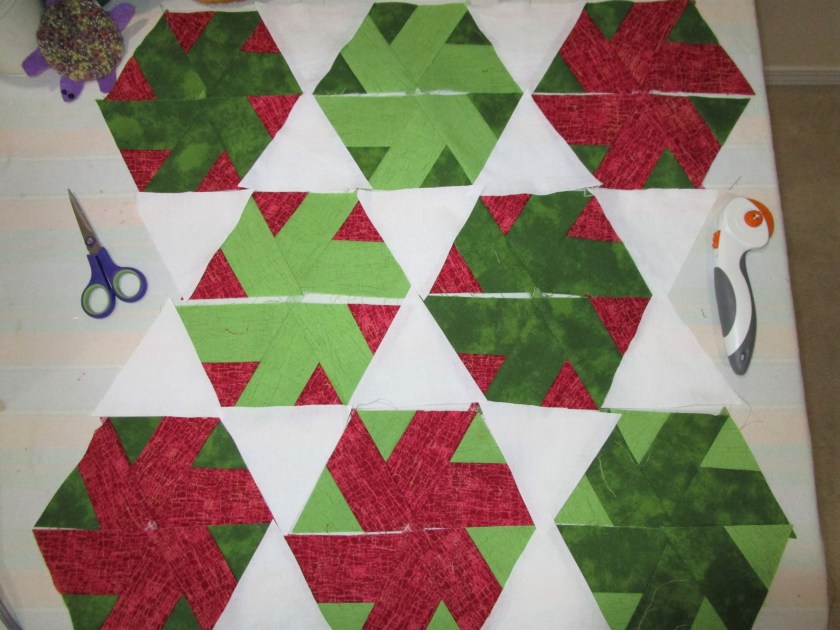
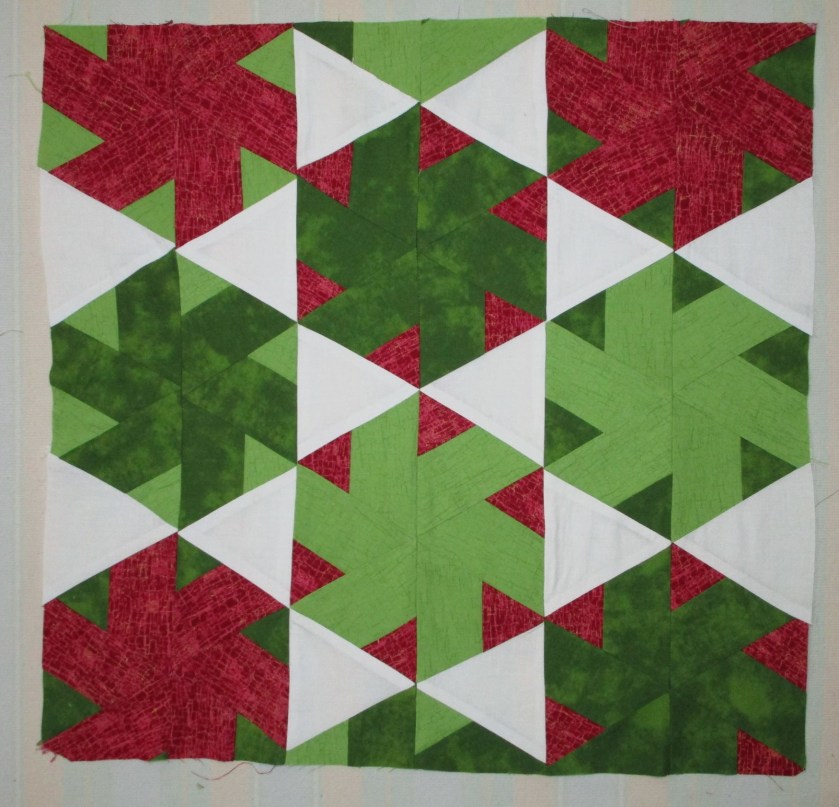
This quilt is made up of six rows, grouped in twos. For the middle section, I will use two triangles at each end, to fill in the gaps where my cutting tools are sitting in the photo. Assembling each row is fairly simple. I start at the left and sew the pieces together in the normal fashion. The drama begins when the grouped rows are sewn to each other. Will the white triangle points match up and the hexes join properly?
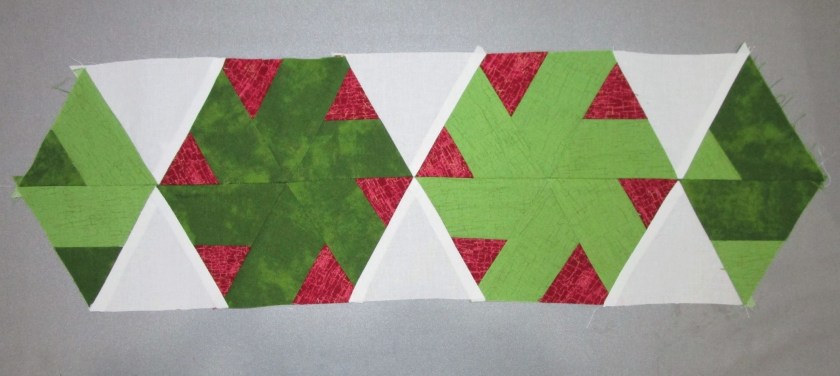
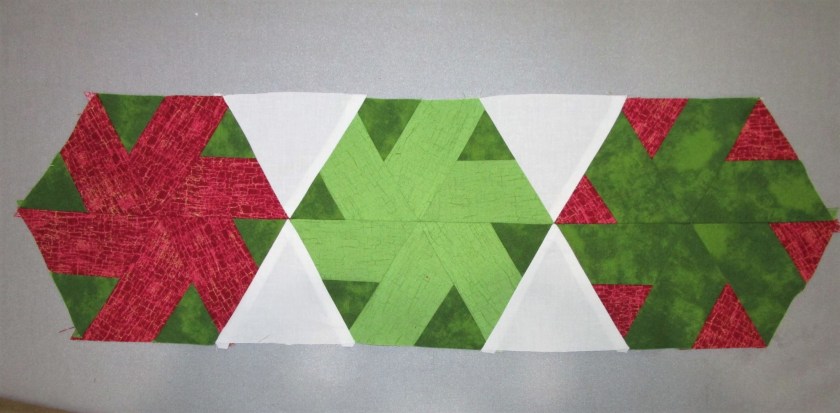
And here is my sampler all sewn together. I did a quick trimming of the outer edges, but I don’t have a long enough cutting mat or Omnigrid ruler to properly square it up.
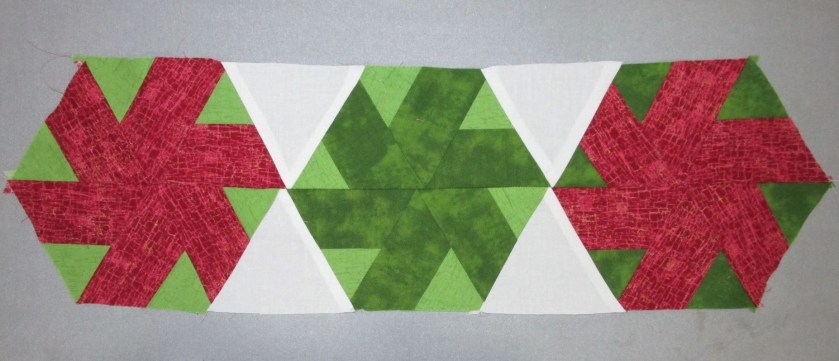
I’m happy with this so far. This view is of the quilt turned sideways. You can see rows one and two on the left, with the decidedly wavy edge. I will probably remove these rows and try to straighten the edges before re-attaching.


You are moving right along, beautiful pattern and color choices.
LikeLiked by 1 person
You are doing beautifully with your piecing. Hexies can be hard.
LikeLiked by 1 person